
Wood Staining Basics Color Checklist
📖 Table of Contents
The first time I tried staining a piece of oak, I was convinced I'd ruined it forever. The color looked too dark, the finish felt sticky, and I didn’t know how to fix it. It wasn’t until I sat down with a checklist of color options, tools, and techniques that things started to click. That checklist became the foundation for every wood project I’ve done since. Whether you're working with a live-edge table, a pine cabinet, or a reclaimed wood shelf, understanding how color interacts with wood grain and finish is non-negotiable. This article is your guide to that understanding, distilled into a practical, action-oriented 'wood staining basics color checklist' that you can reference again and again.
Wood staining is more than just applying a coat of color — it's about creating harmony between the wood, the environment, and the purpose of the piece. A light oak stain can brighten a dim corner, while a deep mahogany tone can give a room a sense of history and warmth. But without a clear plan, even the best wood can end up looking dull or mismatched. Over the years, I've learned that the key to success lies in preparation: knowing your wood type, experimenting with color swatches. Keeping a checklist of essential steps to ensure every project looks intentional and well-executed.[1]
This 'wood staining basics color checklist' isn't just a list of steps — it's a roadmap that helps you avoid common mistakes and embrace the right tools and techniques. It includes everything from the tools you'll need to the types of stains that work best with different wood species, and even how long you should wait between coats. When I first started, I rushed through the process and ended up with uneven results. Now, with a checklist in hand, I can take my time and ensure that every detail is considered. If you're ready to move past trial and error and into the realm of confident, polished wood finishes, this article is for you.
Why You'll Love This Wood Staining Basics Color Checklist
- Gain confidence with a clear, step-by-step guide to choosing the right wood stain colors.
- Avoid common pitfalls by using a tried-and-true checklist that accounts for wood type, lighting, and environment.
- Achieve professional-quality results without expensive tools or advanced skills.
- Save time and money by planning your project ahead of time with a focused, easy-to-use checklist.
Why Wood Type Matters for Color Selection
As of September 2026, Oak, maple, and pine all take stain in unique ways. Oak has open grain that allows more stain to penetrate, creating a deeper, more dramatic look. Maple, on the other hand, is denser and absorbs less stain, resulting in a more subtle finish. I once tried to use a dark walnut stain on pine and ended up with a blotchy, uneven finish. The lesson? Always match the stain to the wood's natural absorption rate.
To test how a stain will look on your wood, apply it to a scrap piece and let it dry for 24 hours. I’ve found that this test is critical for predicting how the final color will appear under different lighting conditions. In one project, the stain looked perfect in the morning light, but it appeared too dark in the evening. By testing first, I was able to adjust the shade before committing to the full piece.
Using the right stain for your wood type doesn’t just ensure a consistent color — it also extends the life of the finish. Lighter stains on dense woods like maple require multiple coats to build up color, but they also offer better protection against moisture and wear. By taking the time to understand your wood’s properties, you’re setting the stage for a more durable, beautiful finish.
Always apply stain to a small scrap piece of the same wood type to see how it looks and feels before proceeding.
Part of our Wood staining basics color style ideas guide.
Choosing the Right Stain for Your Space
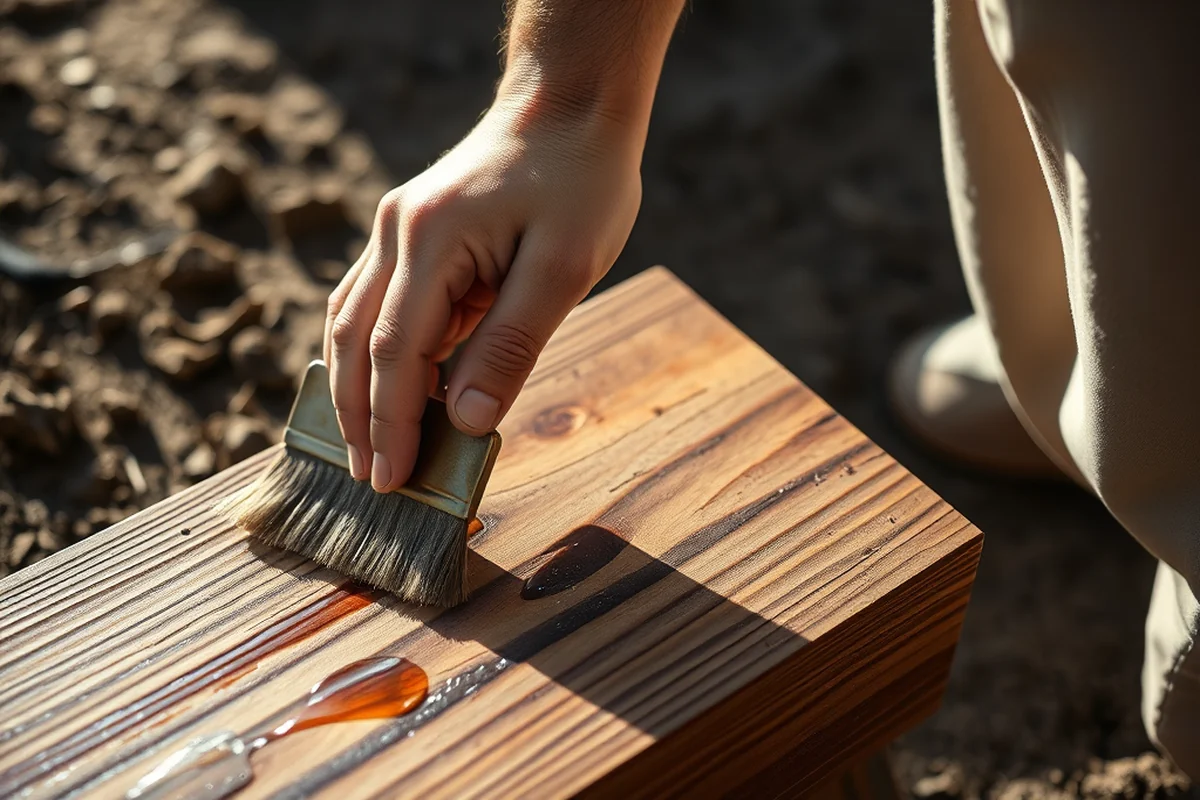
A dark stain can make a small space feel cozy and intimate, but in a large, sunlit room, it might feel too heavy and overwhelming. I recently finished a kitchen cabinet with a medium-toned stain, and it balanced the brightness of the room perfectly. In contrast, a lighter stain would have made the cabinets too pale and less defined against the countertops.
Consider the amount of natural light in the room. Wood that’s stained in a room with limited light may appear dull, while the same stain in a sunlit room can glow beautifully. I’ve found that darker stains in low-light areas tend to show more wear over time, so it’s best to go with a lighter shade in those spaces.
Don’t forget about the existing design elements in the space. If you’re staining a piece of furniture for a living room with neutral tones, a warm mahogany stain can add visual interest without clashing. But if the room is already filled with rich, dark finishes, a lighter stain may be the better choice.
Light or dark — choose your stain based on how the space feels, not just what you like.
Related: What is best way to stain a deck
Understanding Stain Types and Their Effects
Oil-based stains are the most traditional and offer a deep, rich finish that’s ideal for high-traffic areas. They’re also harder to clean up, which is a downside for some. Water-based stains are easier to apply and clean up, and they dry faster, which is great for beginners or those working on tight deadlines. I’ve found that water-based stains are especially useful for staining large surfaces like floors or cabinets.
Gel stains are thicker and less likely to pool or drip, making them great for intricate or curved wood pieces. They’re also easier to control and don’t require as much sanding before application. I used gel stain on a curved chair back, and it dried evenly with no drips or uneven spots.
Each type of stain has its own set of pros and cons, and the right choice depends on the project, the wood type, and the finish you're aiming for. By understanding these differences, you can make an informed decision that ensures your project looks its best.
Oil-based for durability, water-based for speed, and gel for intricate pieces — choose based on your project’s requirements.
“The first time I tried staining a piece of oak, I was convinced I'd ruined it forever.”— Stainlane editors
Related: Best wood staining basics color style ideas
How to Apply Stain Evenly for a Professional Finish

I’ve made the mistake of applying too much stain and ending up with a gummy, uneven finish. The key is to apply thin, even coats and let each one dry completely before adding the next. I’ve found that using a foam brush is the most effective way to apply stain evenly, especially on large surfaces like tables or cabinets.
After applying the stain, use a clean cloth to wipe off any excess. This step is crucial to avoid a blotchy or overly dark finish. I once skipped this step on a sideboard, and the stain ended up looking patchy and unprofessional. Wiping off the excess ensures that the stain is absorbed evenly into the wood.
For the best results, apply the stain in the direction of the wood grain. This helps the stain flow smoothly and reduces the risk of streaks. I’ve found that working with the grain not only makes the application process smoother, but it also gives the final finish a more natural, polished look.
Related: What is the best wood stain for fences
Finishing Touches: Sanding, Sealing, and Buffing
After the stain has dried completely, I always do a light sanding to smooth out any imperfections. Using fine-grit sandpaper (around 220 grit) helps remove any rough spots or uneven areas, making the finish look polished and professional. I’ve found that this step is especially important for pieces that will be used regularly, like tables or chairs.[2]
Once the surface is smooth, I apply a sealer to protect the stain and enhance the wood’s natural beauty. A water-based polyurethane sealer works well for most wood types and dries quickly. I’ve used it on several projects, and it gives the wood a clear, even finish that’s resistant to scratches and water.
Finally, I give the piece a light buff with a soft cloth to bring out the shine and ensure the finish is even. This step is optional, but it can make a big difference in the final appearance. I’ve found that a well-buffed piece looks more finished and feels more refined.
💰 Budget Build
Use water-based stains and basic tools to complete your project without breaking the bank.
⏰ Weekend Version
Finish your project in one day with fast-drying stains and minimal steps.
✨ Upgraded Finish
Add gel stains and a high-gloss sealer for a professional, polished look.
🛋️ Small-Space Adaptation
Use light stains and compact tools to make the most of limited space.
🏠 Rental-Safe Option
Choose low-odor, water-based stains that are safe for rental properties.
| The mistake | Why it happens | The fix |
|---|---|---|
| Applying too much stain at once | This can lead to a gummy, uneven finish and make the wood look dirty instead of polished. | Use thin, even coats and wipe off excess with a clean cloth after applying. |
| Skipping the test coat | Without testing, you risk ending up with a color that doesn’t match your vision or the room’s design. | Always apply the stain to a small scrap piece before proceeding with the full project. |
| Not sanding between coats | Skipping this step can result in a rough, uneven finish that feels unprofessional. | Sand lightly with fine-grit sandpaper between each coat for a smooth, polished result. |
| Applying stain against the wood grain | This can cause streaks or uneven color and make the finish look less natural. | Always apply stain in the direction of the wood grain for the best results. |
Related: Affordable wood staining basics color
Wood Staining Basics Color Checklist
Related: Affordable wood staining basics color style ideas
Common Questions
What’s the best way to test a stain before applying it to the whole piece?
Can I mix different wood stain colors to create a custom shade?
What should I do if my stain is too dark or too light after applying it?
How long should I wait between stain coats?
References
- A Guide to Achieving Optimum Coating Performance on Exterior ... (research.fs.usda.gov)
- given. "Wood Identification and Chemistry' covers the ... - ERIC (files.eric.ed.gov)
Cite this guide
Stainlane (2026). Wood Staining Basics Color Checklist. https://stainlane.com/wood-staining-basics-color-checklist/
Feel free to cite or share this guide.