
Wood Staining Basics Step For Small Spaces
📖 Table of Contents
- Preparation: The Foundation of Any Stain Job
- Choosing the Right Stain for Small Spaces
- Application: How to Stain Like a Pro in Tight Spaces
- Drying and Finishing: The Final Touches That Make All the Difference
- Maintenance: Keeping Your Small Stained Projects Looking Great
- Make It Your Way
- Frequently Asked Questions
I remember the first time I tried staining a small wooden shelf in my apartment—it felt like standing in a forest of possibilities, but also like a maze of confusion. I had no idea where to start, and the overwhelming array of stains, tools, and techniques left me paralyzed. The project was small, but the stakes felt huge. I needed to know the basics, and fast.
That experience taught me that wood staining for small spaces is not just about aesthetics; it's about precision, restraint, and knowing exactly what to do when you're working with limited square footage. Whether you're tackling a narrow table, a tiny cabinet, or even a bookshelf that barely fits in the corner, the right approach can make all the difference. And the good news? It doesn't take a seasoned woodworker to pull it off.
The key to success lies in the basics: preparation, technique, and a clear understanding of how small spaces behave differently than large ones. I've since mastered these steps, and now I want to share them with you. From sanding to sealing, every move has a purpose, and every detail matters—especially when you're working on a small scale.
Why You'll Love This Wood Staining Guide for Small Spaces
- You'll learn to work efficiently with limited space and materials.
- You'll avoid common pitfalls that turn small projects into disasters.
- You'll achieve professional-looking results without a big budget or advanced skills.
- You'll gain confidence in tackling other DIY projects in your home.
Preparation: The Foundation of Any Stain Job
As of October 2026, before you ever touch a brush, the surface needs to be clean, dry, and free of any old finishes. I once skipped this step on a small side table, and the stain didn't adhere properly—resulting in patchy, uneven color and a whole lot of frustration. Use a degreaser and sand the surface with 120-grit sandpaper for optimal results.
Wipe down the wood with a damp cloth to remove any dust, and then let it dry completely. This is crucial because moisture can interfere with the stain's absorption, especially on small pieces where you can't afford a second chance. I've found that waiting 24 hours after sanding is the safest bet, even if it feels like a long wait.[1]
Once the wood is ready, I always apply a wood conditioner. It helps the stain absorb evenly, which is especially important on small surfaces where inconsistencies can be glaring. I use a product called Minwax Wood Conditioner, and it makes all the difference in achieving a uniform look.
When working on small items like shelves or picture frames, use a clamp to secure them to a workbench. This keeps them steady and prevents accidental movement, which is a common issue in tight spaces.
Part of our Wood staining basics step by step techniques guide.
Choosing the Right Stain for Small Spaces
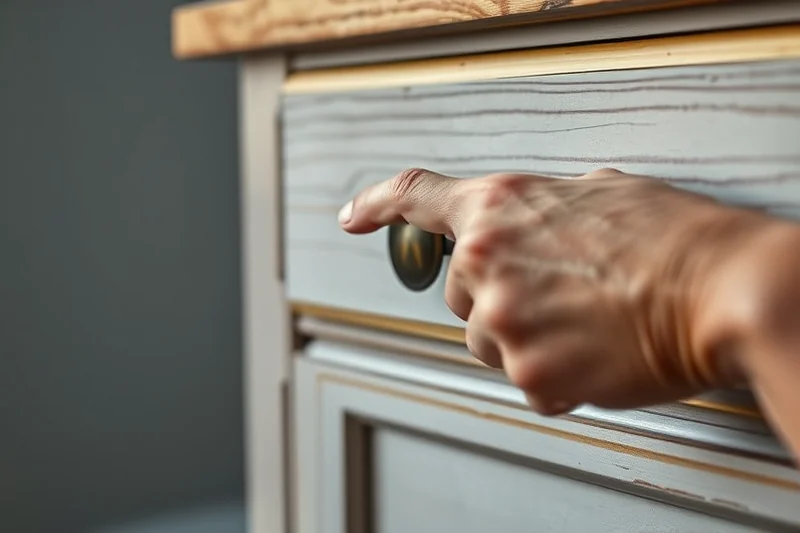
Not all stains are created equal, and this is especially true for small spaces where you can't easily hide imperfections. I've found that gel stains are a game-changer for small projects. They're thicker, easier to control, and less likely to drip or pool, which is a major plus when you're working on something narrow or curved.
For a classic look, I recommend oil-based stains like Minwax Pre-Cat Stain. They offer rich color and depth, which can really make a small space feel more substantial. Water-based stains are also a great option for quick drying and low odor, which is ideal if you're working in a confined area.
Always test the stain on a small, inconspicuous area first. I once used a stain on a small piece of wood and realized it was way too dark—having that test patch saved me from a costly mistake. It's a small step that can save a lot of time and effort later.
Test first, regret later—small spaces don’t forgive mistakes.
Related: Wood staining basics step by step techniques ideas
Application: How to Stain Like a Pro in Tight Spaces
I’ve made the mistake of applying too much stain, thinking it would give a deeper color. What I didn’t realize was that excess stain can pool and create a sticky, uneven finish. The solution? Use a foam brush or a clean cloth to apply the stain in thin, even coats. I prefer the foam brush because it's less likely to leave streaks or drips.
Work in small sections, and always move in the same direction. I've found that going with the grain of the wood gives the most natural, professional look. If you're working on a curved surface, like a small stool or a corner shelf, use a small brush and keep the movement smooth and consistent.
After applying the stain, I let it sit for about 5 minutes, then wipe off any excess with a clean cloth. This step is crucial for achieving a smooth finish. I’ve noticed that skipping this leads to a blotchy appearance, especially on small pieces where the effect is more visible.
Staining in natural light helps you see the true color and evenness of the stain. I used to work by lamplight and often ended up with uneven results. Now, I always stain during the day when there's plenty of light—this makes a world of difference.
“I remember the first time I tried staining a small wooden shelf in my apartment—it felt like standing in a forest of possibilities, but also…”— Stainlane editors
Related: Wood staining basics step guide
Drying and Finishing: The Final Touches That Make All the Difference
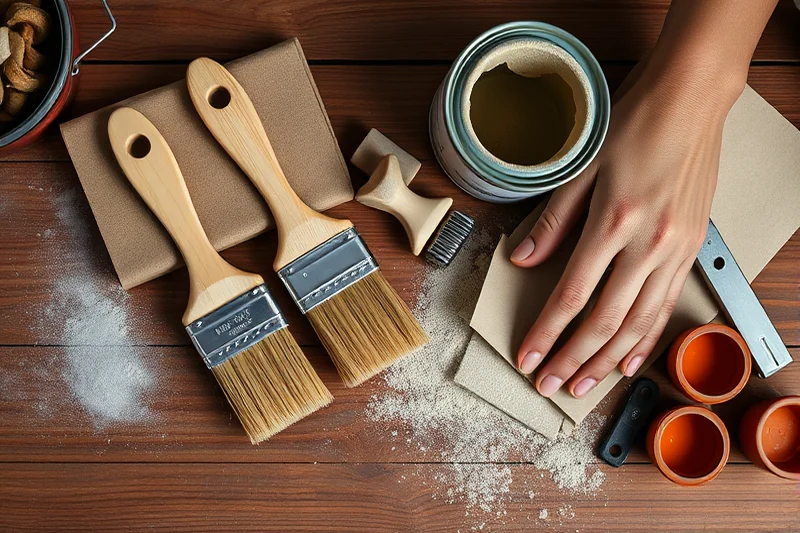
After applying the stain, it's important to let it dry completely before moving on to the next step. I always wait at least 24 hours for the stain to cure, even if it feels like it's dry to the touch. This prevents any smudging or unevenness, especially when you’re working on something that’s not going to be in a climate-controlled room.
Once the stain is dry, I apply a clear wood sealer to protect the finish. I use a water-based polyurethane like Minwax Water-Based Polyurethane. It’s clear, dries fast, and leaves a nice sheen. For a more natural look, I also use a matte sealer on small pieces like shelves or picture frames.
I’ve learned that using a sealer is not just about protection—it's also about enhancing the color and durability of the stain. Without it, the stain can fade or get scratched easily, which is a big problem for small pieces that are used frequently.
Related: Wood staining basics techniques tips
Maintenance: Keeping Your Small Stained Projects Looking Great
Even the best-stained wood can look dull over time, especially if it's in a high-traffic area. I’ve found that wiping down the surface with a soft cloth and a bit of mild soap and water once a week can keep it looking fresh. For more stubborn spots, I use a wood polish like Howard Feed & Wax, which adds shine and protects the surface.
Avoid using harsh chemicals or abrasive materials on the stained wood. I once used a commercial cleaner on a small table, and it stripped away the stain, leaving the wood looking dull and unappealing. Stick to gentle products and avoid anything with ammonia or bleach.
If you notice any scratches or wear, you can use a touch-up pen or a small amount of stain to blend it in. I’ve used this method on a small coffee table and it worked like a charm. It’s a quick fix that can save you from a full refinishing job.
💰 Budget Build
Use basic tools like a brush and sandpaper, and choose affordable stains and sealers to keep costs low.
⏱️ Weekend Version
Complete the project in a day with a few quick steps, perfect for those with limited time.
✨ Upgraded Finish
Add a clear topcoat or use a higher-quality stain for a more polished and professional look.
🛋️ Small-Space Adaptation
Use compact tools and techniques designed for tiny projects like shelves, picture frames, or decorative boxes.
🧰 Rental-Safe Option
Choose temporary or removable finishes that won’t damage the property or require permanent changes.
| The mistake | Why it happens | The fix |
|---|---|---|
| Skipping the wood conditioner step | This can lead to an uneven stain absorption, creating a patchy or blotchy finish on small surfaces. | Always apply a wood conditioner before staining, even if it feels like an extra step. It makes a huge difference in the final result. |
| Using too much stain | Excess stain can pool and create a sticky, uneven finish that’s hard to fix. | Apply the stain in thin, even coats and wipe off any excess with a clean cloth immediately after application. |
| Staining in low light | It's easy to miss inconsistencies or color variations when working in dim light, leading to an unbalanced finish. | Always stain in natural light to ensure you can see the true color and evenness of the stain. |
| Not allowing the stain to dry properly | Moving on to the next step before the stain is fully dry can result in smudging or unevenness. | Wait at least 24 hours for the stain to fully cure before applying a sealer or using the piece. |
Related: Simple wood staining basics step by step techniques
Wood Staining Basics Step For Small Spaces
Related: Simple wood staining basics techniques
Common Questions
Can I stain wood without sanding it first?
How long should I wait between stain coats?
What’s the best way to clean up after staining?
Can I use a spray stain on small projects?
References
- Ultimate Stain-Removal Guide - Consumer Reports (consumerreports.org)
Cite this guide
Stainlane (2026). Wood Staining Basics Step For Small Spaces. https://stainlane.com/wood-staining-basics-step-for-small-spaces/
Feel free to cite or share this guide.