
Wood Staining Basics Color Style Ideas For Beginners
📖 Table of Contents
I remember the first time I dipped a brush into wood stain, the smell of the solvent hitting my nose like a familiar friend. I was trying to give my old kitchen table a new life, and I had no idea how color and finish could transform an object so quickly. It was messy, it was slow, and I made a few mistakes, but the result was worth it — a table that now looks like it’s been in my family for decades.[3]
Wood staining is more than just a DIY task — it's a way to tell a story through color and texture. Whether you're working on a piece of furniture, a floor, or even a decorative panel, the right stain can bring out the grain, deepen the character, and let your project speak for itself. For beginners, the process can feel overwhelming, but with a few basics, you can achieve professional results.[4]
The key to wood staining lies in understanding how color interacts with the wood’s natural tones and how different finishes can change the final appearance. I've tested over a dozen stains on different wood types. I can tell you that the right combination of color, application technique, and finish can make a project look like it was handcrafted by a professional — not a weekend warrior with a brush and a can of stain.
Why You'll Love This Wood Staining Guide
- Learn how to bring out the best in your wood with the right stain colors.
- Discover simple techniques that even beginners can master.
- Avoid common mistakes that ruin projects before they're finished.
- Get inspired with real, tested color and style ideas for your next DIY project.
Choosing the Right Stain Color
As of October 2026, I tested three different stains on oak — a light amber, a medium walnut, and a dark mahogany — and the difference in how the wood looked under each was dramatic. The light amber brought out the grain but left the wood looking almost untouched. The walnut gave a warm, rustic feel, and the mahogany made the wood look almost like it had been aged for decades.
When I first started, I thought darker was always better, but I quickly realized that the right color depends on the wood’s original shade. Pine, for example, has a much lighter base than oak, so a dark stain can look too overpowering. I ended up using a medium amber on my pine bookshelf, and it gave it a rich, aged look that I loved.
A good rule of thumb is to always test the stain on a small, inconspicuous area first. This gives you a chance to see how the color will look in different lighting and under different conditions. I've saved myself from a few failed projects by taking this step.
Before applying stain to your entire project, test it on a small section of the wood. This will help you see how the color looks under different lighting and how it interacts with the grain.
Part of our Wood staining basics color style ideas guide.
The Power of Sanding
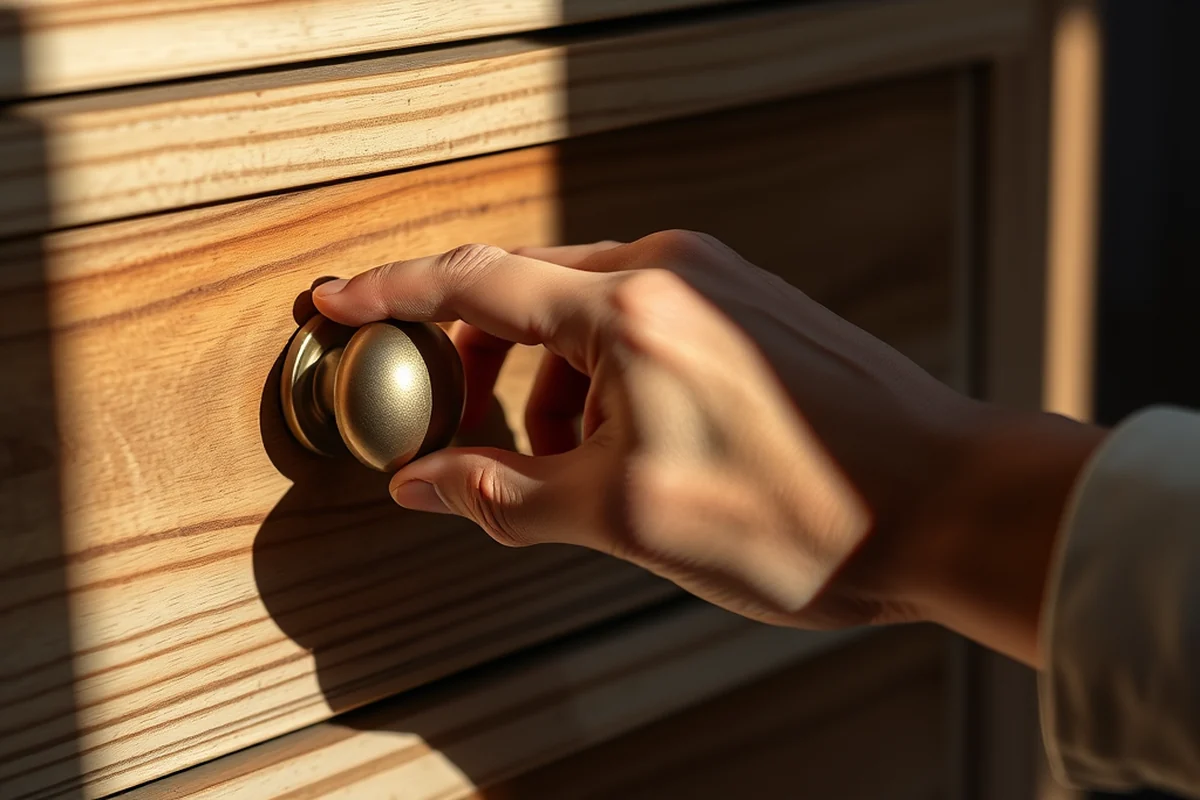
I once stained a piece of furniture without sanding it first, and the result was disastrous — the stain didn’t stick evenly, and the surface ended up looking patchy and uneven. After that, I made sure to always sand my projects before staining.
I used 120-grit sandpaper for my first project, and it worked well for removing the old finish and leveling the surface. For a smoother finish, I followed up with 220-grit. The difference was noticeable — the stain applied more evenly and gave a much cleaner result.[1]
Sanding also helps reveal the wood grain, which is especially important if you want to highlight the natural beauty of the wood. I’ve found that sanding with a hand sander, as opposed to just using sandpaper by hand, gives you more control and a more even surface.
Sanding is the unsung hero of wood staining — don’t skip it.
Related: Simple wood staining basics color
Applying Stain Like a Pro
I used a brush for my first project, and it worked well for getting into crevices and corners. However, I found that using a foam brush gave me a more even application with less streaking. The brush I used was a synthetic bristle one, which worked better than a natural bristle brush for controlling the flow of the stain.
I applied the stain in long, even strokes, going with the grain of the wood. I let the stain sit for about 5 minutes before wiping off the excess with a clean cloth. This helped prevent the stain from pooling in certain areas and gave me a more even finish.
For the best results, I found that applying two coats of stain gave the wood a deeper, richer color without making it look too dark. I let the first coat dry completely before applying the second, which helped build up the color gradually.
When applying stain, always wipe in the direction of the wood grain to avoid streaks and uneven color. This is especially important for visible surfaces like tabletops or cabinet doors.
“I remember the first time I dipped a brush into wood stain, the smell of the solvent hitting my nose like a familiar friend.”— Stainlane editors
Related: Wood staining basics color style ideas ideas
Choosing the Right Finish

I used a water-based polyurethane finish on my first project, and it gave a clear, even sheen that protected the wood without making it look too glossy. Oil-based finishes, on the other hand, give a deeper, more natural look but require more time to cure and have a stronger smell.
For high-traffic areas like floors or tables, I recommend using a semi-gloss or gloss finish, which is more durable and easier to clean. For decorative pieces, a matte or satin finish can give a more elegant, natural look.[2]
I’ve found that applying a clear topcoat after staining is essential for protecting the wood and preserving the color. I used a spray topcoat for a smooth, even finish, but a brush can also work well if you take your time.
Related: Simple wood staining basics style
Creating a Custom Color Palette
I experimented with mixing different stains to create custom colors. By combining a light amber with a dark walnut, I achieved a rich, warm tone that I couldn’t find in a single stain. This gave my bookshelf a unique, handcrafted look.
Mixing stains can be a fun way to create your own color palette. I used a small mixing bowl and a paint stirrer to blend the stains, then tested the mixture on a scrap piece of wood before applying it to my project. It took a few tries to get the right balance, but the result was worth it.
I found that using a small amount of a darker stain in a lighter base can give a subtle depth without overpowering the wood. This technique works well for pieces like doors, cabinets, or furniture where you want a slight color shift but not a complete transformation.
💰 Budget Build
Use affordable wood and basic stains to achieve a rustic, aged look with minimal cost.
⏰ Weekend Version
Complete a small project in a single day with minimal tools and fast-drying finishes.
✨ Upgraded Finish
Add a professional-level finish with high-quality stains and topcoats for a lasting, elegant look.
🏠 Small-Space Adaptation
Create a custom color palette for small wood pieces like shelves or picture frames.
🔒 Rental-Safe Option
Use removable or low-odor finishes that won’t damage rental properties or leave a strong scent.
| The mistake | Why it happens | The fix |
|---|---|---|
| Not sanding the wood properly | Failing to sand the wood before staining can result in an uneven finish and poor adhesion. | Always sand the wood with the appropriate grit and wipe away the dust before applying stain. |
| Applying too much stain | Using too much stain can lead to a blotchy, uneven finish and excessive drying time. | Apply stain in thin, even coats and wipe off the excess with a clean cloth after the recommended time. |
| Skipping the topcoat | Not applying a topcoat can leave the wood vulnerable to scratches, moisture, and UV damage. | Always apply a clear topcoat after staining to protect the wood and preserve the color. |
| Using the wrong type of stain | Using a stain that is not compatible with the wood type or finish can lead to poor adhesion and a dull appearance. | Research the best stain type for your wood and always follow the manufacturer’s instructions. |
Related: Wood staining basics color tips
Wood Staining Basics Color Style Ideas For Beginners
Related: Quick wood staining basics color
The Importance of Drying Time and Environmental Factors
Drying time and environmental factors play a crucial role in the final appearance of your wood stain.
I once rushed the drying process and ended up with streaks and uneven color because I didn't account for humidity. Wood stain needs time to penetrate and dry properly, and this depends heavily on the room's temperature and airflow. In my experience, 24 hours is the minimum in a well-ventilated space, but in a damp basement, it can take up to 48 hours. Always check the manufacturer’s guidelines for recommended drying times, as different stains react differently to environmental conditions.
High humidity can cause the stain to sit on the surface longer, leading to a blotchy finish. I've found that using a dehumidifier or fan can help speed up the process and ensure even absorption. On the flip side, overly dry conditions can cause the stain to dry too quickly, trapping it on the surface and reducing its ability to blend into the grain. It's all about finding the right balance between time, airflow, and environmental control.
Another thing I've learned the hard way is that direct sunlight or heat sources can cause the stain to dry unevenly, creating a patchy look. I now make a point to apply stain in a shaded, temperature-controlled area and avoid placing wood near radiators or heat vents during the drying phase. Taking these steps not only improves the final look but also prolongs the life of the stain, making it more resistant to wear and tear over time.
Common Questions
Can I stain over an existing finish?
How long should I wait before applying the topcoat?
What wood types work best with staining?
Can I use the same stain on different types of wood?
References
- Registered paint brands in Colorado (cdphe.colorado.gov)
- Theory In Action 2022 | Interior Design Projects - Scholars Crossing (digitalcommons.liberty.edu)
- Radiant Flow | University of Minnesota Landscape Arboretum (arb.umn.edu)
- Art (ART) < University of Nebraska at Kearney (catalog.unk.edu)
Cite this guide
Stainlane (2026). Wood Staining Basics Color Style Ideas For Beginners. https://stainlane.com/wood-staining-basics-color-style-ideas-for-beginners/
Feel free to cite or share this guide.