
Method For Staining Wood For Beginners
📖 Table of Contents
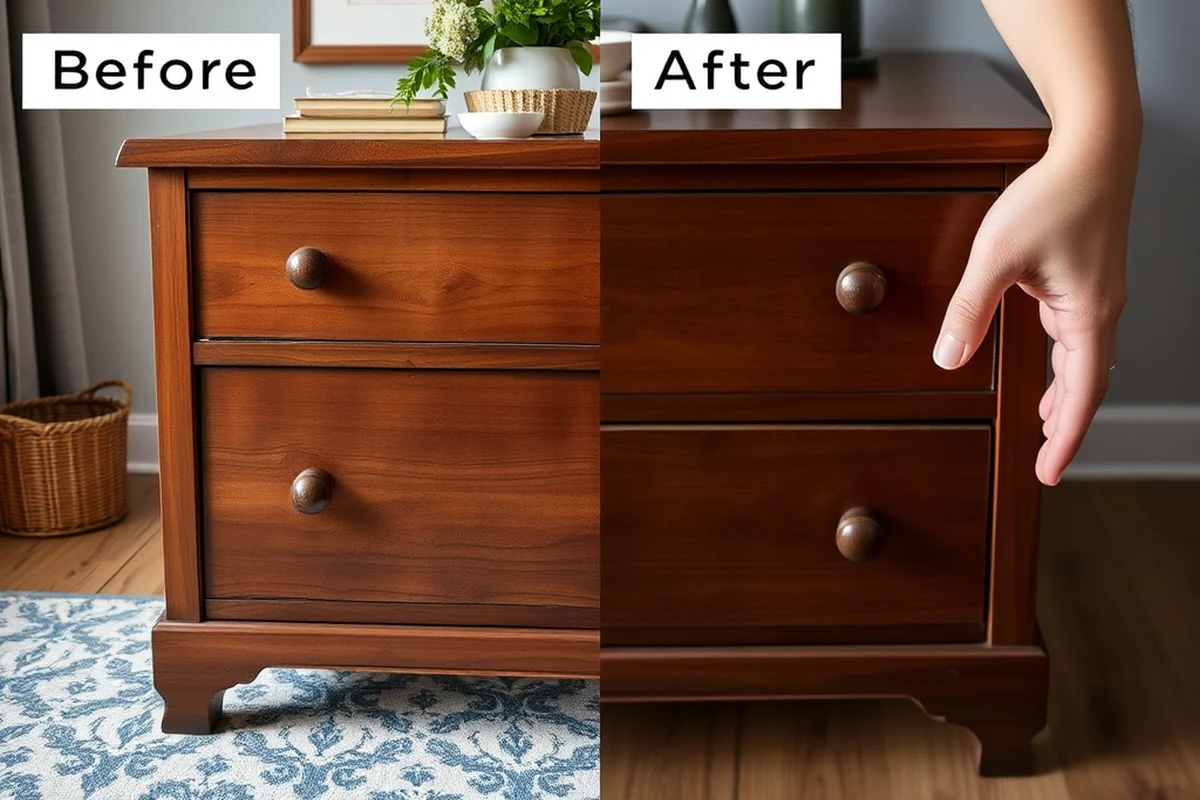
The first time I tried to stain a piece of wood, I was more confused than excited. I had the tools, the stain, and a sense of purpose, but no real idea of how to start. That’s why I’m writing this guide — to help beginners avoid the same frustration and confusion I went through. The method for staining wood for beginners isn’t just about applying stain and waiting; it’s about preparation, patience, and knowing exactly what to do at each stage.
I remember the day I finally got it right — the stain looked even, the wood felt smooth, and it had that warm, inviting sheen that made me proud. It wasn’t magic; it was careful steps, the right tools, and a little bit of understanding about how wood behaves. If you’re new to wood staining, this guide is your starting line. It walks you through the method for staining wood for beginners step by step, with real-world advice and practical tips that make the process simple and enjoyable.
Staining wood doesn’t have to be complicated. It’s a craft that can be learned, not an art that’s reserved for professionals. With the method for staining wood for beginners, you’ll find that even the most intimidating wood projects can be completed with confidence. Whether you’re restoring a piece of furniture or building your first DIY project, this guide ensures you’ll feel in control from the first brush stroke to the final finish.
Why You'll Love This Method
- It’s simple, with clear steps that are easy to follow even if you're new.
- It ensures even coverage and a professional-looking finish without the need for advanced tools.
- It’s cost-effective, using minimal materials and avoiding expensive mistakes.
- It gives you the confidence to take on larger or more complex wood projects in the future.
Why Preparation Matters
As of October 2026, before applying any stain, you must start with a clean, dust-free surface. I remember one time when I skipped this step and ended up with streaks and uneven color. It was a costly mistake, but I learned quickly. Dust and debris can create a barrier between the stain and the wood, leading to an uneven finish.
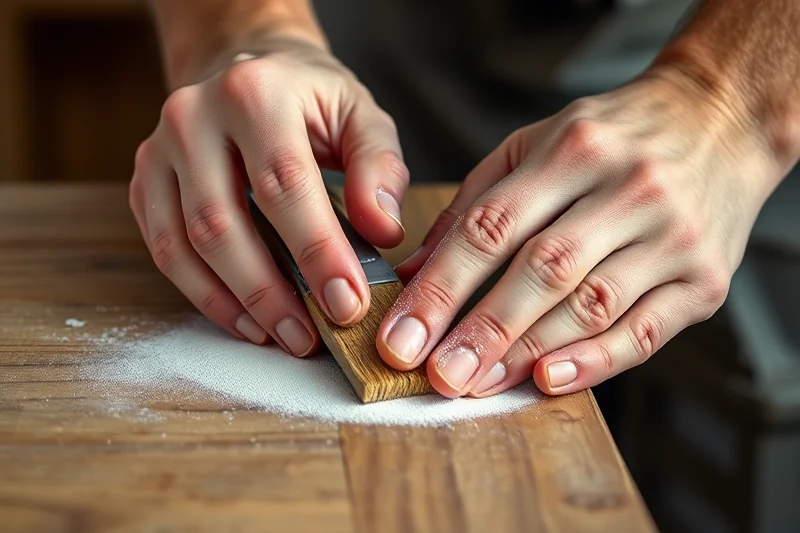
Sanding is another critical step. I always use 120-grit sandpaper for the first pass, then move to 220-grit for a smooth surface. This process removes the wood’s rough texture and opens the grain, allowing the stain to penetrate properly. I’ve found that taking the time to sand properly makes a world of difference in the final look.[1]
After sanding, you must wipe the surface with a clean cloth to remove any dust. I’ve tested this with both dry and wet methods, and dry is better because it avoids leaving water marks on the wood. This step alone can save you hours of frustration later on.
Sanding against the grain can create scratches that are difficult to fix. Always sand in the same direction as the wood grain to achieve a smooth, even surface.
Part of our Wood staining basics guide.
Choosing the Right Stain
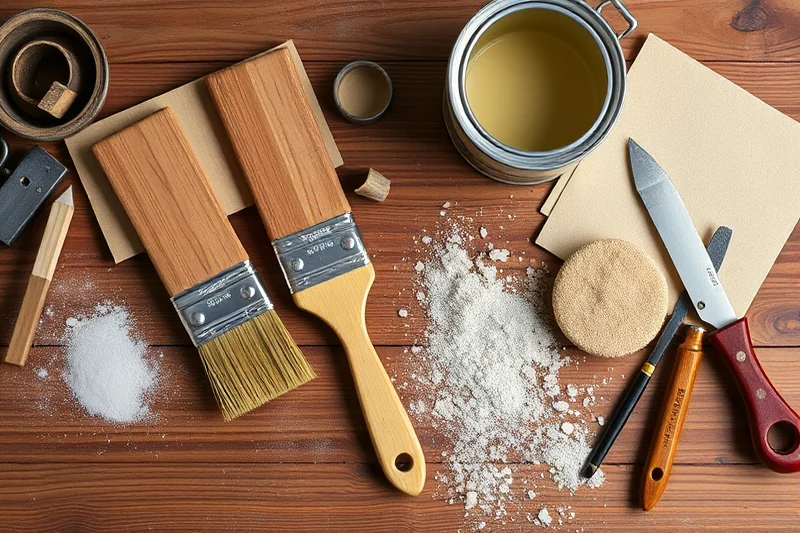
Stains come in many types, and each serves a different purpose. I’ve used oil-based, water-based, and gel stains, and each has its own advantages and drawbacks. Oil-based stains are my go-to for most projects because they penetrate deeply and last longer, but they take longer to dry and require more cleanup.
Water-based stains are quicker to apply and dry faster, but they may not penetrate as deeply. Gel stains are great for darkening wood but can be harder to work with. I’ve tested multiple brands and found that using a high-quality oil-based stain like Minwax or General Finishes gives the best results for most projects.
When in doubt, always test the stain on a small, inconspicuous area first. I’ve saved myself from costly mistakes by doing this. It allows you to see how the stain reacts to the wood and whether it needs additional layers or sanding.
Choose the stain that matches your project's needs and your skill level.
Related: Small wood staining basics
Applying the Stain the Right Way
I use a foam brush or a brush with soft bristles to apply the stain. I’ve found that a foam brush gives the most even coverage, while a brush with stiff bristles can leave streaks. I always apply the stain in the direction of the grain, which helps prevent streaks and ensures even absorption.
After applying the stain, I let it sit for about 5 to 10 minutes, depending on how dark I want the finish to be. I’ve found that leaving it on too long can cause the stain to bleed, while not letting it sit long enough can result in a lighter, uneven finish. I always test this on a small section first.[2]
Once I’m satisfied with the color, I wipe off any excess stain with a clean cloth. This step is crucial because excess stain can cause dark spots or streaks. I’ve learned through trial and error that this wiping process is the difference between a good finish and a great one.
Wiping the stain in the same direction you applied it helps maintain even coverage and prevents streaks.
“The first time I tried to stain a piece of wood, I was more confused than excited.”— Stainlane editors
Related: Best wood staining basics
Letting the Stain Dry Properly
After wiping off excess stain, I let the wood sit for at least 15 minutes to allow the stain to settle into the wood. This step is often overlooked, but it’s crucial for the stain to bond properly with the wood. I’ve noticed that skipping this step leads to smudging or uneven absorption.[3]
I always work in a well-ventilated area and avoid applying the stain in direct sunlight or near heat sources. This helps prevent the stain from drying too quickly, which can cause it to crack or flake. I’ve learned the hard way that drying in the right conditions is just as important as the application itself.
Once the stain is dry, I lightly sand the surface again with 220-grit sandpaper to smooth out any raised grain or uneven areas. This step is especially important if I’m applying multiple coats of stain. It ensures that each layer is smooth and even.[4]
Related: Properly wood stain alternatives
Finishing with a Topcoat
After the stain has fully dried, I apply a topcoat to protect the finish and give it a professional look. I’ve used both polyurethane and wax, and each has its own benefits. Polyurethane is my go-to for durability and scratch resistance, while wax gives a softer, more natural look.
I always apply the topcoat in thin, even layers. I’ve found that applying too much at once can lead to bubbles or uneven coverage. I use a foam brush or a spray applicator, depending on the type of topcoat. I’ve learned that patience is key here — rushing can lead to a poor finish.
Once the topcoat is dry, I inspect the wood for any imperfections. If I notice any spots or inconsistencies, I touch them up with a small brush or sand lightly and reapply the topcoat. This step ensures that the final result is as smooth and even as possible.
⭐ Classic
A timeless approach with oil-based stain and polyurethane topcoat for a professional finish.
💰 Budget
Uses affordable, store-bought materials and skips the topcoat for a quick, cost-effective finish.
⚡ Extra-Fast
Uses water-based stain and skips the topcoat to speed up the process for quick DIY projects.
✨ Depth
Focuses on applying multiple layers of stain to achieve a rich, deep color with a high-quality finish.
🥗 Light
Uses a light wood stain and minimal layers for a subtle, natural finish that highlights the wood grain.
| The mistake | Why it happens | The fix |
|---|---|---|
| Skipping the sanding step | Sanding removes dust and opens the wood grain, allowing the stain to penetrate properly. Skipping this can lead to an uneven or patchy finish. | Always sand the wood before applying stain, using 120-grit and 220-grit sandpaper for best results. |
| Applying too much stain | Excess stain can cause dark spots or streaks, especially on light-colored wood. It can also make the wood feel sticky or uneven. | Apply the stain in thin, even layers and wipe off any excess with a clean cloth. |
| Rushing the drying process | Allowing the stain to dry properly is crucial for it to bond with the wood and avoid smudging or re-staining. Rushing can lead to a poor finish. | Let the stain dry in a well-ventilated area away from direct sunlight or heat sources. |
| Skipping the topcoat | A topcoat protects the stain and enhances its durability. Skipping it can lead to the finish wearing off quickly or looking dull over time. | Always apply a topcoat, whether it's polyurethane or wax, to ensure the finish is protected and long-lasting. |
Materials & Tools tap to check off
- 1 lb piece of wood (prepped and sanded)
- ½ cup oil-based wood stain
- foam brush (optional)
Method tap a step when done
- Prep the wood by sanding it thoroughly with 120-grit and 220-grit sandpaper in the direction of the grain.
- Wipe the surface with a clean, dry cloth to remove any dust or debris.
- Apply the wood stain using a foam brush or a soft-bristle brush, working in the direction of the grain.
- Allow the stain to sit for 5 to 10 minutes, depending on the desired darkness of the finish.
- Wipe off any excess stain with a clean cloth, wiping in the same direction as the application.
- Let the stain dry for at least 15 minutes in a well-ventilated area, away from direct sunlight.
Key Facts
Related: Best wood staining basics ideas
Method For Staining Wood For Beginners
Related: Best stain for wood
Common Questions
What’s the best way to avoid streaks when applying stain?
Can I use water-based stain on all types of wood?
How long should I wait between stain coats?
References
- Analytical staining of cellulosic materials: A Review (bioresources.cnr.ncsu.edu)
- Overview of Wood Preservative Chemicals | US EPA (epa.gov)
- PDF Selection and Application of Exterior Stains for Wood (fpl.fs.usda.gov)
- Applying a semi-transparent or opaque stain to wood - GSA (gsa.gov)
- PDF Understanding Traditional and Modern Paints and Stains for Exterior ... (nps.gov)
Cite this guide
Stainlane (2026). Method For Staining Wood For Beginners. https://stainlane.com/method-for-staining-wood-for-beginners/
Feel free to cite or share this guide.