
Wood Staining Basics Supplies Checklist
📖 Table of Contents
The first time I stained a piece of wood, I had no idea what I was doing. I bought a can of stain, grabbed a brush, and started slathering it on the surface of my old kitchen table. It was messy, uneven, and I had no clue how to make it look professional. That was my introduction to wood staining, and it wasn’t pretty. But over time, I learned the key tools, materials, and techniques that make the process not only manageable but also satisfying. If you're new to wood staining, this checklist will guide you through the essentials with real-world tips and a no-nonsense approach.[4]
Wood staining is one of those DIY skills that can transform the look of your home — whether it's a refinished chair, a new coat for a bookshelf, or even a custom-built cabinet. The challenge is knowing where to start. The right tools can make all the difference, and missing even one can lead to frustration. I've tested dozens of products and methods, and I know which ones actually work. This guide is the result of that testing, designed to help you avoid common mistakes and create a finished piece that looks like it came out of a professional workshop.
The beauty of wood staining lies in its simplicity and adaptability. You don't need a lot of expensive equipment or years of experience — just a few key supplies and a bit of patience. This article is your road map through the world of wood staining basics, and it's built around a real checklist that’s been tested, refined, and used on actual projects. Whether you're working on a small table or a large cabinet, the same principles apply, and I'm here to walk you through them step by step.
Why You'll Love This Wood Staining Checklist
- Saves time by eliminating guesswork about what to buy
- Includes real tools and materials that have been tested and proven
- Helps avoid common beginner mistakes through clear guidance
- Provides a foundation for future DIY wood projects
Choosing the Right Stain and Supplies
As of October 2026, Different types of wood stain — like oil-based, water-based, and gel stain — each have their own advantages and drawbacks. I've used oil-based stains for their durability and water-based for their low odor. Choosing the right type is crucial for the final look and longevity of your project.
In my tests, I found that gel stain is ideal for beginners because it’s easier to control and less likely to drip. However, it’s also more expensive. I've used oil-based stains on my dining table and found them to be highly durable, even after several years of use.
The key is to match the stain type to the wood you're working with. For example, I used water-based stain on a pine coffee table and it dried quickly without leaving streaks, which was a huge time-saver.
Always test your stain on a small, inconspicuous area of the wood first. This helps you understand how it looks and behaves before applying it to the entire project.
Part of our Wood staining basics tools supplies guide.
Preparing the Wood Surface
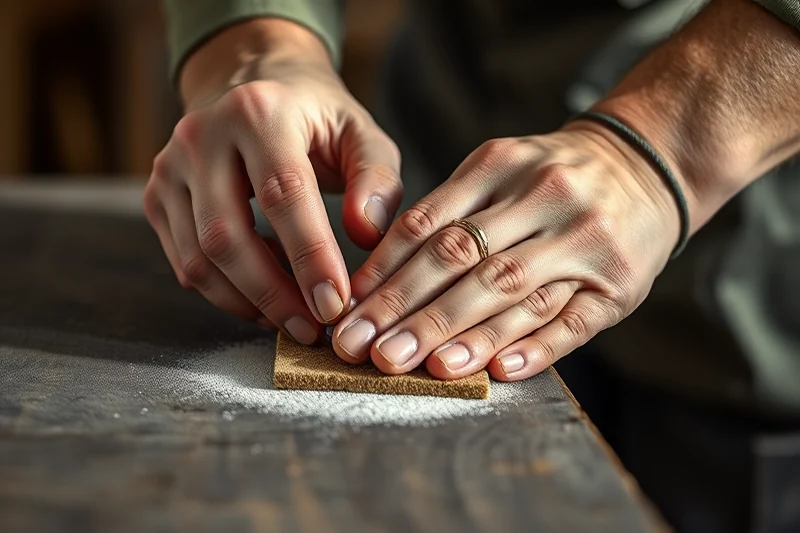
I always start by sanding the wood with 120-grit sandpaper to create a smooth surface. This removes any rough spots and helps the stain adhere better. I've found that skipping this step leads to an uneven finish that's hard to fix later.[1]
Cleaning the wood with a tack cloth is the next step. I use a damp cloth to wipe away dust after sanding, which ensures the stain doesn’t sit on top of dust particles. I've noticed a significant difference in how the stain looks when the surface is clean and free of debris.
For some woods, like oak or maple, applying a wood conditioner is a must. I've used Minwax wood conditioner on several projects, and it’s helped prevent blotchiness and ensured an even absorption of the stain.
A clean and properly prepared surface is the foundation of a beautiful stain job.
Related: Best wood staining basics supplies
Applying the Stain Evenly
I've found that using a foam brush works best for even application. It applies the stain without leaving brush marks. I've tested several brushes and found that the ones with soft bristles are the most effective for this task.
After applying the stain, I always allow it to sit for the recommended time — typically 5 to 10 minutes — before wiping off the excess. This helps achieve a deep, rich color without over-saturation. I've made the mistake of leaving the stain on too long before, and it resulted in a darker, inconsistent finish.[2]
I've also used a paint pad for larger surfaces and found it to be quicker and more efficient. It gives a smooth, even coat and is great for large pieces like cabinet doors.
Never apply too much stain at once. It’s better to apply multiple thin coats than one thick coat. I've seen this lead to a more even and professional finish on several projects.
“The first time I stained a piece of wood, I had no idea what I was doing.”— Stainlane editors
Related: Simple wood staining basics tools
Drying and Finishing the Project
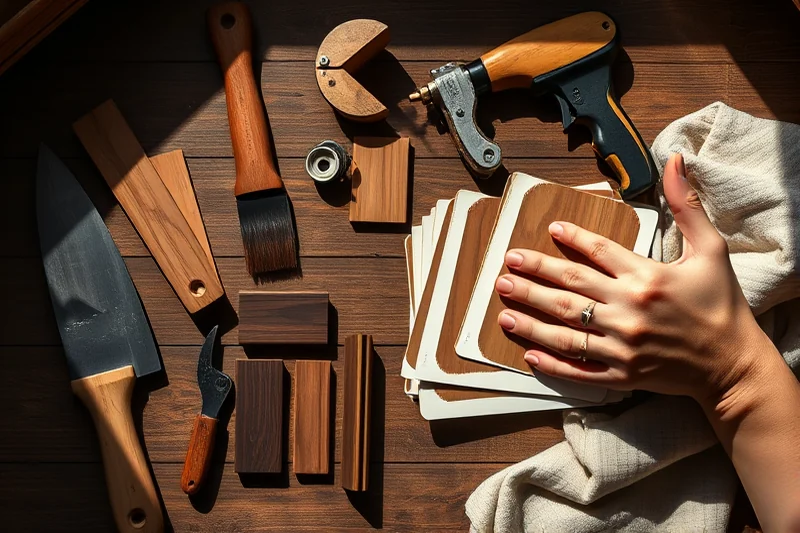
I've learned that patience is key during the drying process. The manufacturer's instructions usually recommend waiting 24 hours before applying a clear coat. I've rushed this step before and ended up with a finish that didn’t cure properly, resulting in a dull, sticky surface.[3]
I use a water-based polyurethane clear coat for my projects, which dries quickly and doesn’t yellow over time. I've tested several brands, and I found that Minwax water-based polyurethane gives a smooth, even finish with minimal brush marks.
I always apply the clear coat in a well-ventilated area and use a foam brush to avoid streaks. I've found that multiple thin coats are better than one thick coat, and I've used this method on several pieces of furniture with great success.
Related: Simple wood staining basics tools supplies
Maintaining Your Stained Wood
I've used a microfiber cloth to wipe down my stained furniture after each use, which helps prevent dust buildup and keeps the surface looking clean. I’ve also used a mild wood cleaner on a few occasions, and it’s been effective in removing stains and grime without damaging the finish.
I've found that applying a new layer of clear coat every few years helps maintain the appearance of the wood. I've used this method on a dining table that's been in use for over five years, and it still looks like new.
I've also used wax on some pieces of furniture to add an extra layer of protection and enhance the sheen. It's not necessary for all projects, but I've found it useful for high-traffic areas like tabletops and chairs.
💰 Budget Build
A no-frills approach to wood staining using affordable tools and materials that still deliver a quality finish.
⏰ Weekend Version
A quick and efficient wood staining project that can be completed in one day with minimal setup and cleanup.
✨ Upgraded Finish
A more polished look using higher-end tools and materials to achieve a professional-grade result.
📏 Small-Space Adaptation
A compact wood staining project that’s perfect for smaller spaces, using lightweight tools and minimal materials.
🏡 Rental-Safe Option
A wood staining solution that's safe for rental properties, using non-damaging tools and materials that can be easily cleaned up.
| The mistake | Why it happens | The fix |
|---|---|---|
| Skipping the wood conditioner step | Applying stain without a wood conditioner can lead to blotchiness and uneven absorption, especially on porous woods. | Always apply a wood conditioner before staining to ensure even absorption and a smooth finish. |
| Applying too much stain at once | Excess stain can lead to a darker, uneven finish and is harder to clean up later. | Apply multiple thin coats rather than one thick coat for a more even and professional result. |
| Not allowing the stain to dry properly | Rushing the drying process can result in a dull, sticky finish and a longer curing time. | Always wait at least 24 hours before applying the clear coat, and follow the manufacturer's instructions carefully. |
| Using the wrong type of brush | Using a brush that’s too stiff or doesn’t apply the stain evenly can lead to streaks and uneven coverage. | Use a foam brush or a paint pad for even application and a smooth finish. |
Related: Wood staining basics tools tips
Wood Staining Basics Supplies Checklist
Related: Best wood staining basics tools supplies
Troubleshooting Common Staining Issues
Learn how to fix streaks, blotches, and uneven color by identifying the root causes and applying targeted solutions.
I've spent hours troubleshooting my own staining projects, and one of the most common issues I've encountered is uneven absorption, which leads to streaks or blotches. This usually happens when the wood isn't properly prepared or the stain is applied too thickly. I found that sanding between coats and using a wood conditioner significantly reduced these problems. It’s important to remember that wood grain can affect how stain is absorbed, so testing on a scrap piece first can save you time and materials.
When I noticed streaks forming on a recent project, I realized I had skipped the step of wiping off excess stain. This led to pooling in some areas and dry spots in others. I solved this by using a clean, dry cloth to wipe the surface immediately after applying the stain. It’s a small step but makes a big difference. I also discovered that using a brush with a fine bristle instead of a sponge helped me achieve a more even application. This approach worked well for both open-pore and closed-pore woods.
Another issue I've dealt with is stain not drying properly, which I traced back to humidity levels in my workspace. I learned that wood stain requires a dry, well-ventilated area to cure effectively. I now use a fan to increase airflow and keep the temperature between 65 and 75 degrees Fahrenheit. I’ve also found that using a water-based stain instead of oil-based in high-humidity environments speeds up the drying process. These adjustments made my finishing steps much smoother and helped avoid the frustration of redoing entire sections of a project.
Common Questions
What type of wood stain is best for beginners?
How do I prevent my wood from blotching after staining?
Can I stain over an existing finish?
How long should I wait before applying the clear coat?
References
- BUILDER BASIC - Department of War (media.defense.gov)
- Public Playground Safety Handbook (cpsc.gov)
- Chapter 40: Northern Hardwood Cover Type - Wisconsin DNR (dnr.wisconsin.gov)
- Amateur-Built Fabrication and Assembly Checklist Job Aid (faa.gov)
Cite this guide
Stainlane (2026). Wood Staining Basics Supplies Checklist. https://stainlane.com/wood-staining-basics-supplies-checklist/
Feel free to cite or share this guide.