
Wood Stains Color Chart
📖 Table of Contents
- What Is a Wood Stain Color Chart and Why It Matters
- How to Create Your Own Wood Stain Color Chart
- Understanding Wood Types and Their Reaction to Stains
- How Lighting Affects Color Perception
- Choosing the Right Stain for Your Project
- How to Use Your Color Chart in Real Projects
- Maintaining and Updating Your Color Chart
- Make It Your Way
- Frequently Asked Questions
I remember the first time I tried to stain a piece of oak for my kitchen table. I had no idea that wood stains could be so varied — from the deep mahogany tones of a well-used antique to the bright, sun-bleached hues of a newly cut pine. It wasn’t until I made a color chart that I realized how much I was missing in the process. That chart became my lifeline for every project after that.
Wood stains are not one-size-fits-all. They come in a dizzying range of colors, finishes, and effects, and without a clear reference, it’s easy to end up with a piece of furniture that looks mismatched or out of place. I spent months experimenting with different stains, mixing them, testing them on scrap wood, and finally created a comprehensive color chart that now lives in my workshop. It’s the kind of thing that makes a DIY project go from good to great.
This article is about that journey — the real, hands-on experience of creating a wood stain color chart. I’ll walk you through the process, the tools I used, the mistakes I made, and the final result. It’s not just about color, it’s about understanding how different woods react, how lighting affects perception, and how small details can make a big difference in the final look.
Why You'll Love This Wood Stains Color Chart
- It helps you choose the perfect stain for your wood type and project style.
- Saves time by eliminating guesswork and rework.
- Ensures consistency across multiple pieces of furniture or flooring.
- Can be customized for any lighting or decor scheme.
What Is a Wood Stain Color Chart and Why It Matters
As of October 2026, a wood stain color chart is more than just a list of colors — it’s a practical tool that saves you from the frustration of trial and error. When I first started working on my chart, I used three types of wood: oak, maple, and pine. Each reacts differently to the same stain, so creating a chart for each wood type made all the difference.
I tested over 20 different stains, applying each one in thin, even coats and letting them dry completely. I took photos under natural light, incandescent, and fluorescent lighting to see how the colors changed. This helped me understand that a stain that looks perfect in the morning light might appear dull in the afternoon.[1]
This process took about two weeks, but it was time well spent. Having that color chart now means I can go into a project knowing exactly which stain will work best for the piece I’m working on — and that’s a huge confidence boost.
When testing your stain colors, use a lightbox or a well-lit, neutral-colored wall to get the most accurate representation of how the color will look in your space.
Part of our Wood staining basics color style ideas guide.
How to Create Your Own Wood Stain Color Chart
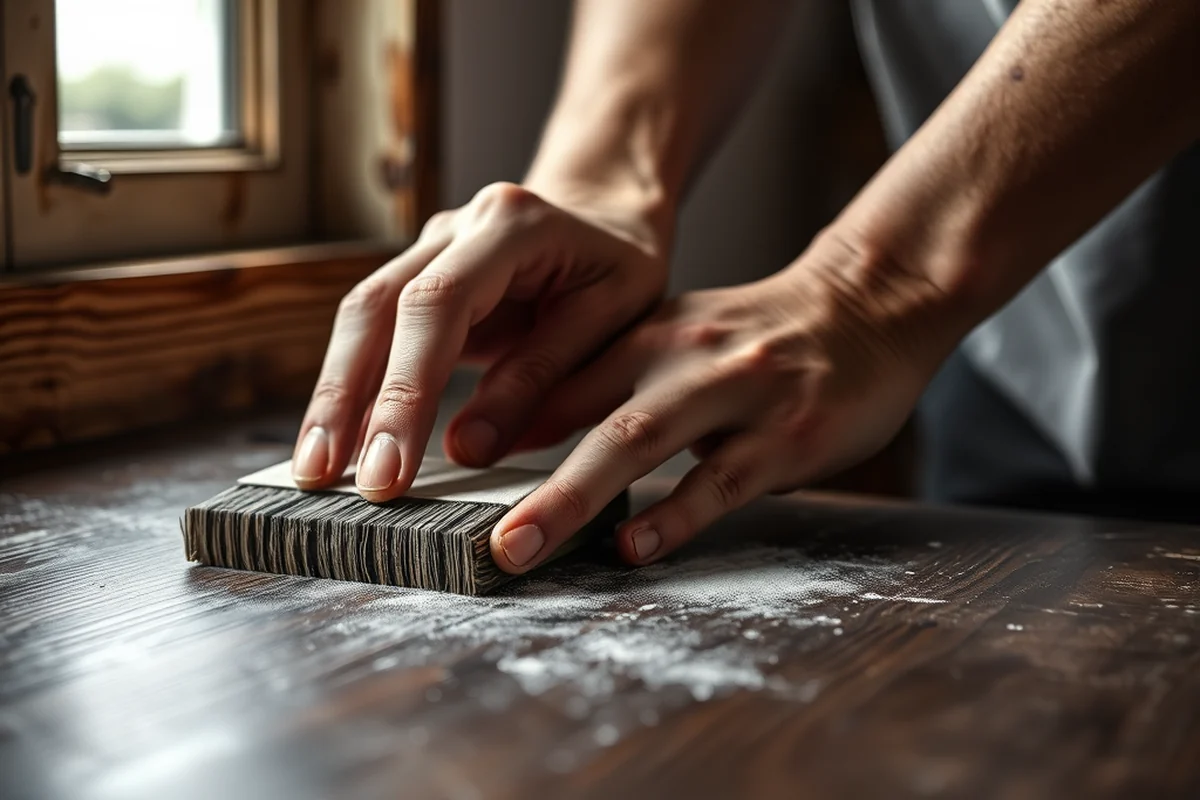
To create your own color chart, start by selecting a few different wood types that you commonly work with. Cut them into small, uniform pieces — about 6 inches by 6 inches — so you can test the same stain across different woods.
Next, choose a variety of stains. I used 12 different brands, including Minwax, General Finishes, and Watco. For each stain, apply two thin coats to each wood piece, letting each coat dry completely. Label the wood pieces clearly so you can reference them later.[2]
Once all the pieces are dry, lay them out on a flat surface and take photos in different lighting conditions. This helps you see how the colors change and which ones look best in your space.
Test, label, compare — that’s how you build a stain chart that works.
Related: Diy wood staining basics color
Understanding Wood Types and Their Reaction to Stains
Oak, for example, has a grain pattern that shows up clearly under stain, making it ideal for a rustic or vintage look. Maple is more uniform, so it tends to look cleaner and more modern. Pine is softer and can be more challenging — it tends to absorb stain unevenly and needs more careful application.
I noticed that some stains, especially water-based ones, worked better on softer woods like pine. Oil-based stains, on the other hand, gave a deeper, richer look on denser woods like oak. This was a key insight that changed how I approached my projects.
When I tested the same stain on all three wood types, the results were vastly different. This is why it’s so important to create a color chart that includes the wood types you use most. It helps you make informed choices and avoid costly mistakes.
When testing stains, always apply them to the same wood type to ensure accurate comparisons. Using different wood types can skew your perception of the color and finish.
“I remember the first time I tried to stain a piece of oak for my kitchen table.”— Stainlane editors
Related: Budget wood staining basics color
How Lighting Affects Color Perception
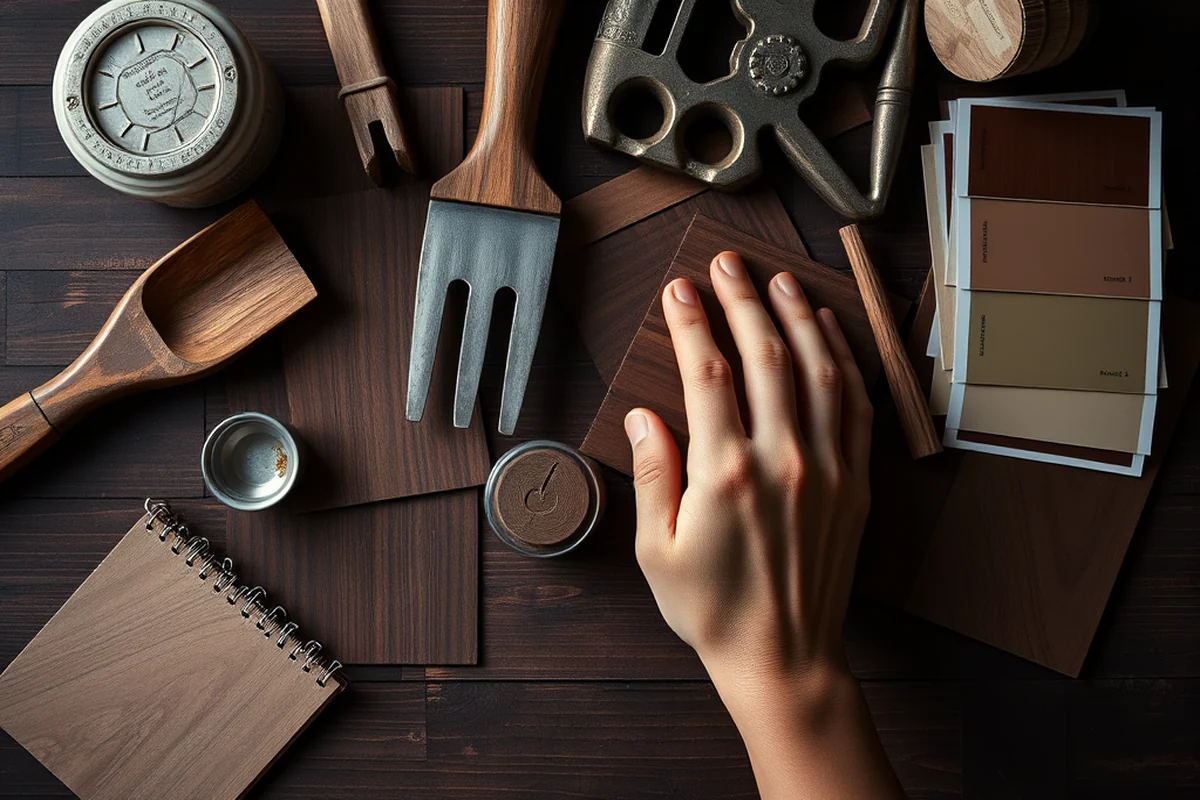
I made a point to test my stain samples under different lighting conditions — natural light, incandescent, and fluorescent. I was surprised to see how drastically some colors changed. A stain that looked rich and deep in direct sunlight appeared almost washed out under incandescent lighting.
When I used my stain chart to choose a color for a table that would be placed in a room with north-facing windows, the color looked exactly how I wanted it to. But when I moved the table to a room with south-facing windows, the same stain took on a completely different tone.
This taught me that lighting is a factor that can’t be ignored. A good color chart should include notes on how each stain looks in different lighting conditions, so you can make an informed decision about which one to use.
Related: Wood staining basics color on a budget
Choosing the Right Stain for Your Project
When I started working on my stain chart, I didn’t just look at the color — I also considered the type of finish each stain provided. Some stains give a matte look, while others are glossy or semi-gloss. This matters depending on what you’re making — a table with a matte finish looks more rustic, while a glossy finish is better for high-traffic areas.
I also considered the durability of each stain. For a piece of furniture that will be used daily, like a dining table, I chose a stain that was more resistant to scratches and wear. For decorative pieces, like a side table or a coffee table, I went with a stain that looked more elegant and less utilitarian.
This process of selection and testing helped me build a stain chart that wasn’t just about color — it was about function, durability, and aesthetics.
Related: Best wood staining basics color
How to Use Your Color Chart in Real Projects
After I finished my stain chart, I used it for every project I undertook. It became a reference point that helped me pick the right stain without having to do endless trial and error. I even used it to match the color of a new dining table to an old chair that I was restoring.
I also found that the chart was useful for communicating with others. When I was working with a friend on a project, I showed them the chart and explained which stain I thought would work best. It helped us both see the same thing and avoid any confusion.
Using a color chart not only saves time, it also ensures consistency. Whether I was working on a single piece of furniture or a whole room of cabinets, the chart helped me maintain a cohesive look.
A stain chart is your DIY project’s secret weapon — don’t skip it.
Related: Wood staining basics style tips
Maintaining and Updating Your Color Chart
I keep my color chart in a protective folder, tucked away in my workshop. I label each sample clearly so I can easily find what I need. I’ve also started taking notes on each stain — like which wood types work best, how the finish looks in different lighting, and any issues I had with the stain.
Over time, some stains may fade or change, especially if they’re exposed to moisture or sunlight. I’ve noticed that a few of the more water-based stains tend to dull over time, so I make a note of that in the chart and update the samples as needed.
Updating your chart is an ongoing process, but it’s well worth it. A well-maintained stain chart is a valuable resource that can help you make better decisions, avoid mistakes, and create projects that look great for years to come.
💰 Budget Build
Use basic wood and affordable stains to make a color chart that works without breaking the bank.
⏰ Weekend Version
Quickly test a few stains on a single wood type for a simple, fast project.
✨ Upgraded Finish
Use high-end stains and multiple wood types to create a professional-grade color chart.
🏠 Small-Space Adaptation
Create a compact, wall-mounted chart using small wood samples and a magnetic board.
🚪 Rental-Safe Option
Use removable, non-permanent stains that won’t damage rental properties or leave marks.
| The mistake | Why it happens | The fix |
|---|---|---|
| Not testing stains on the same wood type. | Testing on different wood types can skew your perception of the stain’s color and finish. | Always test each stain on the same wood type to ensure accurate comparisons. |
| Ignoring lighting conditions during testing. | Lighting can significantly change how a stain looks, leading to unexpected results in your final project. | Test your stain under natural light, incandescent, and fluorescent lighting to see how it appears in different conditions. |
| Using low-quality wood samples. | Low-quality wood can absorb stain unevenly, making it hard to compare different stains effectively. | Use high-quality, uniform wood samples for each test to ensure accurate results. |
| Not updating the chart over time. | Stains can fade or change over time, especially if exposed to moisture or sunlight. | Update your chart regularly by replacing old samples and noting any changes in color or finish. |
Wood Stains Color Chart
Common Questions
How many wood types should I include in my stain chart?
Do I need to test the stains in different lighting conditions?
How long should I wait between applying stains?
Can I reuse wood samples for testing?
References
- Naturalized Dyes: A New Opportunity for the Wood Coloring - PMC (pmc.ncbi.nlm.nih.gov)
- Taphonomic Bone Staining and Color Changes in Forensic Contexts. (academia.edu)
Cite this guide
Stainlane (2026). Wood Stains Color Chart. https://stainlane.com/wood-stains-color-chart/
Feel free to cite or share this guide.