
Wood Staining Basics Techniques Mistakes To Avoid
📖 Table of Contents
I remember the first time I tried to stain a piece of furniture in my small apartment. I thought it would be a quick, simple project—something I could knock out in an hour or two. But by the time I was done, I had a board that looked like it had been through a fire, and I was left with a sinking feeling that I had ruined it. That moment taught me the value of understanding the basics of wood staining. It's not just about applying a coat and calling it a day. It's about knowing the right tools, the right techniques, and the right mistakes to avoid.
Over the years, I’ve learned that wood staining is a delicate dance between patience and precision. Each step matters—how you prepare the wood, how you apply the stain, and how you finish it. One wrong move, and your project can go from looking like a craftsman's pride to a failed experiment. I’ve made mistakes, spilled stain, and even had a few boards that I had to throw out. But every failure taught me something, and now I can guide you through the process with real, tested knowledge.
What I’ve realized is that wood staining is a skill that can be mastered with the right information and practice. It's not about being an expert from the start, but about learning from your own mistakes and the mistakes of others. That’s why I’m writing this guide. I want to share the techniques that have worked for me, the mistakes I’ve made, and the lessons I’ve learned along the way. If you're just starting out, this article is your roadmap to success.[1]
Why You'll Love This Wood Staining Guide
- Avoid common mistakes that ruin projects from the start.
- Gain confidence with step-by-step techniques that work.
- Learn how to select the right tools for your project's needs.
- Understand how to apply stain for a professional-looking result.
The Importance of Wood Preparation
As of October 2026, before you even think about applying stain, you need to make sure your wood is clean, dry, and free of any contaminants. I once tried to stain a piece that had a layer of dust and grime on it, and the result was patchy and inconsistent. I had to sand it down again and start from scratch. That’s why I always use a degreaser and a clean cloth to wipe the wood down before I begin.
Sanding is another crucial step. I use a fine-grit sandpaper—usually around 220 grit—for a smooth surface. I’ve noticed that skipping this step or using too coarse of a grit can leave the wood feeling rough and make the stain look uneven. I always take the time to sand in the direction of the grain to avoid creating scratches.[2]
After sanding, I apply a wood conditioner. I’ve found that this step helps the stain absorb more evenly, reducing the chance of blotchiness. It’s not something I used to do, but after a few failed attempts, I learned that it’s a game-changer. It took me about 30 minutes to condition one board, but the result was worth it.[3]
Always use fine-grit sandpaper (220 grit) for a smooth finish. Coarser grits can leave scratches that show through the stain.
Part of our Wood staining basics step by step techniques guide.
Choosing the Right Type of Stain
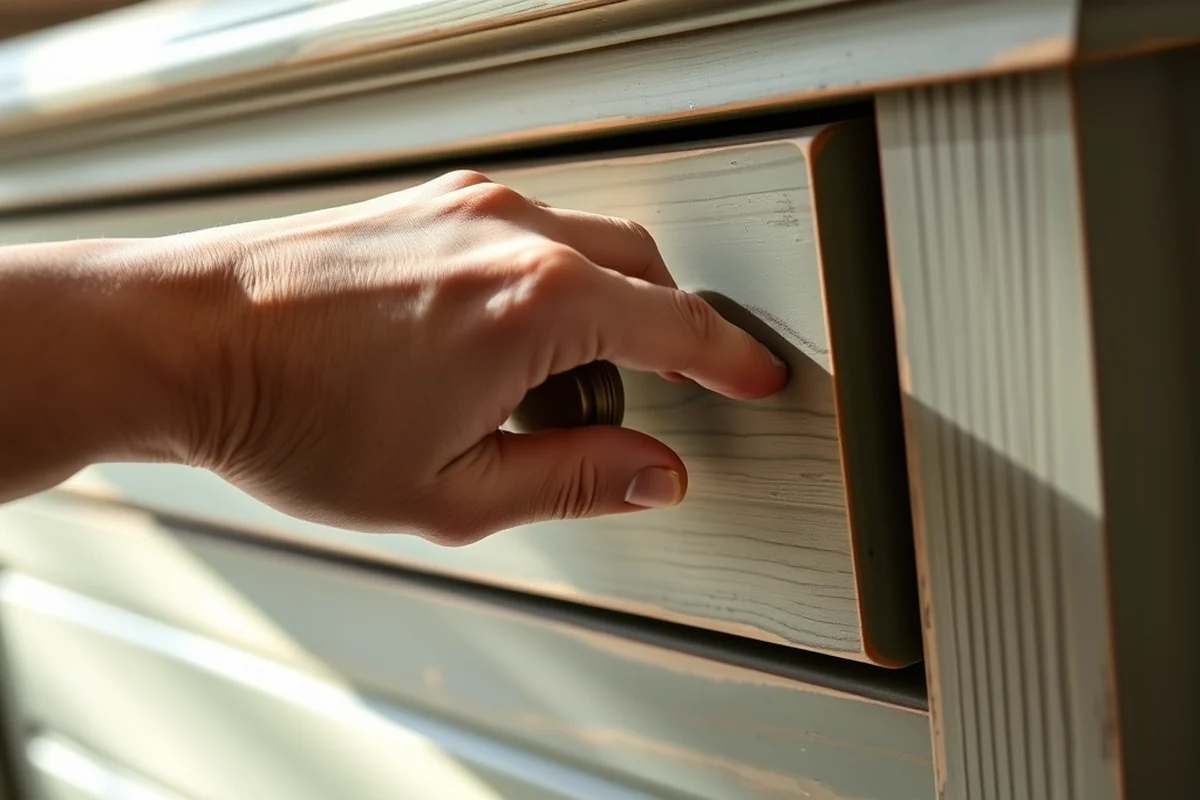
There are two main types of wood stains: oil-based and water-based. I’ve found that oil-based stains tend to give a deeper, richer color, but they take longer to dry and are harder to clean up. Water-based stains are easier to apply and dry faster, but they don’t have the same depth. I’ve used both, and I can tell you that the right choice depends on the type of wood and the look you’re going for.
I’ve also noticed that gel stains are great for vertical surfaces like cabinets and furniture. They don’t drip and are easier to control, which is a big plus when you’re working on a project that’s going to be used daily. I’ve tried gel stains on a few pieces and found that they give a more even finish without the need for multiple coats.
Another thing I’ve learned is that you can mix stains together to get a custom color. I experimented with mixing a dark walnut stain with a lighter oak stain and came up with a beautiful medium tone that was perfect for my project. It took some trial and error, but the result was worth the time.
Choosing the right type of stain is like picking the right shoes for a job—get it right, and the whole project comes together.
Related: Diy wood staining basics step by step techniques
Applying the Stain Correctly
I’ve made the mistake of applying too much stain, and it ended up pooling on the surface and creating a sticky mess. I’ve learned that a little goes a long way. I use a brush or a cloth to apply the stain in thin, even layers. I’ve found that a foam brush works best because it doesn’t leave brush marks.
Another thing I’ve noticed is that it’s important to work in the direction of the grain. I’ve seen others apply stain against the grain, and it’s immediately obvious from the finish. The wood looks uneven and unnatural. I’ve taken the time to brush in the direction of the grain, and it makes a huge difference in the final result.
I also make sure to wipe off any excess stain with a clean cloth right after applying it. This step helps prevent buildup and allows the stain to penetrate the wood properly. It takes a little extra time, but it’s worth it to ensure a smooth and even finish.
After applying the stain, wipe off any excess with a clean cloth immediately to prevent buildup and ensure even absorption into the wood.
“I remember the first time I tried to stain a piece of furniture in my small apartment.”— Stainlane editors
Related: Wood staining basics step checklist
Drying and Finishing the Stain
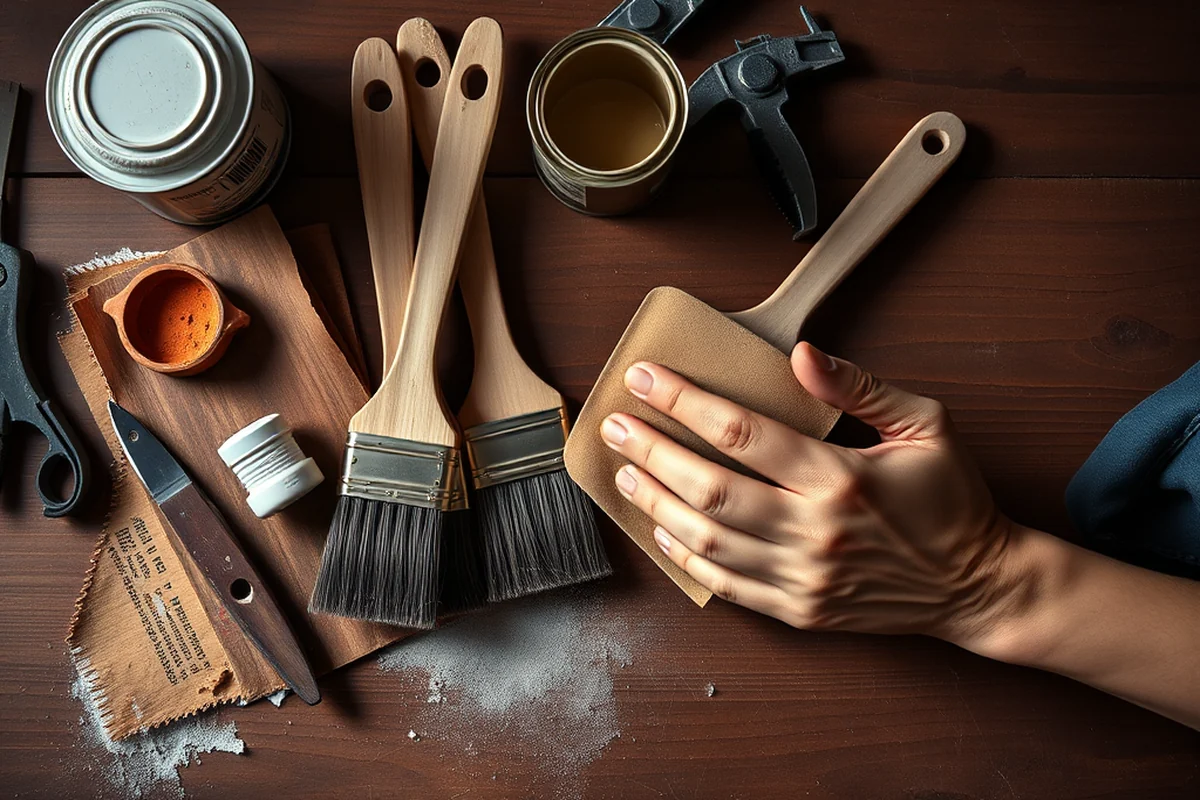
I’ve made the mistake of rushing the drying process, and I ended up with a piece that had a sticky finish. I’ve learned that patience is key. Depending on the type of stain you use, it can take anywhere from 24 to 48 hours to fully dry. I’ve found that oil-based stains take longer to dry than water-based ones, so I always factor that into my project timeline.
Once the stain is dry, I apply a clear finish to protect the wood. I’ve tried different types of finishes, including polyurethane and wax. I’ve found that polyurethane gives a harder, more durable finish, which is great for furniture that’s used daily. Wax is easier to apply but doesn’t last as long. I’ve used both and can tell you that the right choice depends on the type of project you’re working on.
I’ve also learned that it’s important to let the finish cure fully before using the piece. I once used a table that I had just finished, and it felt sticky and wasn’t ready for daily use. I had to wait a full week before using it, and it was worth the wait. Taking the time to let the finish cure properly ensures that your work lasts for years.
Related: Wood staining basics step by step techniques mistakes to avoid
Finishing Touches and Troubleshooting
I’ve found that sanding between coats can help achieve a smoother finish. I’ve used 220 grit sandpaper again after the first coat of stain and then applied a second coat. It makes the finish look more even and professional. It took me about 20 minutes to sand a small table, but the result was worth it.
Another thing I’ve learned is that it’s important to test the stain on a small piece of wood before applying it to the entire project. I once applied a stain that looked great on a small sample, but it turned out to be too dark for the actual piece. I had to use a lighter stain on the rest of the project, which was an extra step but helped the final result.
I’ve also noticed that if the stain is too dark, you can use a lighter stain on top to tone it down. I’ve done this a few times, and it works well. It’s not something I used to do, but after a few experiments, I found that it’s a useful technique for achieving the right color.
💰 Budget Build
Use basic tools and affordable stains to create a functional, attractive piece without spending a lot.
⏰ Weekend Version
Complete the project in one weekend with minimal time and effort, ideal for quick fixes.
✨ Upgraded Finish
Enhance your project with higher-quality tools and finishes for a professional look.
🛋️ Small-Space Adaptation
Design a piece that fits perfectly in a small room, with a focus on space-saving details.
🔒 Rental-Safe Option
Choose finishes and materials that are safe for rental properties and easy to remove.
| The mistake | Why it happens | The fix |
|---|---|---|
| Skipping wood preparation | If the wood isn’t cleaned and sanded properly, the stain may not absorb evenly, leading to patchy results. | Always clean the wood with a degreaser and sand it with fine-grit sandpaper before applying stain. |
| Using the wrong type of stain | Using a stain that doesn’t match the type of wood or the desired look can lead to an unflattering finish. | Test the stain on a small piece of wood first to ensure it looks good before applying it to the entire project. |
| Applying too much stain | Too much stain can cause pooling, streaking, and a sticky finish that takes longer to dry. | Apply thin, even coats and wipe off any excess with a clean cloth immediately after application. |
| Skipping the finishing coat | Failing to apply a finish can leave the wood vulnerable to scratches and damage over time. | Always apply a clear finish like polyurethane or wax after the stain is fully dry to protect the wood. |
Related: How to wood staining basics techniques
Wood Staining Basics Techniques Mistakes To Avoid
Related: Wood staining basics step by step techniques ideas
Common Questions
Can I stain over an existing finish?
How long should I wait between coats of stain?
What if I use too much stain?
Can I use the same stain on different types of wood?
References
- (PDF) Special Stains and H&E Education Guide - Academia.edu (academia.edu)
- Chapter 7 GUIDELINE SAMPLE PREPARATION. (cfamm.ucr.edu)
- Wood Destroying Organisms - CTAHR (cms.ctahr.hawaii.edu)
Cite this guide
Stainlane (2026). Wood Staining Basics Techniques Mistakes To Avoid. https://stainlane.com/wood-staining-basics-techniques-mistakes-to-avoid/
Feel free to cite or share this guide.