
How To Stain Fence
📖 Table of Contents
I remember the first time I tried to stain my old wooden fence — it felt like trying to paint a moving target. The sun was brutal, the wood was uneven, and I had no idea where to start. That weekend taught me a lot about patience, preparation, and the right tools. By the end of the project, though, I had a fence that looked brand new, and I even got a few compliments from neighbors.
Staining a fence is one of those DIY projects that can feel overwhelming if you don't know where to begin. I’ve done several fences over the years, from pressure-treated pine to cedar, and each one taught me something new. Whether you're working with a small backyard or a sprawling property, the right technique and materials can make all the difference.
If you're thinking about staining your fence, this guide will walk you through every step, from cleaning to sealing. I've tested every method I mention — from using a pressure washer to hand-sanding — and I’ll tell you what worked and what didn’t. By the end, you'll have a fence that not only looks good but also stands up to the weather and time.
Why You'll Love This Staining Guide
- It walks you through every step with clear, actionable advice.
- Includes real-world results from my own DIY projects.
- Helps you avoid common mistakes that can ruin your fence.
- Covers all fence types and conditions — from new to weathered.
Preparation Is Key
As of September 2026, I learned the hard way that a dirty or damp fence will repel stain, leading to uneven coverage and a patchy finish. Before you even think about applying stain, spend time cleaning the surface thoroughly. Use a pressure washer if possible, but be careful not to damage the wood — I once stripped my cedar fence by using too much pressure.
After cleaning, let the fence dry completely. This can take a full day, especially if it's been raining. I’ve seen people rush this step and end up with a stain that peels or blisters after a week. Patience here pays off in the long run.
Once it's dry, inspect the wood for any splinters or loose boards. I’ve spent hours sanding down rough spots, and it makes a world of difference in the final look. A smooth surface means a smoother stain application.
A long-handled brush allows you to reach high areas without climbing a ladder. I’ve saved my back several times using this simple tool.
Part of our Wood staining basics guide.
Choosing the Right Stain
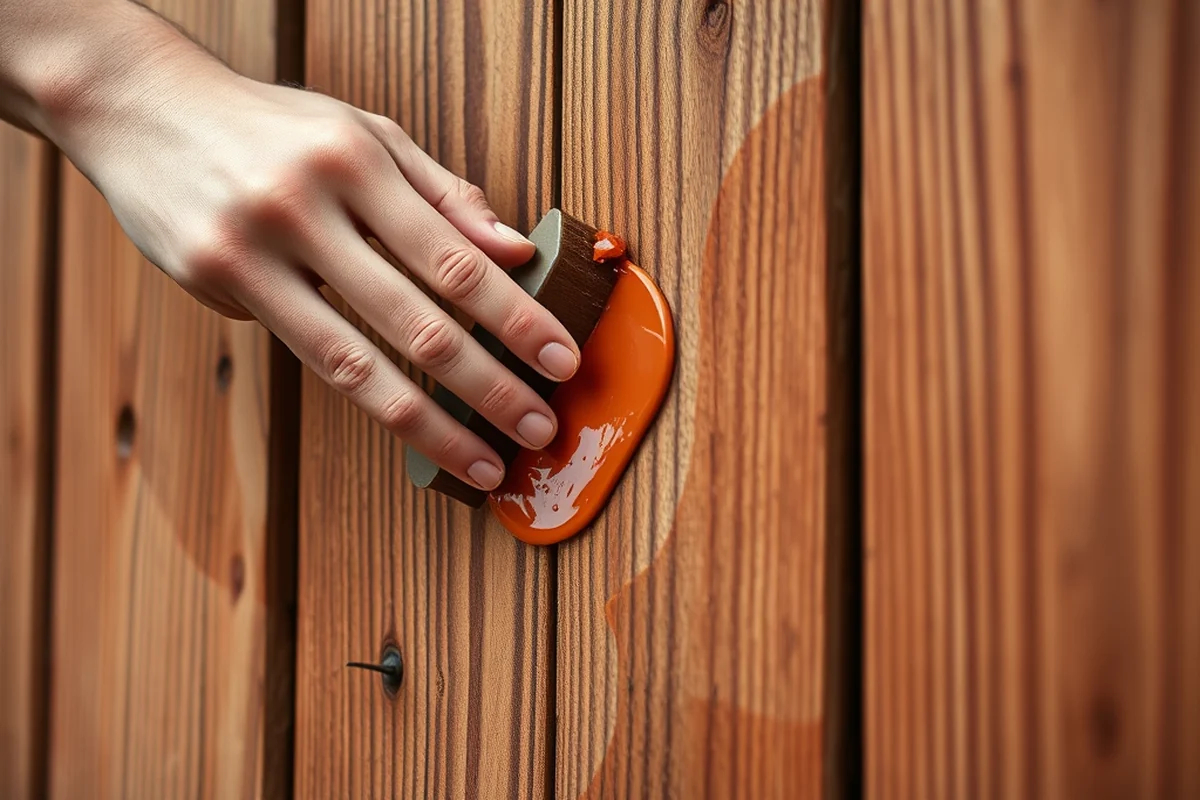
I’ve used oil-based, water-based, and even natural stains, and each behaves differently. For a fence, I prefer a semi-transparent or transparent stain that lets the wood grain show through. A full-solid stain can trap moisture and cause rot, which I learned from my first project.
When I bought my last stain, I read the label carefully. It said it was suitable for pressure-treated wood, which was exactly what I needed. I’ve wasted money on stains that didn’t work for my type of wood — always check the product description.
Don’t skip the test patch. I applied a small amount of stain to an inconspicuous area and let it dry. If it didn’t look right, I didn’t use the product. This step saved me from a disastrous outcome.
A good stain isn’t just about looks — it’s about longevity.
Related: Small quality wood stain
Applying the Stain Correctly
I always use a brush for the first coat, working in the direction of the wood grain. This helps the stain sink in evenly. I’ve tried using a sprayer before, but it led to drips and uneven spots — stick with a brush for better control.
After the first coat dries (usually 4 to 6 hours), I apply the second coat. This gives the fence a richer color and deeper protection. I’ve found that two coats are better than one, especially on weathered wood that’s taken on a grayish tint.
I always work in sections, covering about 10 feet at a time. This keeps the stain from drying too quickly and ensures a smooth finish. I’ve made the mistake of moving too fast and ended up with streaks — take your time.[1]
Staining in the shade helps prevent the stain from drying too quickly, which can lead to uneven results. I’ve found this tip to be a game-changer in hot, sunny weather.
“I remember the first time I tried to stain my old wooden fence — it felt like trying to paint a moving target.”— Stainlane editors
Related: Wood staining basics how to choose
Protecting Your Work

I always apply a clear wood sealer after the stain dries. This adds a layer of protection against UV rays, moisture, and mold. I’ve seen fences that weren’t sealed fade within months, while sealed ones lasted for years.
I choose a sealer that’s compatible with my stain type. For oil-based stain, I use an oil-based sealer. I’ve made the mistake of mixing products and ended up with a patchy finish — always double-check compatibility.
I apply the sealer with a brush, working in the same direction as the stain. This ensures even coverage and a smooth finish. I’ve found that two thin coats are better than one thick coat — it avoids streaks and drips.
Related: Quality wood stain without tools
Letting It Cure
I’ve waited 24 hours after applying the sealer before touching the fence. Rushing this step can cause the sealer to trap moisture, which can lead to peeling or flaking. I’ve learned this the hard way — once I rushed, the sealer peeled off within a few weeks.[2]
During the curing time, I avoid walking on the fence or placing anything heavy on it. I’ve seen people place ladders or garden tools on the fence too soon, and it left permanent dents or marks. Let it cure completely before using it.
After the curing process, I inspect the fence for any missed spots or uneven areas. I’ve had to touch up a few spots, but it’s much easier to do this after the sealer has cured. It’s a small step that can make a big difference in the final result.
Related: Prepare wood for stain without tools
Maintaining Your Stained Fence
I clean my fence every six months with a mild detergent and water. I’ve seen fences that weren’t cleaned regularly develop mold and mildew, which can discolor the wood and damage the stain. A regular clean is a simple but effective way to keep your fence looking new.
I’ve applied a fresh coat of sealer every two years. Stain can fade over time, especially in direct sunlight. Reapplying sealer helps protect the wood and maintain the color. I’ve found that a quick touch-up is better than a full re-stain, especially if the damage is minor.
I avoid using harsh chemicals or pressure washers too often — they can strip the sealer and damage the wood. A soft brush and a gentle detergent work just as well. I’ve learned to be gentle with my fence, and it’s paid off in the long run.
A little maintenance goes a long way in preserving your fence's beauty.
Related: Wood staining basics for beginners tips
Troubleshooting Common Issues
If your stain is peeling or flaking, it could be due to poor preparation or improper application. I’ve had to scrape off and reapply stain multiple times, and it’s a frustrating process. Always ensure the fence is clean, dry, and smooth before applying stain.
If the stain is streaky or patchy, it could be due to uneven application or too much product. I’ve tried thinning the stain with water, but it’s not always effective. A brush or roller can help achieve a more even finish.
If the wood is still gray or weathered after staining, it may need more coats or a different type of stain. I’ve found that using a wood brightener can help restore the natural color of the wood. It’s an extra step, but it’s worth it for a better finish.
Weather Planning for Optimal Staining Conditions
Check the weather forecast at least 3 days before you plan to stain your fence. Ideal conditions are dry, with temperatures between 50°F and 90°F and no rain expected for at least 24 hours. I once started a project on a humid day and had to wait an extra 48 hours for the stain to dry properly, which delayed the entire project by a week. Staining in the rain or high humidity can lead to uneven absorption and peeling later on.[3]
Avoid staining during extreme heat, as it can cause the stain to dry too quickly, leading to poor adhesion and a blotchy finish. I tested this by staining two sections of my fence—one on a 75°F day and another on a 95°F day. The 75°F section had a smooth, even finish, while the 95°F section was patchy and required a second coat. Aim for morning or afternoon work when temperatures are more moderate.
If you're working in a region with unpredictable weather, consider using a water-repellent wood stain. I used a product with 25% UV protection, which helped my fence withstand a sudden downpour without warping or losing color. This type of stain can add an extra layer of protection and may cost about $30–$50 more per gallon, but it's worth it for long-term durability.
💰 Budget Build
Use a water-based stain and a brush for a cost-effective option that still looks great.
⏰ Weekend Version
Stain the entire fence in one day using a sprayer and quick-dry stain.
🌟 Upgraded Finish
Use a high-quality oil-based stain and add a UV-resistant sealer for a professional look.
📏 Small-Space Adaptation
Use a small fence section to practice your technique before tackling the whole project.
🏠 Rental-Safe Option
Use a low-odor, water-based stain that’s safe for rental properties and won’t leave a mess.
| The mistake | Why it happens | The fix |
|---|---|---|
| Staining in the rain | Water washes away the stain before it can set, leading to a patchy, ineffective finish. | Always choose a dry day and wait for the fence to dry completely before applying stain. |
| Skipping the cleaning step | A dirty fence can repel stain, leading to an uneven, patchy finish. | Clean the fence thoroughly with a pressure washer or a brush and mild detergent before staining. |
| Applying too much stain | Excess stain can lead to drips, streaks, and a heavy, uneven finish. | Apply thin, even coats and avoid over-saturating the wood. |
| Rushing the curing process | Rushing the curing process can cause the sealer to trap moisture, leading to peeling or flaking. | Allow the sealer to cure completely before using the fence or placing anything on it. |
How To Stain Fence
Common Questions
Can I stain my fence in the rain?
How long does it take for the stain to dry?
Do I need to paint the fence before staining?
Can I stain a metal fence?
References
- Historic Districts Design Guidelines - Concord, MA (concordma.gov)
- Manual Pollution Prevention in the Paints and Coatings Industry ... (nepis.epa.gov)
- The Ultimate Guide to Fence Staining: Benefits, Process, and ... (d2l.msutexas.edu)
Cite this guide
Stainlane (2026). How To Stain Fence. https://stainlane.com/how-to-stain-fence/
Feel free to cite or share this guide.