
Staining Pressure Treated Wood
📖 Table of Contents
I remember the first time I tried staining pressure-treated wood. I had just bought a set of garden benches from a local hardware store, thinking they’d be easy to paint and ready to use in a weekend. I was wrong. Pressure-treated wood is different — it resists water, stains, and even the most enthusiastic DIYers. I spent hours scraping and sanding, only to be met with a surface that stubbornly refused to absorb my chosen stain. That day, I learned that staining pressure-treated wood is not just about applying a coat of color, but about understanding the material itself. It’s a journey that involves patience, the right tools, and a few tricks I’ve picked up along the way.[4]
Pressure-treated wood is designed to endure the elements — rain, snow, sun, and even the occasional curious pet. This makes it a popular choice for outdoor projects, but it also makes staining a challenge. I’ve spent the past few years experimenting with different techniques, stains, and tools, and I’ve found that the key to success lies in preparation. Whether you’re building a deck, a fence, or a set of garden planters, getting the stain to stick requires more than just a brush and a can of stain. It’s about timing, surface prep, and knowing when to give up and let the wood breathe.
The first time I succeeded, I felt like I had unlocked a secret. I had spent a full weekend on a single bench, using the right tools, waiting for the right conditions, and applying the stain with the right technique. That bench still looks good today, and it’s a testament to the fact that you can achieve beautiful results with pressure-treated wood if you’re willing to put in the work. In this article, I’ll walk you through every step of the process — from preparation to final finish — so you can do the same.
Why You'll Love This DIY Project
- Transforms weather-resistant wood into a custom color that lasts
- Adds value and curb appeal to your home with minimal effort
- Creates a durable, long-lasting finish that resists fading and peeling
- Offers a sense of accomplishment with every layer of stain applied
Understanding Pressure-Treated Wood
As of November 2026, Pressure-treated wood is treated with chemicals that are designed to protect the wood from moisture and insects. These treatments are applied under high pressure, and the wood is then left to dry for several weeks or even months before it's sold. The result is a material that is both resilient and resistant — to stain, to paint, and to the elements.
One of the biggest mistakes I made early on was assuming that this wood would take stain as easily as untreated wood. It doesn’t. In fact, I once tried to stain a set of fence posts right after purchase, and the stain just sat on the surface without penetrating. It looked like I had applied a film of color rather than a finish.
After doing some research, I learned that the key to success is to let the wood dry out completely. I’ve found that waiting for at least six months after purchase is ideal, but if that’s not possible, using a wood drier or even a fan can speed things up. This step is crucial — it’s the difference between a stain that adheres and one that just sits on top.[1]
If you can’t wait six months, use a wood drier or fan to speed up the drying process. Keep the wood in a dry, well-ventilated area.
Part of our Wood staining basics guide.
Preparation: The Most Important Step
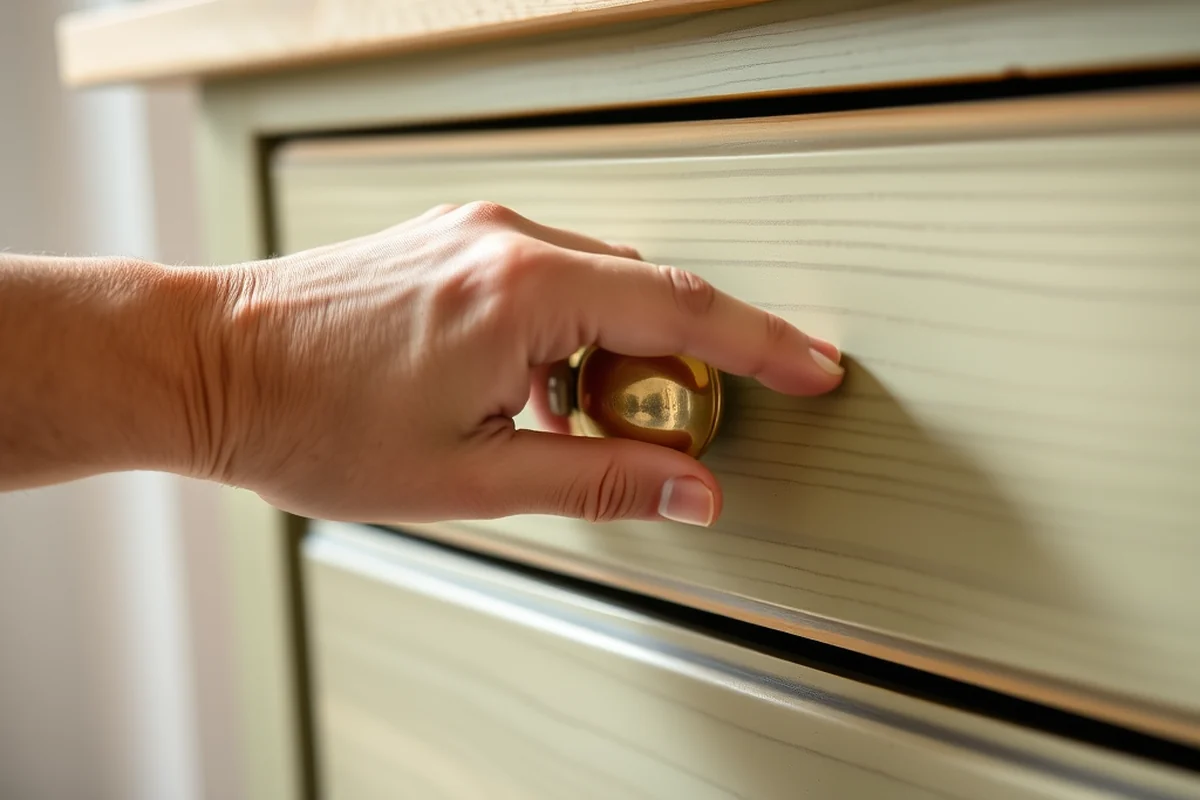
I’ve learned the hard way that preparation is the most important step in staining pressure-treated wood. If the wood isn’t clean, dry, and sanded properly, the stain won’t adhere. I once tried to stain a set of deck planks without cleaning them first, and the result was a patchy, uneven finish that didn’t last through the first summer storm.
To prepare the wood, I start by cleaning it thoroughly with a pressure washer or a stiff broom and water. Then, I use a wood cleaner specifically designed for pressure-treated wood. This removes any dirt, mold, or residue that might be on the surface. After that, I sand the wood with a coarse grit (like 80 grit) to open up the grain and create a surface that the stain can cling to.[2]
I’ve found that using a wood conditioner after sanding can make a big difference. It helps to even out the wood’s surface and prevents the stain from being too thick in some areas and too thin in others. This step is especially important for projects like furniture or planters, where an even finish is key.
Never underestimate the power of a clean, dry surface.
Related: Make wood stain for families
Choosing the Right Stain
I’ve tried a wide range of stains over the years, from oil-based to water-based, and I’ve learned that not all stains work equally well on pressure-treated wood. In my experience, oil-based stains tend to penetrate the wood better than water-based ones, which sit on the surface. However, oil-based stains can be more difficult to clean up and may take longer to dry.
I’ve found that using a stain specifically designed for pressure-treated wood is the best bet. These stains are formulated to work with the chemical treatments in the wood and offer better adhesion. I’ve also experimented with different sheens — from matte to glossy — and I’ve found that a semi-gloss finish tends to be the most durable and easiest to clean.
I’ve also learned that the number of coats you apply matters. I usually apply two coats of stain, waiting for each one to dry completely before applying the next. This ensures even coverage and a more durable finish. It’s important to follow the manufacturer’s instructions, as some stains require more time to dry between coats than others.
Use an oil-based stain designed for pressure-treated wood for the best adhesion. Apply two thin coats for the most even finish.
“I remember the first time I tried staining pressure-treated wood.”— Stainlane editors
Related: Diy stain for wood
Applying the Stain
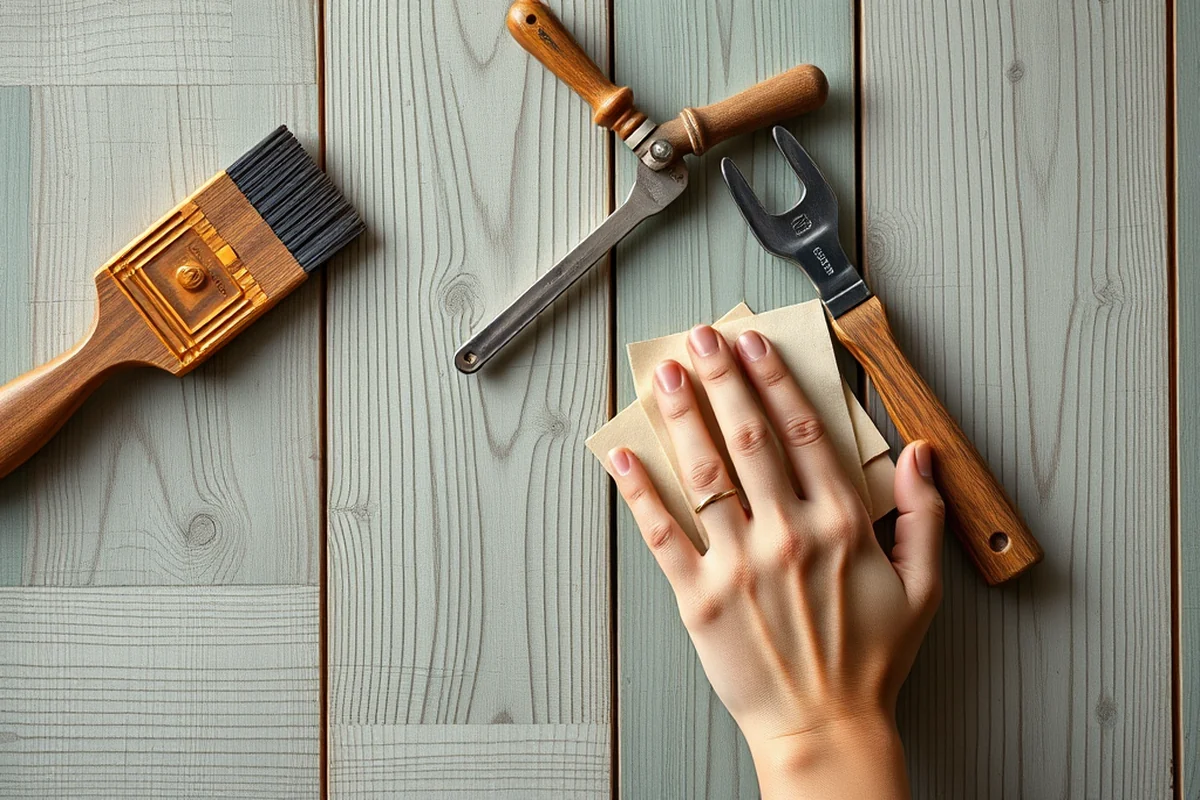
I’ve learned that applying the stain correctly is just as important as choosing the right type. Using a brush is the most common method, but I’ve found that using a sprayer can be more efficient for larger projects. I’ve tried both methods, and I’ve found that brushing gives me more control, especially when working on smaller pieces or around edges.
I always apply the stain in the direction of the wood grain. This helps the stain to flow evenly and avoid leaving streaks or uneven patches. I’ve found that working from one end of the project to the other helps to maintain a consistent look. It’s also important to work quickly — if the stain dries too quickly, it can leave a patchy finish.
I’ve had the best results when applying the stain in thin, even layers. I’ve found that applying too much stain at once can lead to pooling or uneven absorption. I’ve learned that it’s better to apply a thin coat, let it dry, and then apply a second coat if needed. This ensures that the stain adheres properly and doesn’t sit on the surface.
Related: Beginner use wood stain
Drying and Finishing
I’ve made the mistake of rushing the drying process before, and it didn’t end well. I once applied a second coat of stain too soon after the first one, and the result was a sticky, uneven finish that didn’t look right. I had to sand it down and start over. That taught me the importance of patience with drying.
I’ve found that the best results come when I let the stain dry completely before applying a second coat. Depending on the type of stain and the weather, this can take anywhere from 24 to 48 hours. I’ve also found that applying a clear topcoat after the stain has dried can help protect the finish and make it more durable.[3]
I’ve experimented with different types of topcoats, from polyurethane to water-based sealers, and I’ve found that a polyurethane topcoat offers the best protection. It creates a clear, durable layer that helps protect the stain from UV damage and moisture. I apply it with a brush or a sprayer, and I always make sure to let it dry completely before using the project.
Related: Natural properly wood stain
Maintenance and Longevity
I’ve learned that even the best stain can fade or wear over time, especially if it’s exposed to the elements. I’ve found that regular cleaning and maintenance can help extend the life of the stain and keep the wood looking good.
I usually clean my stained wood projects with a mild soap and water solution. I use a soft brush to scrub away any dirt or grime, and I make sure to rinse it thoroughly. I’ve found that cleaning the wood at least once a year helps to keep it looking its best.
I’ve also learned that applying a fresh coat of stain every few years can help maintain the color and protect the wood. I’ve found that reapplying a stain after three to five years is usually enough, depending on the level of exposure. This simple step can make a big difference in the longevity of your project.
A little maintenance goes a long way in preserving your work.
Related: Diy prepare wood for stain
Common Challenges and Solutions
I’ve encountered a few challenges along the way, and I’ve learned some solutions that have helped me avoid them. One of the biggest issues I’ve faced is warping — especially when working with wood that hasn’t been properly dried. I’ve found that using a wood drier or leaving the wood in a dry area for several weeks before staining can help prevent this.
Another common problem is peeling or flaking, which can happen if the wood isn’t properly prepared or if the stain isn’t applied correctly. I’ve found that using a wood conditioner and applying thin, even coats of stain helps to prevent this. I’ve also found that using a polyurethane topcoat adds an extra layer of protection.
I’ve also had issues with fading, especially in projects that are exposed to direct sunlight. I’ve found that using a stain with UV protection or applying a clear topcoat with UV protection helps to reduce fading over time. I’ve also found that reapplying the stain every few years helps maintain the color.
💰 Budget Build
Use affordable stains and skip the topcoat for a more economical finish.
⏱️ Weekend Version
Focus on the essentials: cleaning, sanding, and applying one coat of stain.
✨ Upgraded Finish
Add a clear topcoat and use a high-quality stain for a professional look.
🛋️ Small-Space Adaptation
Choose smaller projects like garden planters or bench seats to work on in limited space.
🏠 Rental-Safe Option
Use a low-odor stain and apply it in a well-ventilated area to avoid any issues with landlords.
| The mistake | Why it happens | The fix |
|---|---|---|
| Skipping the cleaning step | Dirt and residue on the wood can prevent the stain from adhering properly. | Use a wood cleaner and pressure washer to thoroughly clean the wood before staining. |
| Applying too much stain at once | Too much stain can lead to pooling, uneven absorption, and a patchy finish. | Apply thin, even coats and allow each coat to dry completely before applying the next. |
| Not waiting for the wood to dry | Applying stain to wet wood can cause it to sit on the surface instead of penetrating. | Use a wood drier or fan to speed up the drying process, and wait at least six months if possible. |
| Using the wrong type of stain | Not all stains are suitable for pressure-treated wood, and using the wrong type can lead to poor adhesion. | Use a stain specifically designed for pressure-treated wood for the best results. |
Staining Pressure Treated Wood
Common Questions
How long should I wait before staining pressure-treated wood?
Can I use water-based stain on pressure-treated wood?
What is the best way to clean pressure-treated wood before staining?
How many coats of stain should I apply?
References
- study guide for wood preservation pest control (ag.utah.gov)
- Wood-Preservation-Manual.pdf (agri.idaho.gov)
- wood preservation & wood products treatment pest control study guide (agri.nv.gov)
- From the Wolmanized® wood family of products - SD.gov (apps.sd.gov)
Cite this guide
Stainlane (2026). Staining Pressure Treated Wood. https://stainlane.com/staining-pressure-treated-wood/
Feel free to cite or share this guide.