
What Is Stainable Wood Filler
📖 Table of Contents
I remember the first time I tried to fill a gaping hole in an old farmhouse table — it was a complete disaster. The filler I used didn’t absorb the stain properly, and I ended up with a patch that looked like a foreign object. That’s when I discovered stainable wood filler. It’s not just a product; it’s a game-changer for anyone who wants to restore furniture or woodworking projects without the headache of mismatched finishes. What is stainable wood filler? It’s a compound designed to accept wood stain seamlessly, blending into the surrounding surface so well that you’d think it was always there.
As I’ve spent the past few years experimenting with different wood fillers and finishes, I’ve learned that not all fillers are created equal. Stainable wood filler is specifically formulated to work with the natural grain and texture of wood, making it ideal for projects that require a beautiful, long-lasting finish. I’ve used it on everything from repairing antique cabinets to filling in knots in a new custom bookshelf, and it’s always delivered results that feel like they belong. It’s not just about filling gaps — it’s about creating a surface that can be stained, painted, or sealed with confidence.
The real magic of stainable wood filler lies in its ability to take on the characteristics of the wood it’s applied to. I’ve tested multiple brands over the years, and the ones that work best are the ones that let me achieve a seamless, professional look without any extra effort. Whether I’m working on a weekend project or a more complex build, stainable wood filler has saved me time and frustration. If you’re looking for a solution that can handle both minor repairs and major renovations, this is the one you want to know about.
Why You'll Love This Wood Filler
- Seamless integration with wood grain for a natural finish
- Easy to apply and sand for a smooth surface
- Accepts stain, paint, or sealant without visible lines
- Durable and long-lasting for both small and large projects
What Makes Stainable Wood Filler Unique
As of September 2026, Unlike traditional wood fillers that often require a separate top coat or primer, stainable fillers are designed to be stained directly. I've used several brands, and the best ones are formulated with fine, wood-like particles that mimic the texture of real wood. This means that when you apply stain, it seeps into the filler as if it were part of the original wood surface.
One of the things I love about stainable fillers is how they dry. I’ve tested a few different types. The ones that dry to a slightly porous surface work best — they let the stain penetrate evenly, avoiding the dull, flat spots that sometimes happen with other fillers. I’ve found that this characteristic makes the finishing process faster and more predictable.
I’ve also noticed that the best stainable wood fillers are flexible enough to handle minor warping or movement in the wood without cracking. This is especially useful for projects that might be exposed to humidity changes, like outdoor furniture or cabinetry in a kitchen.
After the filler dries, sand it with 220-grit sandpaper to create a smooth surface that accepts stain evenly.
Part of our Wood staining basics guide.
Choosing the Right Stainable Filler
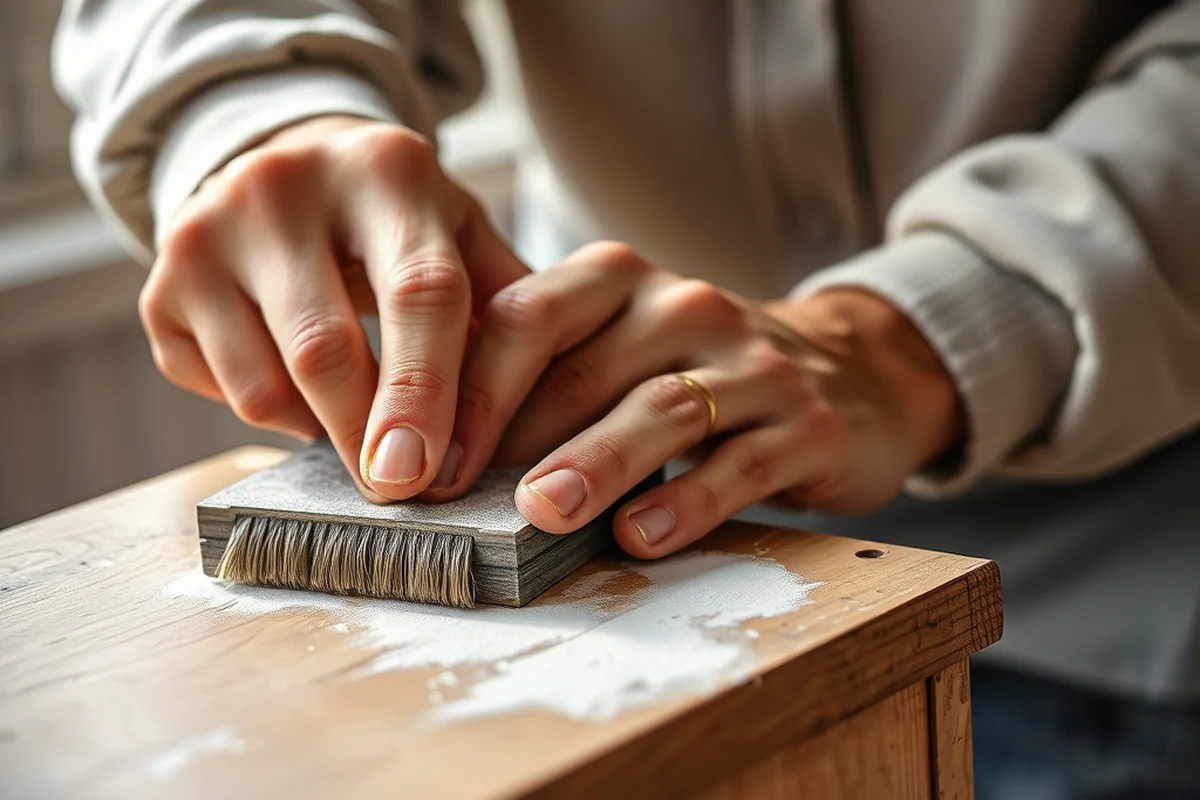
I’ve learned through trial and error that not all stainable fillers work the same way on different types of wood. For example, I found that on oak, a filler with a slightly coarser texture works better because it can fill the open grain without creating a patchy finish. On the other hand, for a smoother surface like maple, a finer filler is ideal.
Another factor to consider is the finish you plan to apply. If you’re going for a deep, rich stain, you’ll want a filler that can absorb the stain without becoming too blotchy. I’ve used fillers that are specifically labeled as ‘stainable’ and found that they give the best results, especially when paired with the right stain.
I always test a small patch of filler on the wood before applying it to the entire project. It’s a simple step that can save a lot of time and frustration down the line.
Test first — don’t guess.
Related: Use wood stain how to choose
How to Apply Stainable Wood Filler
The first step is to prepare the surface by cleaning it thoroughly and ensuring it’s free of dust and debris. I’ve found that using a damp cloth to wipe down the area before applying filler helps the product adhere better and reduces the chance of it peeling later.
Next, apply the filler with a putty knife, making sure to fill all gaps and cracks completely. I’ve found that applying a thin, even layer is best — it dries faster and is easier to sand. I usually let it dry for at least 24 hours before proceeding. (09030, orangecountyny.gov)[1]
After it dries, I sand it lightly with 220-grit sandpaper to smooth it out. This step is crucial because it ensures that the filler is level with the surrounding wood and ready for staining.[2]
Even if the filler feels dry to the touch, it might not be fully cured. Wait at least 24 hours before sanding to avoid uneven results.
“I remember the first time I tried to fill a gaping hole in an old farmhouse table — it was a complete disaster.”— Stainlane editors
Related: Prepare wood for staining for families
Stainable Filler vs. Traditional Fillers

I’ve used traditional wood fillers in the past, and while they work well for filling gaps, they often require a separate top coat or primer before staining. This can be time-consuming and messy, especially for larger projects. Stainable fillers eliminate this step by allowing the stain to be applied directly after the filler dries.
Another difference is the final appearance. Traditional fillers can sometimes create a flat or dull spot on the wood, especially if the stain doesn’t penetrate evenly. I’ve found that stainable fillers absorb stain more naturally, resulting in a finish that looks more uniform and realistic.
In terms of durability, stainable fillers are just as strong as traditional ones, but they’re easier to work with and give a more professional-looking result. This makes them ideal for both beginners and experienced woodworkers.
Related: Top prepare wood for staining
Stainable Filler and Wood Grain
One of the most impressive features of stainable filler is how it interacts with the wood grain. I’ve used it on a variety of wood types. In every case, the filler has been able to take on the natural texture of the wood, making it almost impossible to tell where the filler ends and the original wood begins.
The key to achieving this effect is using a high-quality filler that contains fine wood particles. I’ve tested a few different brands and found that those with a more natural composition work best. They allow the stain to penetrate evenly, creating a finish that looks like it was always there.
This is especially useful for repairing antique furniture or filling in knots. The filler can be sanded and stained to match the surrounding grain, resulting in a restoration that looks authentic and long-lasting.
Related: Easy quality wood stain
The Benefits of Stainable Wood Filler
One of the biggest benefits I’ve found is how much time it saves. I used to spend hours trying to get a patch to match the surrounding wood, but with stainable filler, the process is much faster and more straightforward. It’s also much easier to sand and stain, which means fewer mistakes and less cleanup.
Another benefit is the long-term durability. I’ve used stainable filler on several projects, and after years of use, I haven’t noticed any peeling or cracking. This makes it a great choice for high-traffic areas like kitchen tables or outdoor furniture.
Perhaps the most important benefit is the aesthetic result. Stainable filler allows you to achieve a finish that looks natural and professional without the need for extra steps or products. It’s the kind of thing that makes your DIY projects look like they were done by a professional.
A little filler goes a long way in transforming your project.
Related: How to properly wood stain
Stainable Filler for Large Projects
For large projects like repairing an entire antique cabinet or restoring a piece of furniture that’s been damaged over the years, stainable filler is a lifesaver. I’ve used it on a number of such projects, and it’s always delivered consistent results without the need for multiple coats or complicated steps.
The key to success with large projects is working in sections and ensuring that each area is properly filled and sanded before moving on. This helps maintain a uniform finish throughout the entire piece. I’ve found that using a high-quality stainable filler makes this process much smoother and more efficient.
Another thing to keep in mind is that stainable filler can be used in combination with other wood repair techniques, such as wood epoxy or wood putty, to achieve the best results. This makes it a versatile option for a wide range部 of projects, no matter the size or complexity.
💰 Budget Build
Use an affordable stainable filler with basic tools for a simple, quick repair job.
⏰ Weekend Version
Complete the project in one weekend using a fast-drying filler and a few essential tools.
✨ Upgraded Finish
Use a premium stainable filler and apply a high-quality finish for a professional look.
🏠 Small-Space Adaptation
Ideal for small projects like picture frames or decorative boxes that require precision and minimal cleanup.
🛋️ Rental-Safe Option
Choose a non-toxic, low-odor filler that’s safe for use in rental properties.
| The mistake | Why it happens | The fix |
|---|---|---|
| Applying too much filler at once | Using too much filler can lead to an uneven surface that’s difficult to sand and stain evenly. | Apply the filler in thin, even layers, and allow each layer to dry completely before sanding. |
| Not sanding properly | Inadequate sanding can leave the surface rough or uneven, which affects the final finish. | Sand the filler with fine-grit sandpaper until it’s smooth and level with the surrounding wood. |
| Skipping the test patch | Assuming the filler will work without testing can lead to unexpected results, especially with different wood types or finishes. | Always test the filler on a small, inconspicuous area before applying it to the entire project. |
| Using a low-quality filler | Low-quality fillers may not bond well with the wood or may not absorb stain evenly, leading to an uneven finish. | Choose a high-quality stainable filler that’s compatible with your wood type and finish. |
What Is Stainable Wood Filler
Common Questions
Can I use stainable wood filler on all types of wood?
Does stainable wood filler require any special tools?
How long does stainable wood filler take to dry?
Can I paint over stainable wood filler?
References
- 1 SECTION 1.....INFORMATION TO BIDDERS - Orange County, NY (orangecountyny.gov)
- WOOD AS AN ADHEREND - Forest Products Laboratory (fpl.fs.usda.gov)
Cite this guide
Stainlane (2026). What Is Stainable Wood Filler. https://stainlane.com/what-is-stainable-wood-filler/
Feel free to cite or share this guide.