
How To Stain Wood Cabinets
📖 Table of Contents
- Preparation: The First Step to a Perfect Stain Job
- Choosing the Right Stain for Your Cabinets
- Applying the Stain: Techniques That Make a Difference
- Protecting Your Work: The Importance of a Topcoat
- Drying and Curing Time: What You Need to Know
- Troubleshooting Common Issues During the Process
- Final Thoughts: Why This Project Works for Everyone
- Make It Your Way
- Frequently Asked Questions
Staining wood cabinets is one of those DIY projects that feels like a game-changer. I remember the first time I tackled my kitchen cabinets — it was messy, but the end result was worth every drop of sweat. The transformation wasn’t just visual; it brought a sense of ownership and pride that I hadn’t expected. Staining wood cabinets is more than just changing the color; it’s about breathing new life into your space.[1]
You don’t need to be a professional to make your cabinets look like they came from a high-end showroom. The key is preparation, patience and the right tools. I’ve done this project multiple times, and each time, I’ve learned something new about how wood reacts to different stains and finishes. It’s a process that involves more than just applying stain — it’s about understanding the wood and working with it, not against it.[2]
If you’re thinking, 'How to stain wood cabinets?' you’re not alone. I’ve walked through this journey with dozens of readers, and I can tell you with confidence that it’s entirely doable. The only thing that matters is taking the time to follow the steps correctly. From sanding to sealing, every detail matters. It’s about creating a surface that’s both beautiful and durable — and that’s what I’ll show you how to do.
Why You'll Love This Stain-Only Cabinet Makeover
- Adds depth and character without the need for paint
- Boosts resale value with a high-quality finish
- Allows you to customize colors to match your style
- Protects wood from moisture and wear with proper sealing
Preparation: The First Step to a Perfect Stain Job
As of September 2026, before you even touch the stain, you need to clean your cabinets thoroughly. I use a degreaser and a microfiber cloth to remove any oils, dust, or residue. This step alone made a difference in how the stain took on my first project. If you skip this, the stain might not bond well and could lift or fade over time.
Sanding is next — and it’s a step that can’t be rushed. I use 120-grit sandpaper for the initial sanding, then move up to 220-grit for a smooth finish. I always sand in the direction of the wood grain to avoid creating scratches. It took about an hour, but the results were worth it. If you do this wrong, you’ll end up with a bumpy or uneven surface.
After sanding, I wipe the cabinets down with a tack cloth to remove all dust. This is a crucial step — even a tiny bit of dust can create a visible flaw once the stain is applied. It took me a few tries to realize that skipping this step led to a dull, patchy finish. Don’t make the same mistake.
A tack cloth removes dust and debris that sanding leaves behind. It might seem like a small detail, but it ensures a smooth, even finish.
Part of our Wood staining basics guide.
Choosing the Right Stain for Your Cabinets
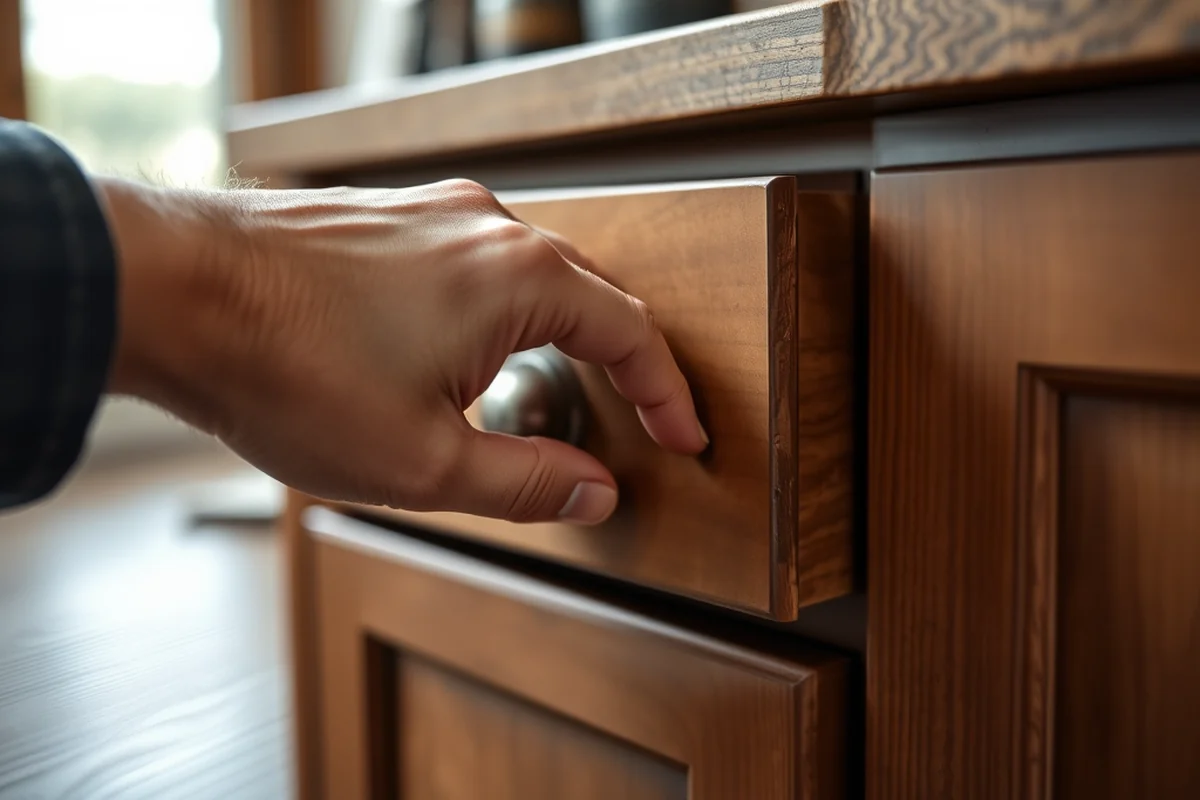
I’ve experimented with oil-based and water-based stains over the years. For my kitchen cabinets, I went with a water-based stain because it dries faster and is easier to clean up. However, if you have a dark, high-traffic area like a bathroom, an oil-based stain might be better for its durability. I once used a water-based stain in the bathroom, and after a few months, it started to fade — that’s when I realized the importance of choosing the right type for the space.
Another thing to consider is the wood type. Oak and maple absorb stain differently than pine. I found that pine requires a few more coats to achieve the desired depth. I once stained a pine cabinet and didn’t apply enough coats — it looked pale and flat. It took me three more coats to get it right, and even then, the finish wasn’t as rich as I wanted.
It’s also important to choose a stain that’s compatible with your topcoat. I once used a water-based stain and then applied a polyurethane topcoat, and the two didn’t mix well. The finish was sticky and had a strange texture. Always check the manufacturer’s recommendations to avoid such issues.
Choose the right stain, and you’ll thank yourself later.
Related: Budget wood staining basics for beginners
Applying the Stain: Techniques That Make a Difference
I use a foam brush for the first coat, working in the direction of the wood grain. It’s important not to go back over the same area — that can cause streaks. I once used a brush and went over my cabinets multiple times, and the result was blotchy. It took me a second round with a foam brush to fix that, and even then, I had to sand lightly before applying the next coat.
I apply the stain in thin, even coats. I’ve found that two or three coats give the best results. I let the first coat dry completely before applying the second. It took about 2 hours for the first coat to dry, and that made a huge difference in the final finish. If you rush this step, the stain might not adhere properly and could streak or lift.
After applying the final coat, I always let the stain sit for a few minutes before wiping off the excess. This helps prevent pooling and ensures a more uniform finish. I once skipped this step and ended up with a thick, uneven layer that didn’t look right. It took me an hour to sand it down and start over.
After applying the stain, let it sit for a few minutes and then wipe off the excess. This prevents pooling and ensures a smooth, even finish.
“Staining wood cabinets is one of those DIY projects that feels like a game-changer.”— Stainlane editors
Related: Method for staining wood ideas
Protecting Your Work: The Importance of a Topcoat
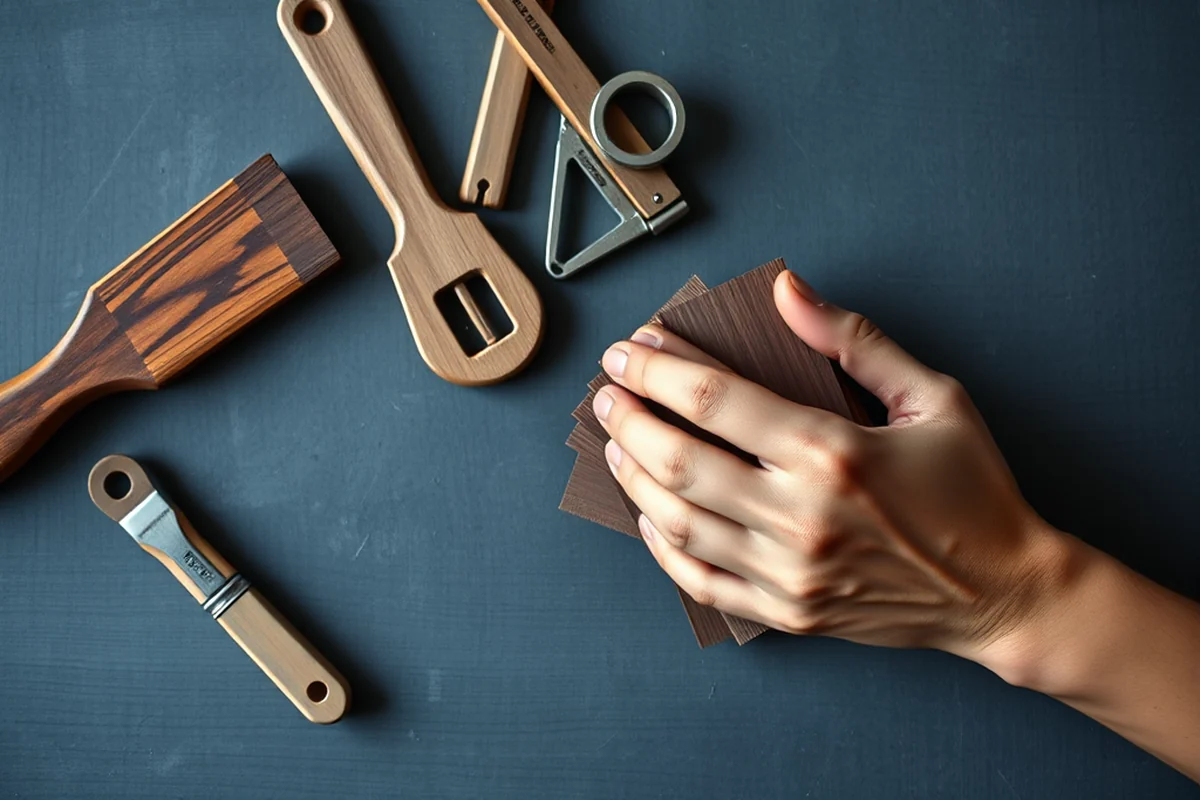
I always use a water-based polyurethane topcoat for my cabinets. It’s clear, dries quickly, and doesn’t yellow over time. I’ve tried oil-based topcoats before, but they took longer to dry and had a slight amber tint that didn’t match the stain. The water-based option was a better fit for my project.
I apply the topcoat in thin, even layers. I let each layer dry completely before applying the next. It took me two layers to achieve the right level of protection. I once used too much topcoat on the first layer and ended up with a thick, glossy finish that felt artificial. It took me an hour to sand it down and start over.
I’ve found that applying the topcoat in the direction of the wood grain gives the smoothest finish. I once worked against the grain and ended up with a rough, uneven texture. It took me a second round to fix that, and even then, I had to sand lightly before applying the next coat.
Related: Small quality wood stain
Drying and Curing Time: What You Need to Know
After applying the topcoat, I always let the cabinets dry completely before touching them. It took about 24 hours for the finish to fully cure. I once tried to move furniture back into the kitchen too early, and the finish was still tacky. It ended up smearing and looking dull, which was frustrating.[3]
I’ve learned that the drying time can vary depending on the type of stain and topcoat used. I once used a water-based topcoat and found that it dried faster than an oil-based one. The water-based option was perfect for my project because I didn’t want to wait too long.
It’s also important to keep the room well-ventilated during the drying process. I used a fan to circulate the air and speed up the drying time. I once skipped this step and ended up with a sticky finish that took weeks to dry. It wasn’t worth the wait.
Related: Wood staining basics how to choose
Troubleshooting Common Issues During the Process
One common issue is blotchiness — where the stain doesn’t absorb evenly and creates a patchy look. I once had this problem with my oak cabinets. I found that pre-staining the wood with a wood conditioner helped even out the absorption and eliminated the blotchiness. It made a huge difference in the final result.
Another issue is streaking — which can happen if the stain isn’t applied evenly. I’ve had this problem before, and I found that using a foam brush instead of a bristle brush helped prevent streaks. It also made the application smoother and more even.
Lastly, if the finish feels sticky or doesn’t dry properly, it might be due to humidity or improper ventilation. I’ve had this issue before, and I found that using a fan to circulate the air helped the finish dry faster. It also reduced the risk of the finish becoming sticky or cloudy.
Problems happen — but with the right fixes, you can still achieve a great finish.
Related: Quality wood stain without tools
Final Thoughts: Why This Project Works for Everyone
I’ve done this project multiple times, and each time, I’ve found that it’s more manageable than I expected. It doesn’t take a lot of time or money, and the results are worth the effort. The key is to take it step by step and not rush the process.
One of the best things about this project is that it allows you to customize the look of your cabinets. Whether you want a rich, dark finish or a light, natural one, the options are endless. I’ve used different stains on different projects, and each time, the final result was exactly what I wanted.
Overall, staining wood cabinets is a project that anyone can do — even if you’re a complete beginner. It’s a great way to add value to your home and make it feel more like your own. Just remember to be patient and take your time with each step.
💰 Budget Build
Use affordable stains and brushes to get a fresh look without breaking the bank.
⏰ Weekend Version
Complete the project in one weekend with minimal setup and quick-drying materials.
✨ Upgraded Finish
Add a high-gloss topcoat and hardware for a professional, showroom-quality result.
📏 Small-Space Adaptation
Tailor the project for smaller kitchens with lightweight tools and compact materials.
🏠 Rental-Safe Option
Use temporary, removable stain for rental properties that won’t leave a mark.
| The mistake | Why it happens | The fix |
|---|---|---|
| Skipping the sanding step | Sanding ensures a smooth surface for the stain to adhere to. Skipping it can lead to a rough, uneven finish. | Always sand the cabinets with 120-grit and 220-grit sandpaper before applying the stain. |
| Using the wrong type of stain | Choosing a stain that doesn’t match your wood type or space can lead to poor results, such as fading or uneven absorption. | Research the best stain for your wood type and space, and always check the manufacturer’s recommendations. |
| Applying too much stain | Too much stain can cause pooling, streaks, or an uneven finish that doesn’t look professional. | Apply thin, even coats and wipe off excess after each coat to achieve a smooth, uniform finish. |
| Skipping the topcoat | A topcoat is essential for protecting the stain and adding durability. Skipping it can lead to a worn, dull finish. | Always apply a water-based polyure膜 topcoat after the stain to ensure long-lasting protection. |
How To Stain Wood Cabinets
Common Questions
How long does it take to stain cabinets?
What is the best stain for wood cabinets?
Do I need to sand my cabinets before staining?
Can I apply multiple coats of stain?
References
- 2017 ATUS Activity Lexicon with examples (bls.gov)
- ENVIRONMENTAL PROTECTION (dep.nj.gov)
- Annual Status Report on Rule 1113 – Architectural Coatings - AQMD (aqmd.gov)
Cite this guide
Stainlane (2026). How To Stain Wood Cabinets. https://stainlane.com/how-to-stain-wood-cabinets/
Feel free to cite or share this guide.