
Wood Staining Basics Color Style Ideas Mistakes To Avoid
📖 Table of Contents
There’s something about the way wood takes on color — it’s like a silent conversation between the material and the stain. I remember the first time I tried staining a piece of oak for my kitchen table; I thought I was just applying some liquid. What I didn’t realize was that I was unlocking a whole world of tone, depth, and character. Wood staining basics aren’t just about picking a color; they’re about understanding how light and grain interact to create a finish that feels alive. Whether you're restoring an antique or making your own furniture, it’s all about the balance between technique and style.
I once spent an entire weekend trying to get the perfect shade on an old pine bookshelf, only to end up with a patchy mess. It taught me that wood staining basics are not just about the product in your hand but also about preparation, patience, and knowing when to stop. Every wood species reacts differently to stain, and I learned that through trial and error — not just once, but over the course of several projects. It’s a process that rewards those who take the time to read the instructions and understand the material they're working with.
Wood staining basics can be a game-changer for any DIY project, especially when you start considering color, style, and mistakes to avoid. I’ve made it a point to keep a journal of every project, noting what worked and what didn’t. The key to successful wood staining is not only knowing how to apply the stain but also knowing when to step back and let the wood speak for itself. Whether you're a complete beginner or someone with a few DIY projects under your belt, understanding the fundamentals can make the difference between a good finish and a great one.
Why You'll Love This Wood Staining Guide
- Discover how to choose the right stain for your project based on wood type and desired outcome.
- Learn real techniques to enhance the grain and natural beauty of your wood.
- Avoid common mistakes that ruin your finish and waste your time and money.
- Get inspired with color and style ideas that elevate your DIY projects.
The Right Stain for the Right Wood
As of October 2026, Different woods absorb stain differently — oak is porous and takes stain quickly, while maple is denser and may require a pre-stain conditioner. I once stained a maple cabinet without using a conditioner, and it turned out blotchy and uneven. It took me a full day to fix it, and that’s when I learned the importance of preparation. Always test a small area first to see how the wood responds.
Using a wood conditioner like Minwax Pre-Stain Wood Conditioner can make a huge difference. I applied it on a birch countertop before staining, and the result was a smooth, even finish that looked professional. It’s an extra step, but it saves you from redoing the whole project later. It’s worth the investment.
Another tip I learned from a local woodworker is to sand the wood thoroughly before applying stain. I used 220-grit sandpaper on a pine table and noticed a much more even stain application. If you skip this step, you’ll end up with a finish that looks inconsistent and lacks depth.[1]
Always use a wood conditioner on hardwoods like maple, birch, and cherry to prevent blotchiness. Apply it with a clean cloth and let it dry before staining.
Part of our Wood staining basics color style ideas guide.
Understanding Stain Types and Their Applications
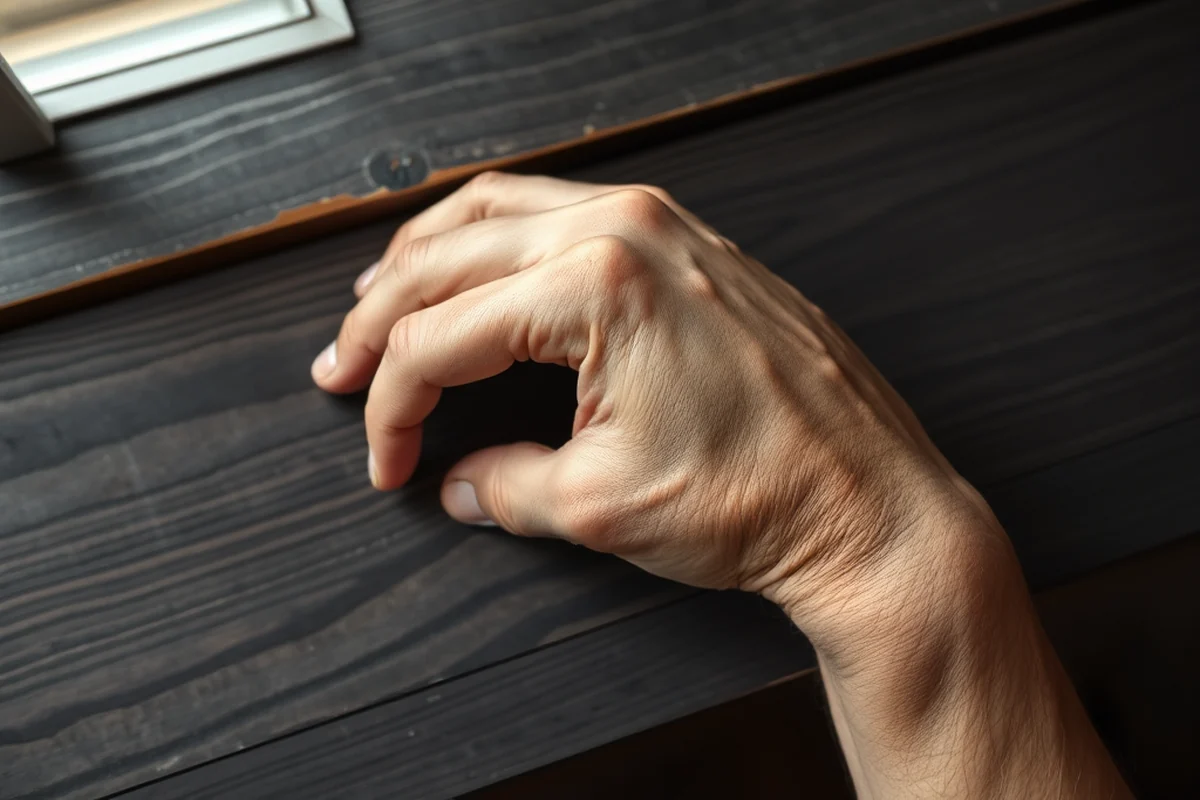
I tried oil-based stain on a piece of furniture once, and it took forever to dry. It left a thick, sticky layer that I had to sand down before it could cure. That’s when I realized that oil-based stains are great for deep color but require more patience. Water-based stains, on the other hand, dry faster and are easier to clean up, which is why I now prefer them for most projects.
Gel stains are a game-changer for tricky areas like carved details or raised grain. I used them on a wooden chair with intricate carvings, and they clung perfectly without dripping or pooling. It’s a bit pricier, but the time I saved and the quality of the finish made it worth it.
Another thing I’ve learned is that gel stains are ideal for vertical surfaces. I used them on a bookshelf, and the stain didn’t run down the sides like traditional stains. It’s a small detail, but it makes a big difference in the final look.
Gel stains are a must-have for vertical wood projects — they stay put and give you control.
Related: Best stain remover for white clothes
Color and Style: Finding the Right Match for Your Space
I once stained a dining table with a dark walnut stain, and it looked absolutely amazing in a modern home. But the same table in a rustic farmhouse would have looked out of place. It’s important to consider the overall design of the space and how the stain will interact with lighting and other furniture.
For a more natural look, I’ve used light amber or clear finishes on oak and maple. These highlights the grain while keeping the wood’s original character. I found that using a clear polyurethane topcoat afterward adds depth without changing the color significantly.
I also discovered that using a two-tone stain — like dark on the top and light on the bottom — can add visual interest. I did this on a coffee table, and it became the focal point of the room. It’s a simple trick that can elevate any project.
Before choosing a stain color, walk through the room and see how the light will hit the piece. Darker stains may appear lighter in some areas and darker in others depending on the angle of the light.
“There’s something about the way wood takes on color — it’s like a silent conversation between the material and the stain.”— Stainlane editors
Related: Varathane wood stain color chart
Avoiding Common Staining Pitfalls

One of the most common mistakes I’ve seen is skipping the sanding step. I tried skipping it once on a pine cabinet, and the stain didn’t absorb evenly, leaving me with a lumpy, uneven finish. It took me over an hour to sand it down and start over. Always take the time to sand before staining — it makes a world of difference.
Another mistake is applying too much stain. I once used too much on a table, and the wood ended up looking dark and gloopy. It took me two days to let it dry and then sand it down. I learned that less is more, and that applying stain in thin, even layers is the way to go.
I also made the mistake of not letting the stain dry properly. I applied a second coat too soon, and it caused the finish to become tacky and cloudy. It was a pain to redo, but it taught me the importance of patience. Always follow the manufacturer’s instructions for drying times.
Related: Stain remover for white clothes
Finishing Touches: Sealing and Protecting Your Work
After staining, I always use a clear topcoat to seal the wood. I tried using a water-based polyurethane one time, and it gave the wood a nice sheen without making it look plastic. It’s important to choose the right type of finish based on the project — oil-based finishes are better for high-traffic areas, while water-based ones are easier to clean and less smelly.
I also learned that applying multiple thin coats of finish is better than one thick coat. I once applied a thick coat of polyurethane, and it cracked after a few weeks. It was a frustrating fix, but it taught me the importance of patience and proper technique.
Another tip I picked up is to sand between each coat of finish. I used 220-grit sandpaper after the first coat and saw a smoother, more even finish. It’s an extra step, but it pays off in the long run.[2]
💰 Budget Build
Use affordable wood like pine or MDF and basic oil-based stains for a cost-effective finish.
⏰ Weekend Version
Stain a single piece of furniture over the weekend with minimal tools and no need for heavy sanding.
✨ Upgraded Finish
Add gel stains and a high-gloss polyurethane for a showroom-quality finish.
🏠 Small-Space Adaptation
Use water-based stains and smaller tools to make staining easier in tight spaces.
🚪 Rental-Safe Option
Use removable wood stains or apply a temporary finish for projects in rental properties.
| The mistake | Why it happens | The fix |
|---|---|---|
| Skipping the sanding step | Sanding ensures the stain is absorbed evenly, and skipping it can lead to an uneven finish. | Always sand the wood with 220-grit sandpaper before applying stain. |
| Using too much stain | Too much stain can make the wood look dull and gloppy, and it can take longer to dry. | Apply thin, even layers and let each layer dry completely before applying the next. |
| Not using a wood conditioner | Hardwoods like maple and cherry can absorb stain unevenly, leading to blotchiness. | Use a wood conditioner like Minwax Pre-Stain Wood Conditioner before staining. |
| Not letting the stain dry properly | Applying a second coat too soon can cause the finish to become tacky or cloudy. | Wait the recommended time between coats and let the stain cure fully before sealing the wood. |
Related: Wood stain colors chart
Wood Staining Basics Color Style Ideas Mistakes To Avoid
Related: Wood stain colors
Common Questions
What’s the best way to test a stain before applying it to a large project?
How long should I wait between stain coats?
Can I stain over an existing finish?
What’s the difference between gel stain and regular stain?
References
- Historical Painting Techniques, Materials, and Studio Practice (getty.edu)
- Section 4 Incomplete - HAZARD EVALUATION & EMERGENCY ... (health.hawaii.gov)
Cite this guide
Stainlane (2026). Wood Staining Basics Color Style Ideas Mistakes To Avoid. https://stainlane.com/wood-staining-basics-color-style-ideas-mistakes-to-avoid/
Feel free to cite or share this guide.