
Wood And Stains
📖 Table of Contents
- Understanding Wood Types and Their Reaction to Stains
- The Right Tools for the Job
- Choosing the Right Stain for Your Project
- The Importance of Sanding
- Applying the Stain: Techniques and Tips
- Letting the Stain Dry: Patience is Key
- Finishing Touches: Sealing the Stain for Longevity
- Make It Your Way
- Frequently Asked Questions
I remember the first time I worked with wood and stains — it was on a small coffee table I bought at a flea market for $15. The grain was rough, the edges splintered, and it looked like it had been through a war. But after a few hours of sanding, a couple of coats of stain. A finish that made it look like it belonged in a modern living room, it became my favorite piece of furniture. Wood and stains are a powerful combination, and the way they transform a piece of lumber into something beautiful is nothing short of magical.[1]
Stains are more than just color — they’re a way to unlock the character of the wood itself. I’ve tried so many different types, from water-based to oil-based, and even some that are wax-based. Each one behaves differently, and that’s what makes the process so interesting. Whether you’re working on a dining table, a bookshelf, or even a small DIY project, understanding how to apply stain and how to care for it can make all the difference in the final result.
There’s something deeply satisfying about watching a piece of wood change under your hands. I’ve spilled more than one cup of coffee while working, and I’ve had to sand away more than one uneven spot, but the end result is always worth it. If you’re new to working with wood and stains, this article is for you — it’s a guide built on real experience, real mistakes. Real results that you can replicate in your own space.
Why You'll Love This Project
- Easily customizable for any room or style
- Can breathe new life into old or damaged wood
- Adds depth and richness that paint can’t achieve
- A project that only takes a weekend and minimal tools
Understanding Wood Types and Their Reaction to Stains
As of October 2026, I’ve worked with oak, maple, pine, and walnut, and each one has a different texture and grain pattern. For instance, pine is softer and tends to take stain more quickly, while maple is denser and requires more aggressive sanding. If you’re working with a piece of wood you found at a thrift store, it’s worth taking a moment to identify the type — this can save you hours of frustration down the line.
I once tried staining a piece of oak that had been previously stained and sealed, only to find that the new stain didn’t stick at all. It turned out the old finish was still on the wood, which acted like a barrier. I ended up stripping it entirely with a chemical stripper and starting over. This is why it’s so important to work on wood that’s clean, dry, and free from any previous coatings.
If you’re unsure of the wood type, take it to a local hardware store or woodworking shop. They can help you identify it and even recommend the best products for your project. I’ve done this more times than I can count, and each time, it’s helped me avoid costly mistakes.[2]
If in doubt, bring the wood to a local store for help. It can save you time and money down the line.
Part of our Wood staining basics guide.
The Right Tools for the Job
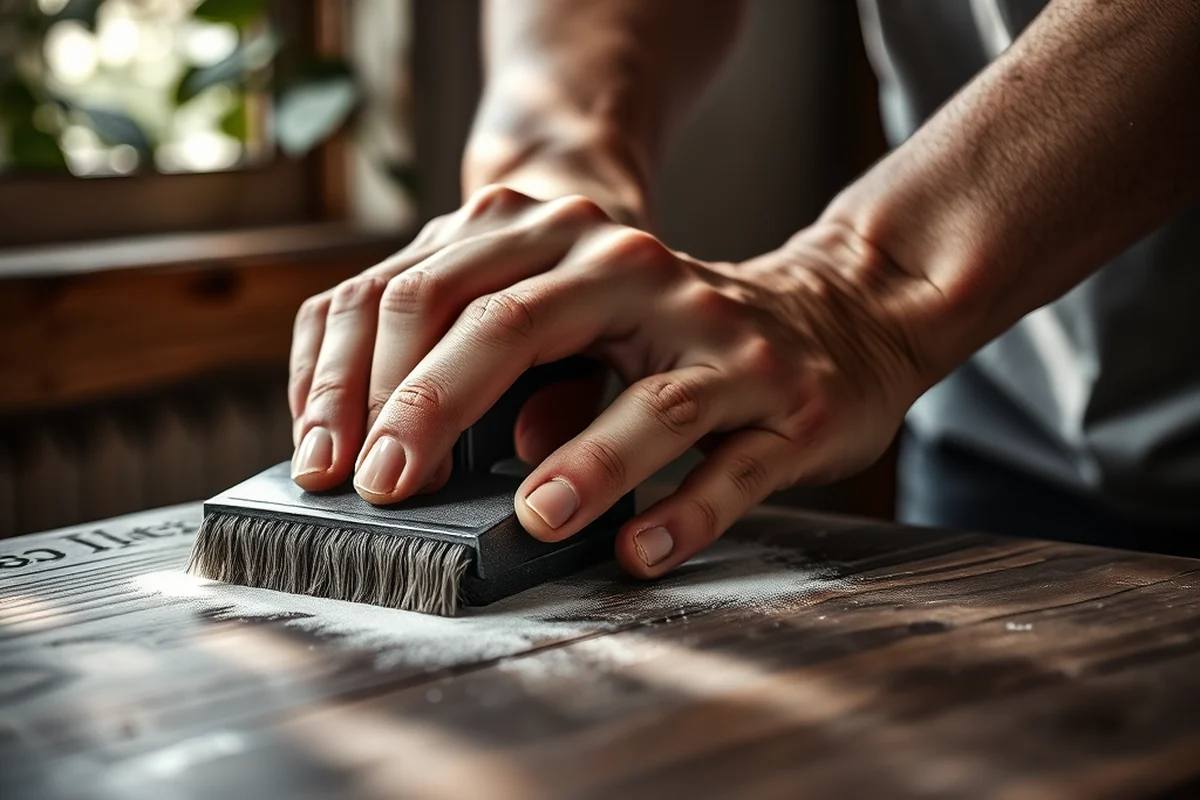
I’ve worked with everything from basic sandpaper to high-end electric sanders. For small projects, I prefer using hand sanders like a random orbital sander — they give you more control. For larger pieces, an electric sander is much faster, but it takes some time to get used to. I’ve broken a few sanding blocks over the years, so I now keep a few spares on hand.
Another essential tool is a brush or cloth for applying the stain. I’ve tried both, and I’ve found that a high-quality brush gives you the most even coverage. I once used a cheap brush for a table, and it left streaks that I couldn’t fix. It was a lesson in investing in quality tools.
If you’re new to this, start with a few basic tools: sandpaper (both fine and coarse), a brush or cloth, a container for the stain, and a clean cloth for wiping off excess. As you gain more experience, you can invest in higher-end tools that make the job easier and faster.
Quality tools make all the difference — don’t skimp on the basics.
Related: Fast prepare wood for staining
Choosing the Right Stain for Your Project
I’ve used water-based, oil-based, and gel stains, and each one has a different effect. Water-based is easier to clean up and dries faster, which is great for beginners. Oil-based gives a deeper, richer color but takes longer to dry and is harder to clean up. Gel stains are ideal for creating a more uniform finish, especially on wood with an irregular grain.
I once tried a gel stain on a piece of pine, and it was like magic — it filled in the gaps and gave the wood a smooth, even look. It was one of the best experiences I’ve had with staining. If you’re looking for a finish that’s both easy to apply and gives a professional result, gel stain is a great option.
When choosing a stain, also consider the environment where the piece will be used. For high-traffic areas, like a dining table, I recommend using a stain that’s more durable and easier to clean. For decorative pieces, like a picture frame, you can go with a more artistic option that adds visual interest.[3]
Always test the stain on a small, inconspicuous area before applying it to the whole piece.
“I remember the first time I worked with wood and stains — it was on a small coffee table I bought at a flea market…”— Stainlane editors
Related: Stain for wood explained
The Importance of Sanding
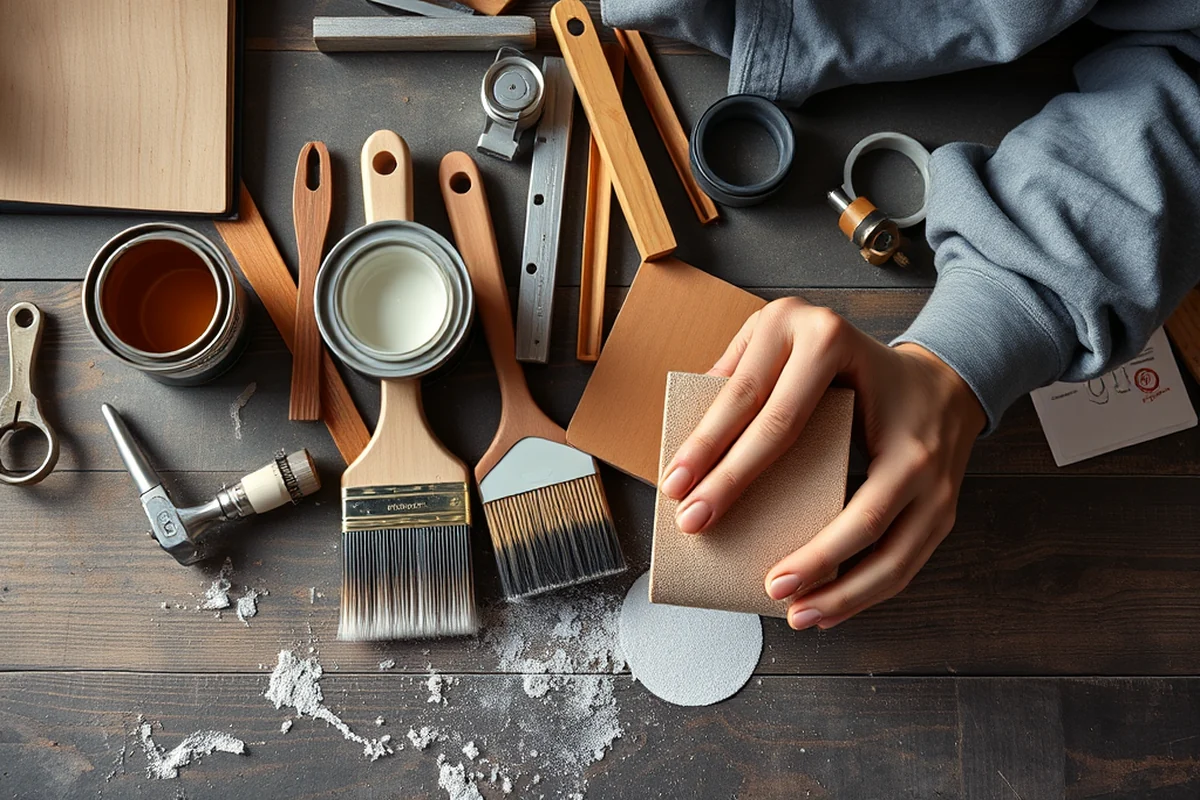
I can’t emphasize enough how important sanding is. I’ve seen so many people skip this step and end up with a finished piece that looks rough or uneven. Sanding not only smooths out the wood but also helps the stain adhere better. I use a combination of coarse and fine sandpaper, starting with a lower grit to remove any rough spots and then finishing with a higher grit for a smooth surface.
I once skipped the fine sanding on a table and ended up with a finish that looked like it had been painted over with a brush. The texture was uneven, and no amount of polishing could fix it. Since then, I’ve made it a habit to sand thoroughly before applying any stain.
If you’re working on a piece that’s already been sanded, make sure it’s completely clean and free from dust. I’ve found that using a tack cloth before applying stain helps remove any remaining dust and ensures an even finish.
Related: Small wood staining basics ideas
Applying the Stain: Techniques and Tips
I’ve learned the hard way that applying too much stain can lead to a blotchy finish, while too little can leave the wood looking dull. The key is to apply an even coat and let it sit for a few minutes before wiping off the excess. I’ve used a cloth to wipe the stain, and I’ve also used a brush — each method has its own benefits.
When I first started, I used a brush and ended up with streaks everywhere. Now, I prefer using a cloth because it gives a more even finish. I also like to work in small sections, so I can control how much stain I’m applying and how much I’m wiping off.
One thing I always remember is to work with the grain of the wood, not against it. This helps the stain flow smoothly and gives a more professional look. I’ve tried working against the grain a few times, and it always looked worse — like I was trying to hide the grain instead of enhancing it.
Related: Modern quality wood stain
Letting the Stain Dry: Patience is Key
I’ve made the mistake of applying a second coat too quickly, and it ended up making the finish look cloudy and uneven. I’ve learned that patience is key. For most stains, I wait at least 24 hours before applying a second coat. This gives the wood time to absorb the stain fully and prevents any unwanted results.[4]
If you’re working in a humid environment, like a bathroom or a kitchen, it might take longer for the stain to dry. I’ve had to wait 48 hours in some cases, and it’s been worth it. The finish was much smoother and more durable after the extra wait.
One of the best things I’ve done is to keep the workspace clean and dust-free while the stain is drying. I’ve noticed that even the smallest amount of dust can ruin the finish, so I take extra care to keep everything as clean as possible.
Patience is your best friend when it comes to staining — rushing only leads to mistakes.
Related: Easiest wood stain to use
Finishing Touches: Sealing the Stain for Longevity
After the stain has dried, I always apply a clear finish — either polyurethane, lacquer, or wax. This helps protect the wood and enhances the color of the stain. I’ve used both water-based and oil-based finishes, and each one has its own benefits. Water-based is easier to clean up, while oil-based gives a more durable finish.
I once skipped the finishing step on a small table, and after a few weeks, the stain started to fade and chip. It was a lesson in how important the finishing step is. Now, I always make sure to apply a finish, no matter how small the project.
When applying the finish, I work in thin, even coats and allow each one to dry completely before applying the next. I’ve found that applying two to three coats gives the best protection and the most even look. It’s a small extra step, but it makes all the difference in the final result.
💰 Budget Build
Use basic tools and low-cost stain for a simple, effective finish that looks great on a limited budget.
⏰ Weekend Version
Complete a small project in a single day with quick sanding, fast-drying stain, and minimal cleanup.
✨ Upgraded Finish
Enhance your project with professional-grade tools and high-end stain for a finish that looks showroom-ready.
🏠 Small-Space Adaptation
Tailor your project for a tiny area, like a desk or a stool, with compact tools and stain that’s easy to apply.
🔒 Rental-Safe Option
Choose a removable stain or finish that can be easily stripped or painted over if you need to move or reconfigure your space.
| The mistake | Why it happens | The fix |
|---|---|---|
| Skipping the sanding step | Skipping sanding leads to an uneven finish and poor stain adhesion, resulting in a rough or blotchy surface. | Always sand the wood before applying stain, using both coarse and fine sandpaper for the best results. |
| Applying too much stain | Excess stain can cause a blotchy, uneven finish and make the wood look dull or warped. | Apply thin, even coats and wipe off excess with a clean cloth. Always work with the grain of the wood. |
| Not letting the stain dry properly | Applying a second coat too soon can lead to a cloudy or uneven finish. | Wait at least 24 hours between coats and ensure the workspace is clean and dust-free. |
| Skipping the finishing step | Without a proper finish, the stain can fade, chip, or become damaged over time. | Always apply a clear finish like polyurethane or wax after the stain has dried completely. |
Wood And Stains
Common Questions
What’s the best way to clean up after staining?
Can I stain over an existing finish?
How do I fix a blotchy stain?
What’s the best stain for a high-traffic area?
References
- Maintenance of Hardwood Floors - Cornell Cooperative Extension (albany.cce.cornell.edu)
- The board in the center of this photograph shows blue stain (not ... (basc.pnnl.gov)
- Antifungal effects of staining process on wood: Hardness, gloss, and ... (bioresources.cnr.ncsu.edu)
- Spontaneous Combustion Public Service Announcement (clevelandheights.gov)
Cite this guide
Stainlane (2026). Wood And Stains. https://stainlane.com/wood-and-stains/
Feel free to cite or share this guide.