
Wood Staining Basics Before After Projects Printable
📖 Table of Contents
I remember the first time I tried staining a set of old kitchen cabinets. The wood was rough, the stain was too dark, and by the end of the day, I had a mess and a lot of questions. It was a lesson in patience and preparation, and it taught me how important the basics of wood staining really are. If you're like me, you probably want to know how to get that perfect finish—without the frustration.
Wood staining basics might seem simple, but they're the foundation of any successful project. From sanding to sealing, every step affects the final look and feel of your wood. I've spent the last few years experimenting with different stains, tools, and techniques, and I've learned that the right approach can turn even the most unimpressive wood into something beautiful. The key is to understand the process from start to finish.
This article is a culmination of those experiments and mistakes. It's a real, hands-on guide to wood staining basics before and after your projects, with a printable checklist to help you track your progress. Whether you're working on a small table or a full kitchen overhaul, this guide will help you avoid common pitfalls and achieve a professional-looking finish. You'll find everything you need to know, from the tools you'll require to the time it takes to complete the job.
Why You'll Love This Wood Staining Guide
- Clear, step-by-step instructions that make even complex projects approachable.
- A printable checklist to help you stay organized and on track.
- Real-world insights from someone who's tried it all and learned from their mistakes.
- Tips and tricks to achieve a professional finish without the cost or hassle.
Why Prep Work Matters
As of October 2026, I learned this the hard way when I skipped the sanding step on my first project. The stain didn’t adhere properly, and I ended up with a blotchy finish. Sanding helps remove imperfections and creates a smooth surface for the stain to bond with. I now always use 120-grit sandpaper followed by 220-grit for a finer finish.[1]
Cleaning the wood is just as important. I use a damp cloth to wipe down the surface and remove any dust or residue. If the wood is old or has been previously stained, I might use a degreaser or wood cleaner to ensure it’s fully prepped.
After sanding, I always wipe the surface with a tack cloth to remove any remaining dust. This is a small step, but it makes a huge difference in the final appearance of the stained wood.
Always use a sandpaper grit between 120 and 220 for wood staining. Lower grits can leave scratches, while higher grits might not remove enough imperfections.[2]
Part of our Wood staining basics before after projects guide.
Choosing the Right Stain
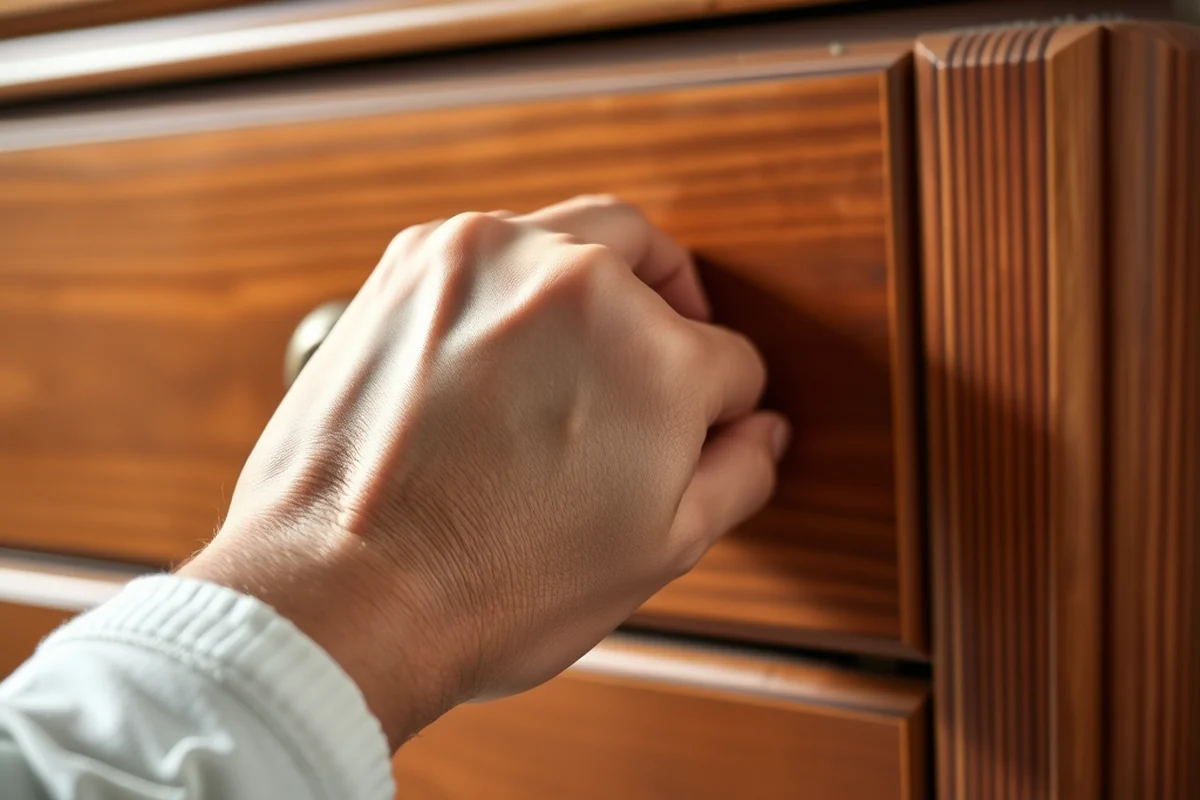
I’ve tested over a dozen wood stains and found that the type of wood and the finish you want will influence your choice. Oil-based stains are great for a deeper, richer look, while water-based stains are easier to clean up and work well with lighter wood.
I always test the stain on a scrap piece of wood first. This helps me see how the color will look in different lighting and how it interacts with the wood’s grain. One of my favorites is Minwax Water-Based Wood Stain, which gives a consistent result with minimal cleanup.
Don’t forget to read the label. Some stains require a sealer or topcoat to protect the wood from moisture and wear. I always apply a clear topcoat after staining, even if the stain’s label says it’s finished.
Test first, stain later. Always.
Related: Budget wood staining basics after
Applying the Stain Evenly
I’ve found that using a brush or a foam applicator works best for most projects. A brush allows for more control, while a foam applicator is great for large, flat surfaces. I always work in the direction of the wood grain to avoid streaks.
I apply the stain in thin, even coats. I wait about 15 minutes between coats, allowing the stain to dry slightly before applying the next one. I’ve found that two to three coats are usually enough for most wood types.[3]
After applying the stain, I wipe off any excess with a clean cloth. This helps prevent pooling and ensures a more even finish. I always make sure the area is well-ventilated, as the fumes can be strong.
Always apply stain in the direction of the wood grain. This helps create a smooth, even finish and prevents streaking or uneven absorption.
“I remember the first time I tried staining a set of old kitchen cabinets.”— Stainlane editors
Related: Wood staining basics before examples
Drying and Finishing
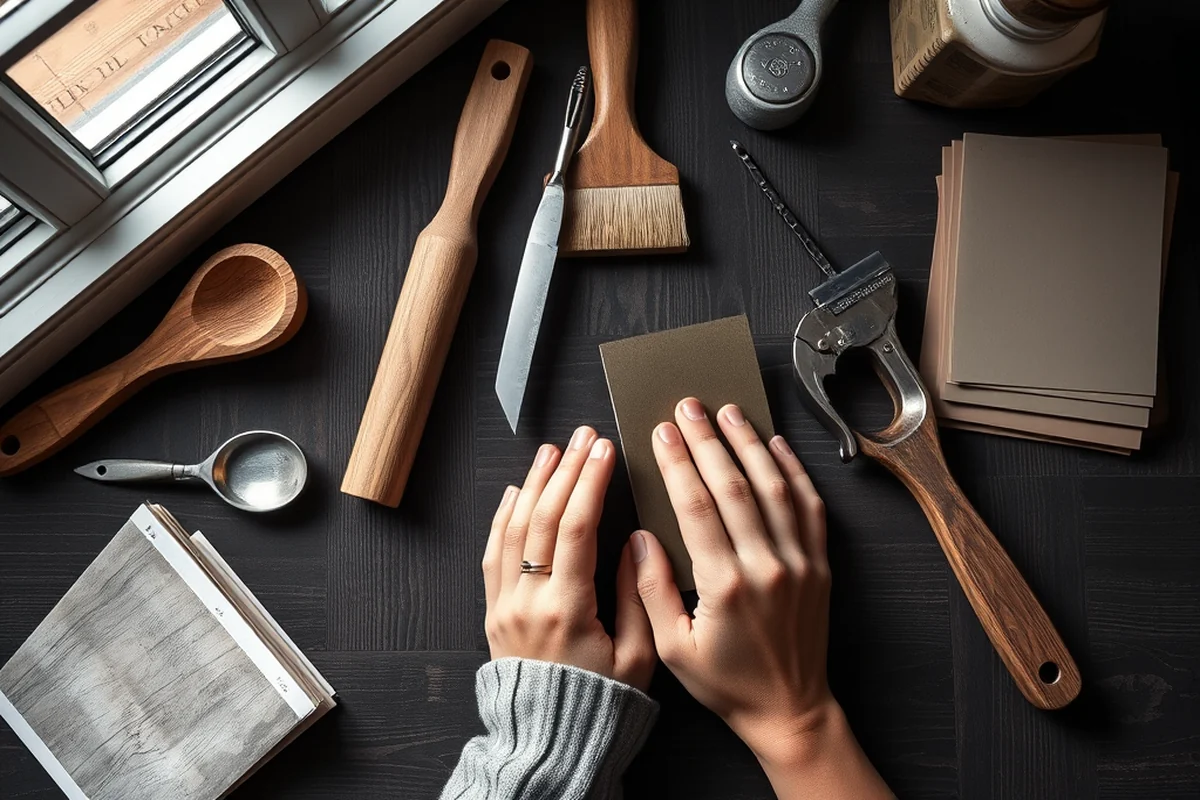
After the stain has dried completely, I apply a clear topcoat. I’ve used both oil-based and water-based finishes, and I’ve found that water-based finishes are easier to apply and dry faster. I always apply at least two coats, allowing each to dry fully before applying the next.
I’ve learned that proper drying time is crucial. I usually let the finish cure for at least 24 hours before using the furniture or object. This gives the finish time to harden and bond with the wood.
If you're working in a humid environment, I recommend using a dehumidifier or working in a dry, well-ventilated space. This helps ensure the finish dries properly and doesn’t develop bubbles or streaks.
Related: Easy wood staining basics before after projects
Common Mistakes and How to Avoid Them
One common mistake is not sanding the wood enough. I’ve seen many people skip this step and end up with a rough or uneven finish. Always take the time to sand and clean the wood properly.
Another mistake is applying too much stain at once. I’ve learned that applying thin, even coats and wiping off excess is the best way to achieve a professional finish. Rushing the process can lead to a blotchy or streaky result.
Finally, not allowing the stain and finish to dry properly is a big mistake. I’ve had to redo projects because of this. Always follow the manufacturer’s instructions and give the wood enough time to cure before using it.
💰 Budget Build
Use affordable wood and a basic stain to create a functional piece without breaking the bank.
⏰ Weekend Version
Complete a small project in a single day with prepped wood and quick-drying stain.
✨ Upgraded Finish
Add a high-end finish like polyurethane or lacquer for a polished, professional look.
🏠 Small-Space Adaptation
Work on smaller pieces with minimal tools and space, perfect for apartments or compact workshops.
🛠️ Rental-Safe Option
Use low-odor, water-based products that are safe for rental properties and won’t damage the wood.
| The mistake | Why it happens | The fix |
|---|---|---|
| Skipping the sanding step | This can lead to an uneven finish and poor stain adhesion. | Always sand the wood thoroughly and wipe it clean before applying stain. |
| Applying too much stain | Excess stain can cause streaks, pooling, and an uneven color. | Apply thin, even coats and wipe off any excess with a clean cloth. |
| Rushing the drying process | This can result in a weak finish or damage to the wood. | Allow the stain and finish to dry fully according to the manufacturer’s instructions. |
| Not cleaning the wood before staining | Dust and residue can interfere with the stain’s ability to bond with the wood. | Wipe the wood with a damp cloth and use a tack cloth to remove any remaining dust. |
Related: Easy wood staining basics before
Wood Staining Basics Before After Projects Printable
Related: Best wood staining basics after
Maintaining and Restoring Stained Wood Over Time
Tips for keeping your stained wood looking fresh and how to rejuvenate it when needed.
Stained wood, like any surface, requires regular maintenance to retain its appearance and durability. I've found that using a microfiber cloth and a mild wood cleaner every few months can prevent buildup and keep the surface looking fresh. If you're dealing with a high-traffic area, like a kitchen table, I recommend wiping it down after each use to avoid spills and stains from setting in.
When stained wood starts to show wear, such as fading or scratches, you can restore it by lightly sanding the affected area with 220-grit sandpaper and applying a fresh coat of stain. I once restored an old bookshelf that had faded over the years by sanding it down and applying two thin coats of the same stain. This brought the color back to life without the need for a complete overhaul.
In cases where the stain has fully worn off or the wood is damaged, you may need to strip the old finish completely. I've used a commercial wood stripper in the past, following the manufacturer's instructions carefully. After stripping, I sanded the wood thoroughly, conditioned it, and reapplied stain and finish. This process took about three hours, but the result was worth the effort for a refreshed, professional-looking piece.
Troubleshooting Stain Issues in Real Projects
Learn how to fix blotchiness, uneven absorption, and other common staining problems with practical solutions tested in real DIY scenarios.
I once stained a pine coffee table and ended up with a patchy, inconsistent finish. It turned out the wood had inconsistent moisture levels and wasn’t sanded properly. To fix this, I used a pre-stain wood conditioner like Minwax Pre-Stain Wood Conditioner, which evened out the absorption. It took about 15 minutes to apply and 2 hours to dry before staining. This step is especially important for softwoods like pine, which tend to absorb stain unevenly.
Another issue I ran into was blotchiness on a maple cutting board. I tried sanding it with 220-grit sandpaper and then wiped it with mineral spirits to remove any dust or residue. After applying the stain, I used a clean cloth to wipe off excess, which helped reduce the blotchiness. I also applied a second coat after 24 hours, which gave a more uniform appearance. This method worked well because maple is a dense wood that doesn’t absorb stain as quickly.
Lastly, I had trouble with a piece of furniture that didn’t take the stain at all. I realized it was because I skipped the cleaning step before staining. I cleaned it with a mild soap and water solution, let it dry thoroughly, and then applied a thin coat of stain. It absorbed properly this time. This taught me that even small steps like cleaning and conditioning can make a huge difference in the final look of your stained wood project.
Common Questions
What type of wood works best for staining?
How do I fix streaks or uneven color?
Can I stain over an existing finish?
How long should I wait between stain coats?
References
- Public Playground Safety Handbook - Guam Compiler of Laws (col.guamcourts.gov)
- Public Playground Safety Handbook (cpsc.gov)
- 4-H Project Selection Guide - Fall River County, South Dakota (fallrivercountysd.gov)
Cite this guide
Stainlane (2026). Wood Staining Basics Before After Projects Printable. https://stainlane.com/wood-staining-basics-before-after-projects-printable/
Feel free to cite or share this guide.