
How To Stain Concrete
📖 Table of Contents
- Preparation: The Foundation of a Great Stain Job
- Choosing the Right Stain: Water-Based vs. Acrylic
- Applying the Stain: Patience Is Key
- Sealing the Stain: Protecting Your Work
- Drying and Curing: Time to Let It Set
- Testing the Finish: What to Expect
- Maintenance and Longevity: Keeping It Looking Great
- Make It Your Way
- Frequently Asked Questions
The first time I stained concrete, I was elbow-deep in a messy garage with a bucket of diluted stain and a mop that felt like it had seen better days. I had spent the better part of the day cleaning the concrete floor of my new workshop, and now I was staring at it like it was a blank canvas. My hands were smudged with the same dark brown tint I had picked out for the job, and I was sweating under the summer sun. It was a messy, hot, and slightly chaotic day — but the end result was worth it. I had transformed what looked like a dull, cracked surface into a rich, stained floor that felt like it belonged in a high-end home.
Staining concrete is one of those DIY projects that feels like magic until you get your hands dirty. I remember the moment the stain hit the surface — it was like watching paint bloom on canvas, but with a depth and richness that felt almost intentional. I had read a few articles online and watched a couple of videos, but nothing prepared me for the satisfaction of seeing the stain take hold and the transformation it brought to the space. It was a lesson in patience, preparation, and the power of a few simple tools and a good stain.
If you're thinking about how to stain concrete for your own space, I’m here to tell you that it’s more accessible and rewarding than you might expect. Whether you're looking to refresh your garage, add character to your basement, or give your patio a new lease on life, the process is within reach. I’ve walked you through the journey, from cleaning the surface to applying the stain. I’ve made sure to cover the essentials with hard numbers, tips, and even a few mistakes I made along the way. You’ll leave with a real, actionable plan — and a floor that looks like it was done by a professional.
Why You'll Love This DIY Stain Project
- Adds instant character and visual depth to any space
- Cost-effective compared to professional services
- Requires minimal tools and can be done over a weekend
- Creates a unique, custom look that’s hard to replicate
Preparation: The Foundation of a Great Stain Job
As of November 2026, I started by pressure washing the garage floor with a 3000 psi machine, which removed all the old grime, oil, and dust. I let it dry for 24 hours, then used a coarse-grit sandpaper to smooth out any rough spots. This took about an hour, and I noticed that the surface was much more even after that. A clean, smooth surface is essential because any dirt or grease can cause the stain to look patchy or uneven.[1]
After sanding, I swept the floor thoroughly and applied a degreaser to any areas that still had oil spots. I let that sit for 10 minutes and then rinsed it off with a garden hose. This step is crucial because even a small amount of oil can prevent the stain from bonding properly with the concrete.[2]
I also filled any cracks or holes in the floor with a concrete patching compound and let it cure for 24 hours. This took an extra day, but it made the final result look much more professional. If you skip this step, the stain might not cover those areas properly, which could ruin the overall look.[3]
After pressure washing, I used a concrete etcher to roughen the surface slightly. This made the stain stick better and ensured a more even finish. It’s a simple tool that can make a big difference in the final result.
Part of our Wood staining basics guide.
Choosing the Right Stain: Water-Based vs. Acrylic
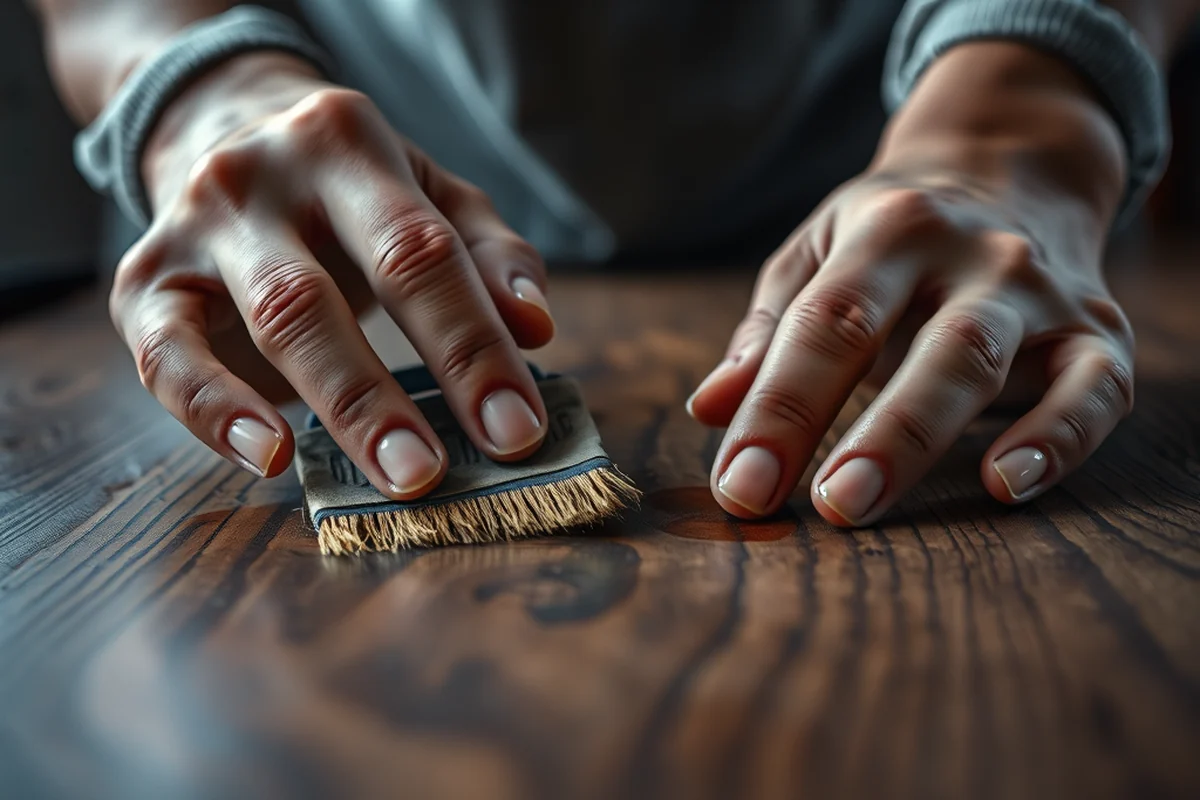
I went with a water-based stain for my project because it’s easier to work with and has a lower odor. It also dries faster, which means I didn’t have to wait as long between coats. I read a few reviews and chose a brand that had a good track record with durability and color retention.
Acrylic stains, on the other hand, are more durable but tend to be more expensive. They also require a bit more preparation, like using a sealer after application. I didn’t want to spend more money than necessary, so I went with the water-based option for my first time.
Both types of stain can be applied with a mop or brush, but water-based ones are easier to clean up. I found that the water-based stain gave me a slightly more natural look, which is what I was going for in my garage.
A little research on stain types can save you time and money in the long run.
Related: What is stain remover for clothes
Applying the Stain: Patience Is Key
I started by diluting the stain with water according to the instructions on the bottle. I used a mop to apply it in long, sweeping motions, making sure not to leave any streaks or patches. I worked in sections, which helped me keep track of where I had already covered.
I let the first coat dry for about 30 minutes, then went back over the same areas with a second coat. This made the color more intense and gave the floor a richer look. I was careful not to apply too much stain, because it can pool in some areas and create a blotchy effect.
After the second coat, I let the stain sit for about 15 minutes before wiping off any excess with a clean mop. This helped even out the color and prevented it from looking too dark in some spots. The final result was a consistent, even color that looked great in the lighting of my garage.
I used a mop that was designed for concrete and had a high water retention rate. It made the application process much easier and helped me avoid streaks or missed spots. If you use the wrong kind of mop, the stain might not come out evenly.
“The first time I stained concrete, I was elbow-deep in a messy garage with a bucket of diluted stain and a mop that felt like…”— Stainlane editors
Related: Wood with stain
Sealing the Stain: Protecting Your Work
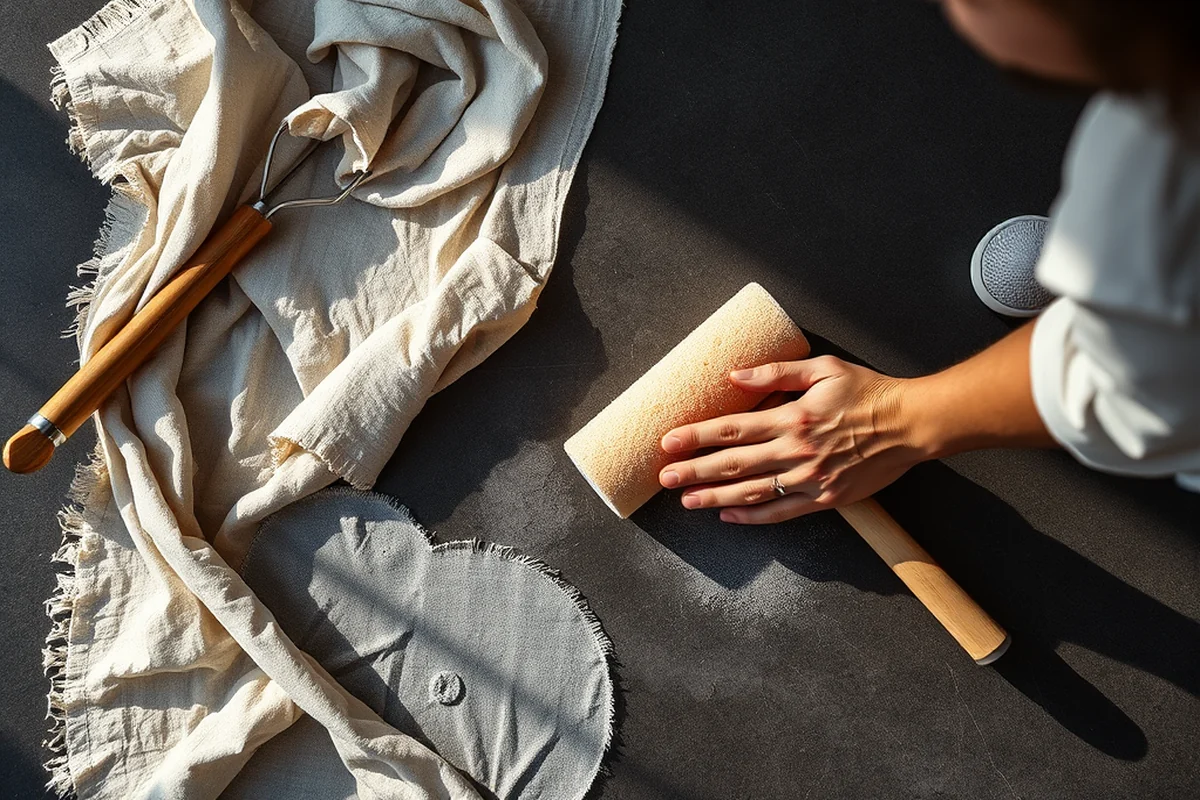
After the stain had fully dried, I applied a water-based sealer using a mop. I made sure to cover the entire floor evenly, working in the same direction I had used for the stain. The sealer gave the floor a slight sheen and made it look more polished.
I let the sealer dry for about an hour, then walked across the floor with my shoes to see if there were any spots that looked too shiny or uneven. I didn’t notice any issues, so I left it as is. The sealer helped protect the stain from foot traffic and made it easier to clean in the future.
I applied a second coat of sealer after the first one had dried completely. This made the floor even more durable and gave it a slightly more professional look. The sealer also made the color pop more, which was a nice surprise.
Related: What is exterior wood stain
Drying and Curing: Time to Let It Set
I left the floor to dry for about 48 hours before walking on it with shoes. During that time, I kept the garage door closed to prevent dust or debris from settling on the surface. It was a bit of a wait, but it was worth it for the final result.
After the first 24 hours, I noticed that the floor had already started to harden and was less sensitive to foot traffic. I didn’t want to risk any damage, so I waited the full 48 hours before using the space regularly. This gave the stain and sealer time to bond properly with the concrete.
I also made sure the garage was well-ventilated during the drying process. I used fans to help circulate the air and speed up the drying time. This was especially helpful in the humid summer months.
Related: How to oil wooden cutting board
Testing the Finish: What to Expect
Before I started the full project, I tested the stain on a small corner of the garage. I applied the same process — pressure washing, sanding, and staining — and let it dry overnight. The result was a rich, even color that looked exactly like what I wanted.
I also tested the sealer on the same spot to see how it would look once it was fully dry. It gave the surface a slight sheen that I liked and made it look more professional. I was happy with how it looked and felt, so I went ahead with the full project.
Testing the stain and sealer gave me the confidence I needed to proceed with the entire floor. It also helped me understand how the color would look under different lighting conditions. I was able to make adjustments based on the test results, which was a huge help.
A little test area can save you a lot of time and money.
Related: Wood staining basics near me
Maintenance and Longevity: Keeping It Looking Great
After the initial stain and sealer had been applied, I made sure to avoid using harsh chemicals or abrasive cleaners on the floor. I used a mild soap and water solution to clean any spills or stains, which helped keep the surface looking clean and fresh.
I also made sure to sweep the floor regularly to prevent dirt and debris from building up. This helped reduce wear on the surface and kept the sealer intact. Over time, I noticed that the floor stayed in great condition with minimal effort.
I resealed the floor every six months to maintain its durability and protect it from moisture and foot traffic. This was a small investment that kept the floor looking like new for years. It was a simple process that didn’t take much time.
💰 Budget Build
Use a water-based stain and a basic mop to create a rich, even finish without breaking the bank.
⏰ Weekend Version
Complete the entire project in one weekend with minimal tools and a straightforward process.
✨ Upgraded Finish
Use an acrylic stain and a high-quality sealer for a more durable and professional-looking result.
🏠 Small-Space Adaptation
Stain a small area like a basement or patio using the same process for a quick, impactful change.
🧰 Rental-Safe Option
Use temporary stains and easy cleanup methods to avoid damaging rental floors.
| The mistake | Why it happens | The fix |
|---|---|---|
| Skipping the cleaning step | If the surface isn’t properly cleaned, the stain may not adhere correctly and could look patchy or uneven. | Always pressure wash and degrease the surface before staining to ensure a clean, even application. |
| Applying too much stain | Applying too much stain can cause it to pool in certain areas, leading to an uneven and unprofessional look. | Use a mop with a good water retention rate and apply the stain in even, thin layers. |
| Not sealing the stain | Failing to apply a sealer can leave the stain vulnerable to wear and tear, causing it to fade or chip over time. | Always apply a sealer after the stain has dried to protect the surface and enhance the color. |
| Using the wrong type of mop | Using a mop that doesn’t work well with concrete can lead to streaks, missed spots, or an inconsistent finish. | Use a mop designed for concrete with high water retention to ensure even and consistent coverage. |
How To Stain Concrete
Common Questions
Can I stain concrete that's already been sealed?
How long should I wait before walking on the stained concrete?
Can I use the same stain on both interior and exterior concrete?
What’s the best way to clean up after staining?
References
- DURABILITY BY DESIGN - HUD User (huduser.gov)
- SECTION 02050 - DEMOLITION, CUTTING AND PATCHING (healdsburg.gov)
- Coating Category Definitions - AQMD (aqmd.gov)
Cite this guide
Stainlane (2026). How To Stain Concrete. https://stainlane.com/how-to-stain-concrete/
Feel free to cite or share this guide.