
How To Stain Concrete Floors
📖 Table of Contents
I remember the first time I saw my garage floor transform from a dull, chipped surface to a rich, stained masterpiece. It wasn't just about aesthetics; it was about reclaiming space and giving it a new life. Staining concrete floors is one of those DIY projects that feels like a small renovation with a big payoff. The process might seem daunting at first, but once you've done it once, you'll wonder why you ever waited.[1]
Concrete floors are like blank canvases, and staining them is a way to express your personality. Whether you're going for a rustic, weathered look or a sleek, modern finish, the right stain can turn an ordinary floor into something special. I've tested different methods myself, from using basic water-based stains to experimenting with acid-based ones, and each has its own charm and challenges.[2]
If you're thinking about tackling this project, you're not alone. Millions of DIYers have done it, and the results are always satisfying. Staining concrete floors takes a few hours, a few dollars, and the right tools, but the end result is worth it. It's a project that can breathe new life into a space and make it feel like a different room altogether.
Why You'll Love This DIY Project
- Transforms dull concrete into a stylish surface with minimal effort
- Adds value to your home without the cost of professional work
- Customizable to match any interior design theme
- Durable and easy to maintain once complete
What You Need Before You Start
As of November 2026, before you even touch the concrete, it's crucial to have all your materials and tools ready. I always start by checking my list to make sure I have everything I need. This includes concrete stain, a spray bottle, a sponge, a clean cloth, and a few plastic buckets for mixing and cleaning. I also keep a pair of rubber gloves on hand to protect my hands from the stain.
Concrete stains come in different types, and choosing the right one is key. Water-based stains are easier to work with and clean up quickly, while acid-based ones offer a deeper, more intense color but require more care. I've found that water-based stains are perfect for beginners, as they’re forgiving and don't require the same level of expertise.
Once I have all my materials, I make sure the floor is clean and dry. I use a pressure washer to remove any dirt or debris, then let the floor sit for a few hours so it can fully dry. This step is essential because any moisture left on the floor can cause the stain to pool or not adhere properly.
Having all your tools and materials ready will save time and prevent the project from dragging on. I always set up a small work area near the floor to keep everything within reach.
Part of our Wood staining basics guide.
Prepping the Concrete Surface
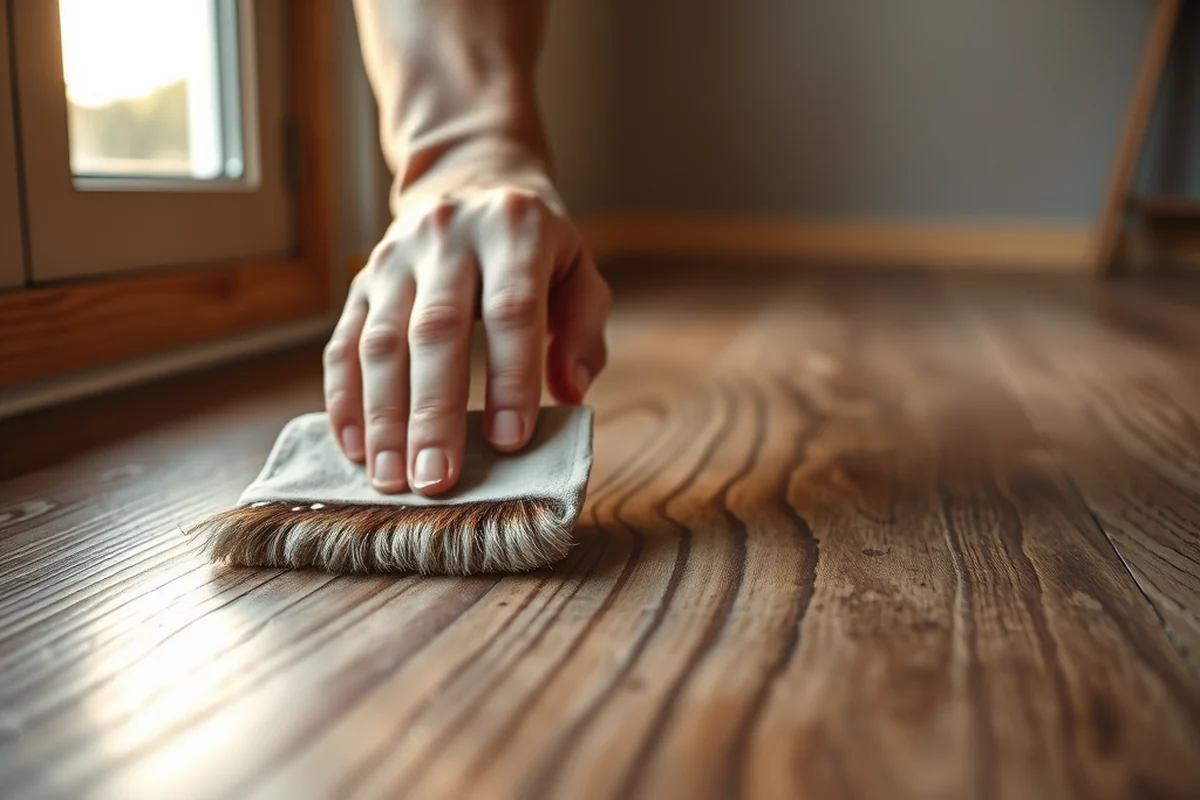
After cleaning the floor, I use a wire brush to scuff the surface slightly. This helps the stain adhere better and creates a more textured look. I also check for any cracks or uneven spots and fill them in with a concrete patching compound. This step ensures the surface is smooth and even before I apply the stain.
Once the surface is clean and even, I cover the surrounding areas with plastic sheeting to protect them from overspray or splatter. I've learned that even the smallest amount of stain on the walls or furniture can be a nightmare to clean later. It's always better to be safe than sorry.
The key to success is patience. I take my time with each step, making sure the floor is as ready as possible before I move on. Rushing this process can lead to uneven results or a stain that doesn't last.
A little patience here goes a long way in the final result.
Related: How is the best way to stain a deck
Applying the Stain
I start by pouring the stain into a plastic bucket and mixing it thoroughly. I like to use a spray bottle to apply the stain evenly across the floor. This method allows me to control the application better and ensures that every part of the floor gets the same amount of stain.
I move in a consistent direction, either left to right or top to bottom, to avoid missing spots. I also make sure to overlap each pass slightly so the stain doesn't look patchy. If I notice any areas that are too dark or too light, I adjust the amount of stain I apply.
Once the stain is applied, I let it sit for about 15 minutes to allow it to penetrate the concrete. I then use a sponge to lightly scrub the surface, which helps the stain absorb evenly. This step is important because it ensures the color looks consistent and doesn't look streaky.[3]
Working in small sections and moving quickly helps prevent the stain from drying too fast or not adhering properly. I always keep a small area of the floor at a time under control.
“I remember the first time I saw my garage floor transform from a dull, chipped surface to a rich, stained masterpiece.”— Stainlane editors
Related: What is semi transparent wood stain
Sealing the Stain
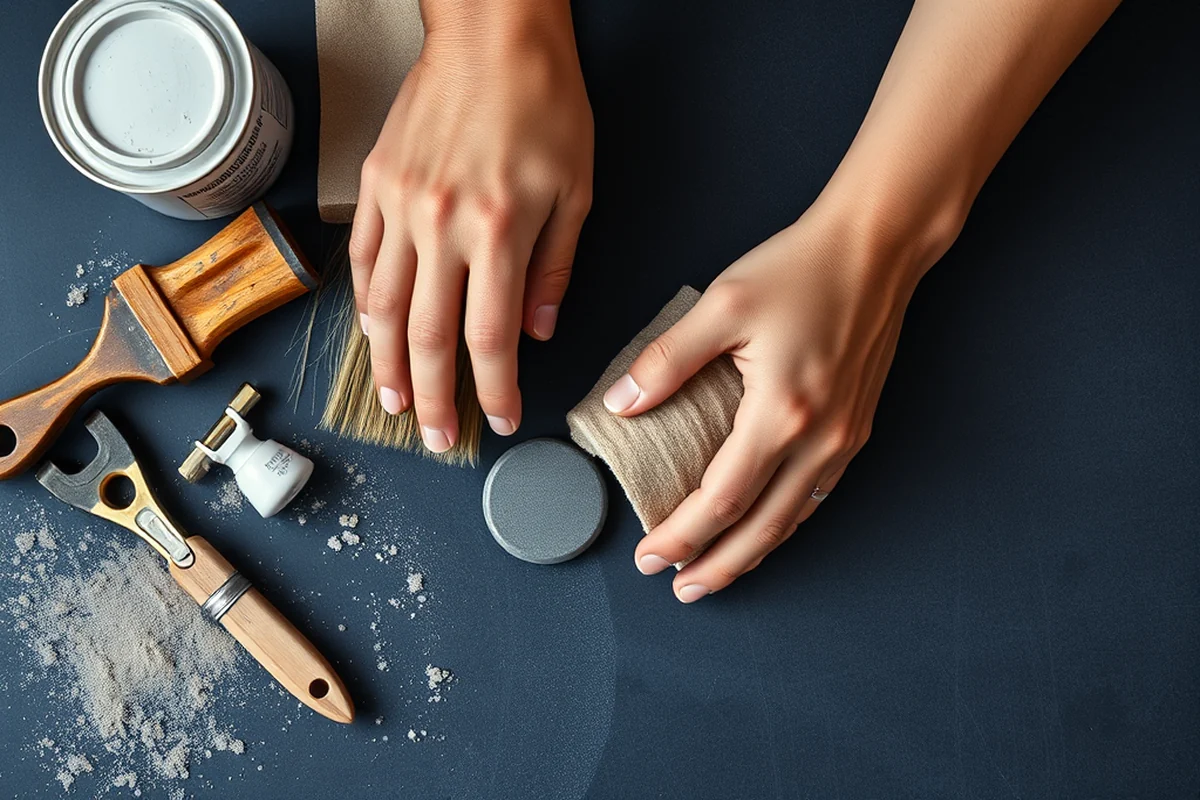
After the stain has dried, I apply a concrete sealer to lock in the color and protect the surface. I choose a sealer that is compatible with the type of stain I used. Water-based sealers are easy to apply and dry quickly, making them perfect for most DIY projects.
I use a sprayer to apply the sealer evenly across the entire floor. I go over each section twice to make sure there are no missed spots. I also take care to avoid getting the sealer on the edges or corners of the floor, where it can pool or leave a mess.
Once the sealer is applied, I let it dry completely before walking on the floor. This usually takes about 24 hours, and I've found that waiting a full day is worth it. The sealer gives the floor a nice, even finish and makes it easier to clean in the future.[4]
Related: What is shout stain remover
Choosing the Right Stain Color
Choosing the right stain color is one of the most important steps in the process. I've found that darker colors tend to hide imperfections better, while lighter colors can make the floor look brighter and more open. I also consider the lighting in the room, as different colors can appear differently under different types of light.
I often test the stain on a small, inconspicuous area first to see how it looks under the actual lighting in the room. This helps me avoid any surprises later on. I've learned that the color can change dramatically once the sealer is applied, so testing is a must.
If I'm unsure about the color, I choose a neutral shade that can easily be paired with other colors in the room. I've found that gray or beige stains are versatile and can work well in both modern and rustic settings. I always make sure to check the stain's compatibility with the sealer I plan to use.
Related: What is stain remover
Maintaining Your Stained Concrete Floor
Once the floor is complete, I make sure to keep it clean and well-maintained. I use a pH-neutral cleaner and a soft mop to avoid damaging the stain. I also avoid using harsh chemicals or abrasive cleaners, which can strip the sealer and dull the color.
I've found that sealing the floor every few years helps keep the stain looking fresh and vibrant. I also make sure to sweep the floor regularly to prevent dirt and debris from building up. This helps reduce the risk of scratches or wear on the surface.
If I notice any spots that start to look dull or faded, I use a small amount of sealer to refresh the area. I've found that maintaining the floor regularly makes a big difference in how long the stain lasts and how good it looks.
Maintenance is key to keeping your stained floor looking brand new.
Related: What is stain remover for clothes
Avoiding Common Pitfalls
One of the biggest mistakes I've seen is applying the stain too thickly. This can cause the stain to look patchy or uneven. I've learned to apply the stain in thin, even layers to ensure the color looks uniform and doesn't look too dark.
Another mistake is not allowing the stain to dry properly before applying the sealer. If the stain is still wet when I apply the sealer, it can cause the sealer to pool or not adhere properly. I always make sure the stain is completely dry before moving on to the next step.
Lastly, I've seen people forget to protect the surrounding areas, leading to a mess that's hard to clean up. I always take the time to cover everything I can, even if it means using a few more pieces of plastic.
💰 Budget Build
Use basic materials and skip the premium sealer for a cost-effective finish.
⏰ Weekend Version
Complete the project in one day with minimal preparation and tools.
✨ Upgraded Finish
Use high-quality stains and sealers for a professional, long-lasting look.
📏 Small-Space Adaptation
Tailor the process for small areas like bathrooms or entryways with smaller tools.
🔒 Rental-Safe Option
Use temporary staining methods that can be removed if needed.
| The mistake | Why it happens | The fix |
|---|---|---|
| Applying the stain too thickly | This can lead to an uneven, patchy finish and make the stain look overly dark. | Apply the stain in thin, even layers to ensure a uniform color. |
| Not allowing the stain to dry properly | Applying the sealer too soon can cause it to pool or not adhere properly. | Always wait until the stain is completely dry before moving on to the sealer. |
| Forgetting to protect surrounding areas | Stain can easily spread to nearby surfaces, making cleanup difficult. | Cover all surrounding areas with plastic sheeting before starting the project. |
| Using incompatible sealers | Using the wrong sealer can damage the stain or cause it to look dull. | Always use a sealer that is specifically recommended for the type of stain you've applied. |
How To Stain Concrete Floors
Common Questions
How long does it take for the stain to dry?
Can I stain an old, cracked concrete floor?
What kind of stain should I use for the best results?
How do I test the stain before applying it to the entire floor?
References
- Landmark Application, 1325 Arch, FINAL TO USE (berkeleyca.gov)
- 2016 California Green Building Standards Code (dbs.lacity.gov)
- Section 500--Concrete Structures (dot.ga.gov)
- EPHB Report No. 358-12a - CDC (cdc.gov)
Cite this guide
Stainlane (2026). How To Stain Concrete Floors. https://stainlane.com/how-to-stain-concrete-floors/
Feel free to cite or share this guide.