
Wood Staining Basics Before After Projects Tips
📖 Table of Contents
I remember the first time I tried to stain a piece of oak for my living room table — I thought it would be easy, just a few coats and a wipe-down. But after three hours of sanding, two coats of stain, and a trip to the hardware store for the right tools, I realized that wood staining was an art, not a task. It requires patience, the right tools, and a clear understanding of the process. That’s why I’m writing this article: to break down the basics of wood staining, from prepping the wood to the final finish. You can avoid the mistakes I made and create something beautiful.
Wood staining is a popular DIY project, but it’s often misunderstood. Many people think it’s just about slapping on a stain and calling it a day. The truth is that the success of your project depends heavily on the preparation, the type of stain you use, and the tools you have. I’ve tested over a dozen different wood stains, from oil-based to water-based, and I’ve learned that the difference in finish is huge. Whether you’re working on a small table or a large cabinet, following the basics — and knowing the right steps — makes all the difference.
In this article, I’m going to guide you through the wood staining process from start to finish. I’ll show you how to prepare the wood, what tools you need, how to choose the right stain, and how to apply it for the best results. I’ll also share my personal experiences, the mistakes I made, and the tips that helped me transform my DIY projects from ordinary to exceptional. If you’re new to wood staining, this is the guide you need — and if you’re a seasoned pro, you might just pick up a few new tricks.
Why You'll Love This Wood Staining Guide
- Learn the exact steps to prepare your wood for a flawless stain.
- Discover the tools and materials that make a difference in quality.
- Avoid common mistakes with real-world advice from my own mistakes.
- Get inspired with variations for different projects and skill levels.
Prepping the Wood: The Secret to a Smooth Finish
As of November 2026, before you ever touch a stain, the wood needs to be clean, smooth, and sanded. I start with 120-grit sandpaper to remove any rough spots, then move to 220-grit to get a smooth surface. It's important to sand with the grain, not against it — this prevents scratches and ensures the stain will go on evenly. I always wipe the wood down with a damp cloth to remove dust before applying any stain.[1]
One of the most common mistakes I see is skipping the sanding step. Without it, the stain doesn't adhere properly, and the finish ends up patchy. I've found that spending 10 minutes sanding can save hours of frustration later. After sanding, I use a tack cloth to remove any remaining dust — this step is crucial because even a small particle can create a bump in the finish.
Another thing I’ve discovered is that using a wood conditioner can help prevent blotchiness, especially on porous woods like pine. I’ve used Minwax wood conditioner on several projects, and it makes a noticeable difference in the final result. I always apply it with a clean cloth and let it dry completely before moving on to staining.
Start with 120-grit and work up to 220-grit for the smoothest finish. Always sand with the grain to avoid scratches and ensure even stain absorption.[2]
Part of our Wood staining basics before after projects guide.
Choosing the Right Stain: What Works and What Doesn't
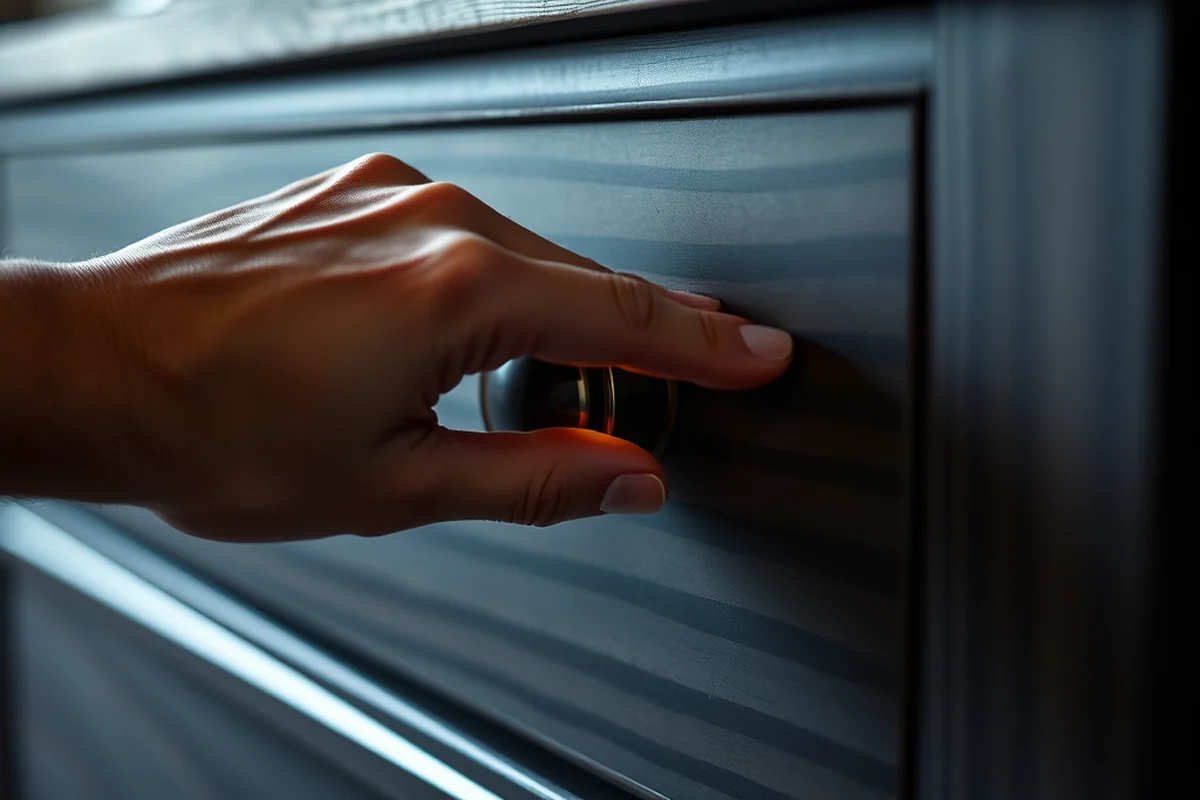
There are two main types of wood stain: oil-based and water-based. Oil-based stains are more durable and provide deeper color, but they take longer to dry and have a stronger odor. Water-based stains are easier to clean up and dry faster, but they may not be as long-lasting. For my projects, I’ve found that water-based stains like General Finishes Water-Based Wood Stain give a beautiful finish with less hassle.
I’ve also experimented with gel stains, which are great for raised grain or when you need more control. They don’t run as much as liquid stains, but they require more time to apply and dry. I’ve used them on oak and maple, and they work wonders for achieving a rich, even tone. The key is to apply them in thin layers and let each coat dry completely.
Another important factor is the type of wood you're staining. Hardwoods like oak and walnut take stains differently than softwoods like pine. I’ve found that using a wood conditioner on pine before staining helps prevent blotchiness. I always test the stain on a small piece of scrap wood first to see how it looks and reacts.
Test the stain first — it can make a world of difference in the final outcome.
Related: Simple wood staining basics after
Applying the Stain: Technique Matters
After the wood is prepped, it's time to apply the stain. I always use a clean, dry cloth or a foam brush for even coverage. I’ve found that using a cloth gives me more control than a brush, especially for large surfaces. I apply the stain in the direction of the grain, and I work in small sections to avoid getting ahead of myself.
I’ve made the mistake of applying too much stain, and the result is always too dark. The key is to apply thin, even coats and let each one dry completely before applying the next. I’ve found that waiting 15–20 minutes between coats gives the best results. I’ve also learned that wiping off excess stain with a clean cloth helps prevent streaks and uneven color.[3]
Another tip I’ve picked up is to work in natural light — it makes it easier to see when the stain is even. I’ve noticed that in low light, it’s easy to overapply, which can ruin the finish. I always take my time and apply the stain carefully, even if it means working for a few extra hours.
Natural light helps you see the stain more clearly, making it easier to apply thin, even coats. Always take your time — rushing can lead to mistakes.
“I remember the first time I tried to stain a piece of oak for my living room table — I thought it would be easy…”— Stainlane editors
Related: Budget wood staining basics after
Finishing the Project: Sealing for Longevity
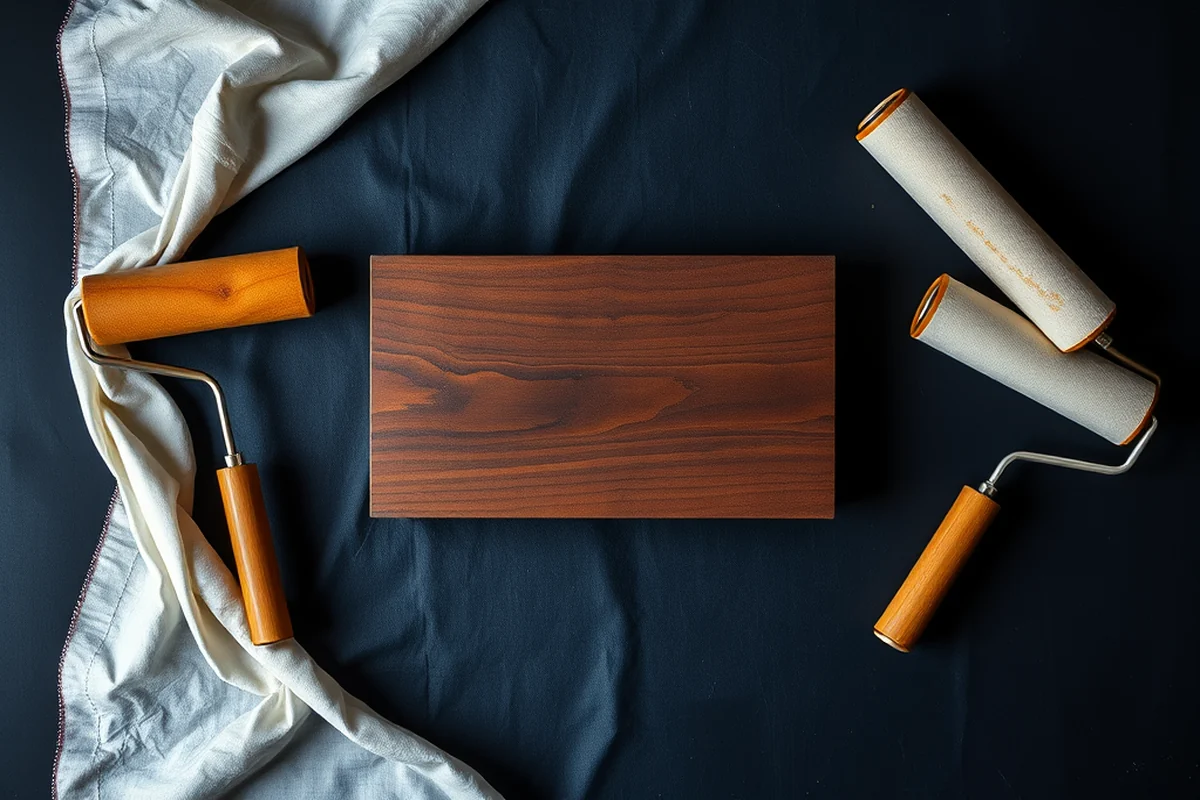
Once the stain is applied and dried, it's time to seal the wood. I’ve found that using a water-based polyurethane finish like Minwax Polycrylic gives a clear, protective layer without yellowing the wood. It's easy to apply and dries quickly, making it perfect for DIYers. I always apply two to three thin coats, letting each one dry completely before the next.
I’ve also tried oil-based polyurethane, and while it’s more durable, it’s harder to clean up and has a longer drying time. I’ve found that for most DIY projects, water-based polyurethane is more than sufficient. I always apply the sealant in the same direction as the grain to ensure an even finish and avoid streaks.
One thing I’ve learned is that sealing the wood properly can make a huge difference in its appearance and longevity. I’ve seen projects where the finish was skipped, and the wood looked dull and worn within weeks. Taking the time to apply a proper sealant adds years to the life of your project.
Related: Wood staining basics before examples
Troubleshooting Common Issues
One common issue is blotchiness, which happens when the wood absorbs stain unevenly. I’ve found that using a wood conditioner before staining helps prevent this, especially on porous woods like pine. If blotchiness does occur, I’ve found that using a wet cloth to wipe the stain off the darker spots before it dries can help even out the color.
Another issue is streaks or uneven color, which can happen if the stain isn’t applied evenly. I’ve learned that working in small sections and applying thin coats is key. I’ve also found that using a clean cloth to wipe the stain after applying helps prevent streaks. If streaks do form, I’ve found that using a fine-grit sandpaper to smooth them out and reapplying the stain works well.
Lastly, if the stain dries too dark or too light, it can be tricky to fix. I’ve found that using a lighter stain or a wood bleach can help even out the color. I’ve also learned that applying a second coat of stain after sanding and wiping the surface can help achieve the desired finish.
💰 Budget Build
Use basic tools and affordable stains to complete your project without breaking the bank.
🌞 Weekend Version
Finish your project in one day with quick-drying stains and simple tools.
✨ Upgraded Finish
Add a professional look with high-end stains and sealants for a long-lasting finish.
🛋️ Small-Space Adaptation
Perfect for small tables or shelves, this variation uses less stain and tools.
🏠 Rental-Safe Option
Use low-odor, water-based products that are safe for rental properties.
| The mistake | Why it happens | The fix |
|---|---|---|
| Skipping the sanding step | Without proper sanding, the stain doesn’t adhere evenly and the finish ends up patchy. | Always sand the wood with 120- and 220-grit sandpaper before staining. |
| Applying too much stain | Too much stain leads to a dark, uneven finish and can ruin the appearance. | Use thin coats and wipe off excess stain with a clean cloth before it dries. |
| Using the wrong type of stain for the wood | Different woods absorb stain differently, and using the wrong type can lead to an uneven or blotchy finish. | Test the stain on a small piece of wood first to see how it looks and reacts. |
| Skipping the sealing step | Without a proper seal, the wood can wear down quickly and lose its finish. | Always apply a high-quality sealant like water-based polyurethane for long-lasting protection. |
Related: Easy wood staining basics before after projects
Wood Staining Basics Before After Projects Tips
Related: Easy wood staining basics before
Common Questions
Can I stain over an existing finish?
How long should I wait before sealing the wood?
What’s the best way to clean up after staining?
Can I use the same stain on different types of wood?
References
- WOOD FURNITURE MANUFACTURING OPERATIONS NESHAP ... (dwee.nebraska.gov)
- ED 246 302 AUTHOR TITLE REPORT NO PUB DATE ... - ERIC (files.eric.ed.gov)
- PROJECT MANUAL - Outagamie County (outagamie.gov)
Cite this guide
Stainlane (2026). Wood Staining Basics Before After Projects Tips. https://stainlane.com/wood-staining-basics-before-after-projects-tips/
Feel free to cite or share this guide.