
How To Wood Staining Basics Color Style Ideas
📖 Table of Contents
The first time I ever touched a wood stain, I was in a hardware store trying to find the right color for my grandmother's old coffee table. I had no idea where to start. The shelves were filled with bottles of every imaginable shade, from deep mahogany to ghostly white. I remember standing there, overwhelmed by the options and unsure how to choose. That was my first lesson in wood staining basics — it's not just about the color; it's about understanding the wood, the finish, and the technique that will make it look its best.
Now, after years of experimenting with different stains and finishes, I can confidently say that wood staining is one of the most rewarding DIY projects I've ever tackled. The right stain can transform a dull, lifeless piece of wood into something that looks like it belongs in a high-end furniture store. It's not just about aesthetics, though — the right stain can also protect the wood, enhance its natural beauty, and make it last for years. If you're thinking about exploring wood staining, this guide is your starting point.
I'm not here to sell you a product or give you a generic list of steps. I'm here to walk you through the real process — the mistakes I made, the techniques that worked, and the colors that I've found to be the most versatile. Whether you're looking to stain a kitchen table, a bookshelf, or even a piece of furniture you bought secondhand, this guide will help you understand the basics of color, style. Technique so you can create something that's both beautiful and durable.
Why You'll Love This Wood Staining Guide
- Discover how to choose the perfect stain color for your project and home style.
- Learn techniques that make staining easier, faster, and more forgiving for beginners.
- Get tips on matching wood grain and color to enhance the natural beauty of your piece.
- Avoid common mistakes and save yourself time, money, and frustration.
Understanding Wood Grain and Stain Compatibility
As of October 2026, Different types of wood have different grain structures. Oak, for example, has a pronounced, open grain that shows up more in darker stains, while maple is tighter and smoother. I once tried using a light stain on oak and was disappointed — the wood just didn’t look right. I switched to a medium-toned stain, and the grain came through beautifully.
Before you start, take a small piece of wood from your project and test the stain. This helps you see how the wood will react. I tested three different stains on a scrap of oak, and the one that gave me the most even finish was a semi-transparent oil-based stain. It absorbed evenly and didn’t leave the wood looking splotchy.
If your wood has a lot of knots or irregularities, consider using a wood conditioner first. I used Minwax Pre-Stain Wood Conditioner on a piece of pine I was working on, and the difference was immediate. The stain applied more uniformly and didn’t pool in the knots.
Always test your stain on a scrap piece of wood before applying it to your project. This saves you from making a mistake that could ruin your work.
Part of our Wood staining basics color style ideas guide.
Choosing the Right Color for Your Space
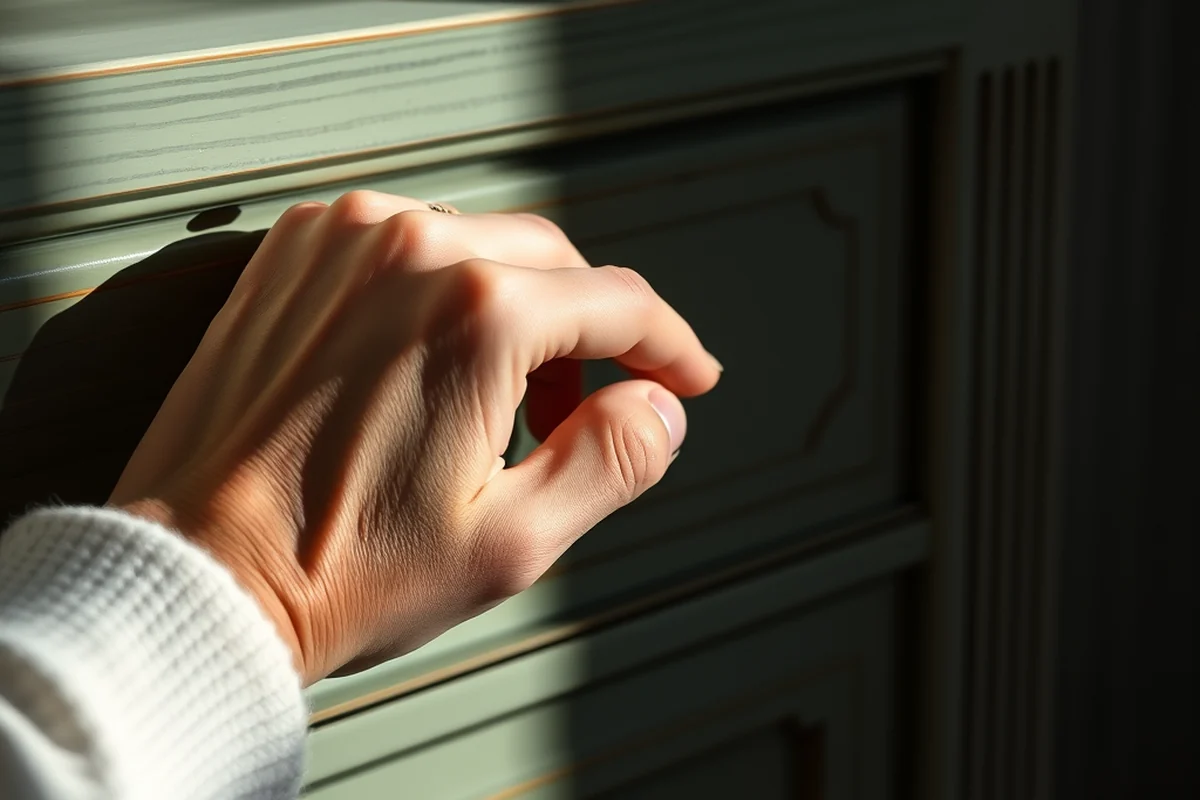
I once stained a dining table in a deep walnut shade for a client, only to find out that the room had very little natural light. The table looked almost black under the dim lighting, and it didn’t match the rest of the room’s decor. I had to go back and re-stain it with a lighter, more amber-toned stain. It was a valuable lesson in how lighting affects color perception.
If you're working in a bright, sunlit space, a lighter stain like honey or maple works well. These colors reflect more light and make the room feel more open. For darker, cozier spaces like a living room or bedroom, a medium to dark stain like ebony or walnut can add depth and richness.
Another thing to consider is the style of your home. A modern, minimalist space might look better with a white or gray stain, while a rustic, farmhouse-style home might call for a more natural, earthy tone like driftwood or mahogany.
Light colors reflect more light, dark colors add depth — choose wisely based on your space.
Related: Varathane wood stain color chart
The Right Tools for the Job
I used to think that a brush was all I needed for staining. Boy, was I wrong. A brush works great for large, flat surfaces, but for edges and corners, a foam brush or a small brush with fine bristles is better. I tried staining a corner of a cabinet with a large brush, and the stain bled too much into the wood, leaving it uneven.
A stain pad is another useful tool. It's like a felt sponge that you dip into the stain and press onto the wood. I used one for a small table, and it worked like a charm. It applied the stain evenly and didn’t leave any streaks or brush marks.
I also found that using a plastic scraper to remove excess stain was helpful. It allowed me to smooth out the stain and prevent pooling in the grain. One of my first projects had too much stain in the grooves of the wood, and the plastic scraper helped me fix that quickly.
A brush works for large areas, a pad is great for small or intricate details, and a scraper helps you remove excess stain and smooth it out.
“The first time I ever touched a wood stain, I was in a hardware store trying to find the right color for my grandmother's old…”— Stainlane editors
Related: Stain remover for white clothes
The Staining Process: Step-by-Step
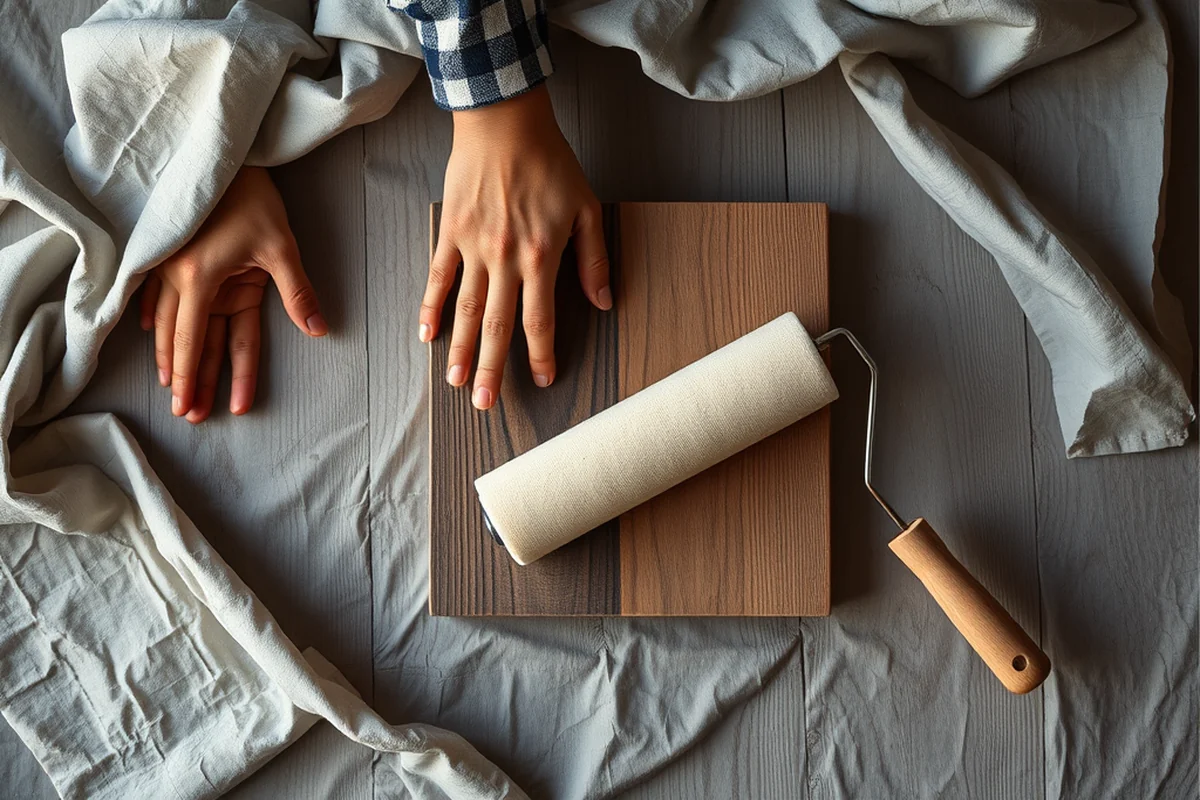
I learned the hard way that rushing the staining process can lead to mistakes. I once tried to apply two coats of stain in one day and ended up with a blotchy finish. The key is to work slowly and methodically. I now take my time with each coat, letting it dry completely before applying the next one.
I recommend applying the stain in the direction of the grain. This helps the stain flow more evenly and prevents it from pooling. I used to go against the grain, which made the wood look uneven. Once I started going with the grain, the results were much better.[1]
After applying the stain, I wait for it to dry for about 30 minutes, then wipe away any excess with a clean cloth. This helps even out the color and prevents it from becoming too dark. I've found that wiping the stain off after 30 minutes gives the best results without affecting the finish.
Related: Wood stain colors chart
Finishing the Stain: Top Coats and Protection
I once stained a desk and didn’t apply a top coat. Within a few weeks, the wood started to look dull and the stain faded in some areas. A top coat not only adds a layer of protection but also enhances the color and finish of the stain. I now always apply a clear polyurethane top coat after staining.
There are different types of top coats — oil-based, water-based, and lacquer. I’ve found that oil-based polyurethane gives a richer, more durable finish, but it takes longer to dry. Water-based polyurethane dries faster and is easier to clean up, but it doesn’t have the same depth. I usually go with a water-based top coat for quick projects.
I also recommend applying the top coat in the same direction as the grain. This helps it flow evenly and creates a smooth, even finish. I applied two thin coats of top coat to my last project, and the result was a smooth, professional-looking finish that’s resistant to scratches and water.
💰 Budget Build
Use affordable stains and basic tools to achieve a professional-looking finish without breaking the bank.
⏰ Weekend Version
Complete a small project like a table or chair in just a few hours with minimal tools and stain.
✨ Upgraded Finish
Enhance your project with premium stains and top coats for a high-end, showroom-quality look.
🛋️ Small-Space Adaptation
Apply stain in a small area like a corner or a narrow shelf with minimal mess and effort.
🏠 Rental-Safe Option
Use removable, temporary stain options that won’t damage rental properties or require permanent changes.
| The mistake | Why it happens | The fix |
|---|---|---|
| Applying too much stain | Too much stain can lead to a blotchy, uneven finish and make the wood look muddy. | Use a clean cloth to wipe away excess stain after applying it. I’ve found this is the best way to avoid over-staining. |
| Not waiting for the stain to dry | Applying a second coat too soon can cause the stain to react unpredictably and create streaks or uneven color. | Wait at least 30 minutes between coats. I now use a timer to make sure I don’t rush the process. |
| Ignoring the wood grain direction | Staining against the grain can cause the stain to pool and leave an uneven finish. | Always stain in the direction of the grain. I now always check the grain direction before starting. |
| Skipping the top coat | Not applying a top coat can leave the stained wood vulnerable to scratches and water damage. | Always apply a clear polyurethane top coat. I recommend using a water-based option for faster drying. |
Related: Wood stain colors
How To Wood Staining Basics Color Style Ideas
Related: Wood stain color chart
Common Questions
Can I stain over a previously finished wood surface?
How long does wood stain take to dry?
What’s the best way to remove excess stain?
Can I use the same stain on different types of wood?
References
Cite this guide
Stainlane (2026). How To Wood Staining Basics Color Style Ideas. https://stainlane.com/how-to-wood-staining-basics-color-style-ideas/
Feel free to cite or share this guide.