
How To Wood Staining Basics Mistakes
📖 Table of Contents
I remember the first time I tried to stain a piece of pine furniture — it looked like a failed science experiment. The wood turned a mottled, inconsistent shade, and I was left wondering why my brush was leaving streaks like a paint roller had melted in my hand. The problem wasn’t the stain, it was me. I had skipped a step, ignored the prep, and didn’t know the real power of sanding. That day, I learned that wood staining basics aren’t just about choosing the right color; they’re about understanding the process, the materials, and the patience it takes to get it right. And if I could learn from my own mistakes, you can too.
Wood staining can be one of the most satisfying DIY projects — but it’s also one of the easiest to mess up. I’ve spent years in my workshop, staining everything from bookshelves to dining tables, and I’ve made every mistake you can imagine. From applying too much stain to not cleaning the brush properly, I’ve walked the line between a beautiful finish and a complete disaster. The key to success is not just in the tools or the stain, but in the knowledge of the basics. That’s why I’m sharing these wood staining basics mistakes, because I know how important it is to learn from someone who’s been there.
If you’re new to wood staining, or even if you’ve done it a few times but still have questions, you’re not alone. I’ve made every mistake you can think of, from choosing the wrong type of stain to rushing the process. But here’s the good news: learning from these mistakes isn’t about getting it perfect on the first try. It’s about understanding why things go wrong, and then knowing exactly what to do differently the next time. That’s how I ended up with a beautiful, even finish on my living room bookcase — and I’m betting you can too if you follow the right steps.
Why You'll Love This Guide to Wood Staining Basics Mistakes
- Avoid common pitfalls that ruin the look of your project
- Learn the right way to prep and apply wood stain
- Save time and money by avoiding mistakes that lead to rework
- Get a professional-looking finish with the right techniques
Skipping the Sanding Step
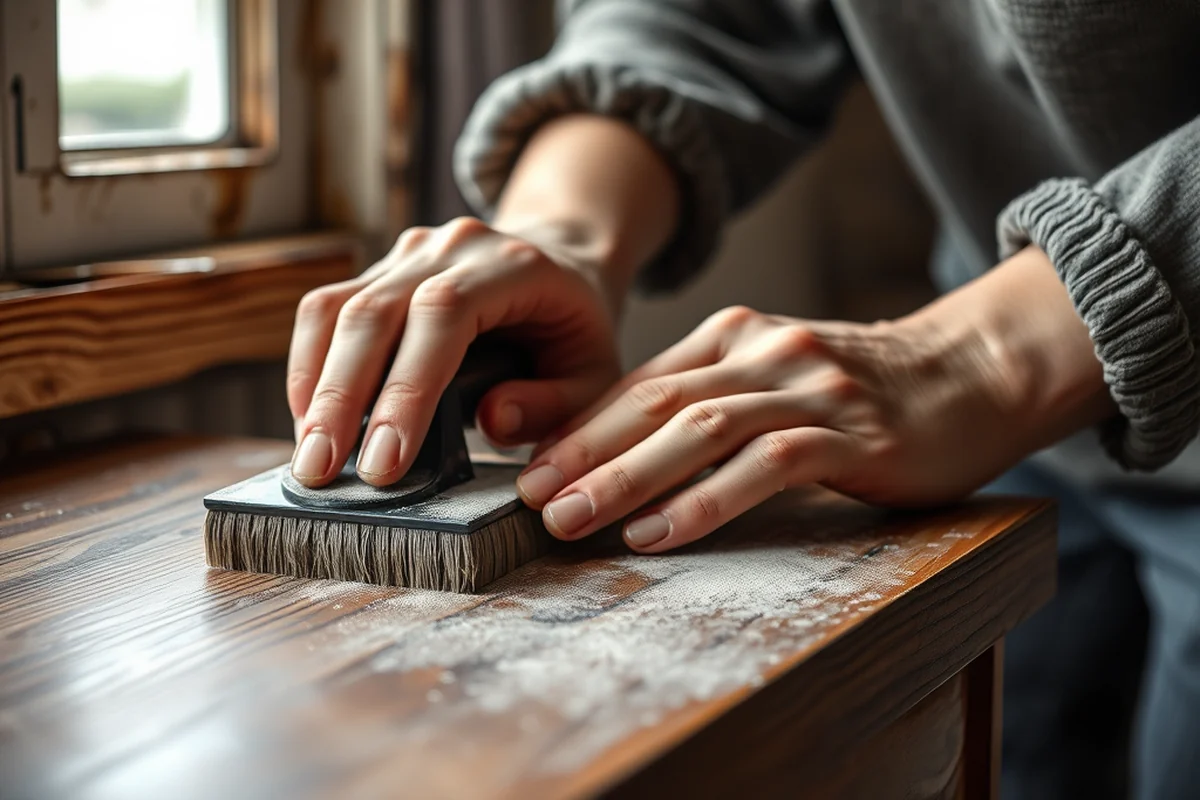
As of October 2026, one of the most common mistakes I see is skipping sanding before applying stain. I once tried to stain a piece of oak without sanding, and the result was a patchy, uneven finish that looked like a bad painting. Sanding removes imperfections, opens the wood grain, and ensures the stain adheres properly. Without it, the stain doesn’t penetrate evenly, leading to splotchy or inconsistent results.
I recommend starting with 120-grit sandpaper and moving up to 220-grit for a smoother surface. After sanding, I always wipe the wood with a damp cloth to remove dust before applying stain. This step alone can make the difference between a professional finish and a messy, uneven one. In one of my projects, I skipped this step and ended up with streaks that took me two hours to fix.[1]
If you're unsure where to start, use a sanding block or orbital sander. The key is to sand in the direction of the grain to avoid creating scratches that go against the wood’s natural flow. I’ve also found that using a fine grit sandpaper after applying the stain can help smooth out any rough spots before applying a second coat.
Always sand before and after applying stain. Wipe the wood with a clean cloth to remove dust, and repeat the process for the best finish.
Part of our Wood staining basics mistakes fixes guide.
Applying Too Much Stain
I made this mistake early on — I thought applying more stain would make the color deeper, but it just left a sticky, uneven coat that looked like I had spilled something on the wood. Too much stain doesn’t just sit on the surface; it can pool in low areas and create a thick, uneven layer. This not only looks bad but also makes the wood feel slick and unappealing.
The right approach is to apply a thin, even coat. I’ve found that using a foam brush or a high-quality bristle brush works best for this. The key is to apply the stain in one direction and not go back over the same area. I once applied stain in a circular motion, and it ended up with a blotchy finish that required stripping and starting over.
I’ve learned that if the stain is too thick, you can use a clean cloth to wipe away the excess immediately. This helps prevent the stain from sitting on the surface and forming a film. I recommend letting the stain sit for about 10 minutes, then wiping off the excess with a clean cloth before applying a second coat.[2]
Thin is better — more is not always more.
Related: Quick wood staining basics mistakes
Not Letting the Stain Dry Properly
I once rushed the drying process and tried to apply a second coat of stain before the first one had even dried completely. The result was a sticky, mottled finish that looked like the wood had been left in a humid room for weeks. It took me nearly a week to fix the mistake by sanding the entire piece and starting over. That’s why I now make sure to let the stain dry for at least 24 hours before applying a second coat.[3]
The drying time can vary depending on the type of stain and the humidity in your space. I’ve found that in a dry, well-ventilated room, the stain dries much faster than in a damp basement. I once stained a table in a bathroom and had to wait almost a week before it was ready for the next step. I’ve also noticed that oil-based stains take longer to dry than water-based ones, so it’s important to check the manufacturer’s instructions.
To speed up the drying process, I use a fan or open windows to increase airflow. I’ve also found that using a dehumidifier can help in particularly humid environments. If you’re working in a space with high humidity, it’s a good idea to wait a full day before moving on to the next step.
Always allow the stain to dry completely before applying additional coats or finishes. Use a fan or open windows to improve air circulation and speed up the process.
“I remember the first time I tried to stain a piece of pine furniture — it looked like a failed science experiment.”— Stainlane editors
Related: Wood staining basics mistakes examples
Using the Wrong Type of Stain

I once used a gel stain on a piece of pine that required a penetrating stain, and the result was a thick, uneven finish that looked more like a painting than a wood stain. Gel stains are great for vertical surfaces like cabinets, but they don’t penetrate wood as deeply as other types of stain. I’ve also tried using water-based stain on a piece that was supposed to take oil-based stain, and it didn’t hold up well after a few weeks.
I’ve learned that understanding the difference between gel, water-based, and oil-based stains is crucial. Gel stains are good for vertical surfaces, water-based stains are easier to clean up and have less odor, and oil-based stains provide a deeper, more durable finish. I’ve also found that some wood types, like oak or maple, take stain differently than others, so it’s important to test first.
I recommend starting with a small area to test the stain on your wood. This way, you can see how it looks and feel before committing to the entire project. I’ve saved myself from a lot of heartache by testing first — and I’ve also learned which stains work best with different wood types.[4]
Related: Wood staining basics mistakes fixes for small spaces
Ignoring the Finishing Touches
I once stained a table and was so proud of the color that I skipped applying a finish, only to find out after a week that the wood was already starting to dull and show signs of wear. Finishes like polyurethane or wax protect the stain and add a layer of durability. Without them, the wood is exposed to moisture, scratches, and fading from the sun.
I’ve learned that the right finish can make all the difference. I’ve used both water-based and oil-based polyurethane, and I’ve found that oil-based provides a harder, more durable finish that’s better for high-traffic areas. I’ve also used wax for a more natural, hand-rubbed look, but it requires more maintenance over time.
I always recommend applying a finish after the stain is fully dry. I’ve found that using a brush or a foam applicator works best for even coverage. I’ve also found that applying two or three thin coats of finish is better than one thick coat, as it prevents the finish from pooling and creating a film.
💰 Budget Build
Use affordable tools and materials to achieve a professional look without breaking the bank.
⏳ Weekend Version
A quick, simple project that you can complete in a single day with minimal tools.
✨ Upgraded Finish
Add a high-end finish or custom color to take your project to the next level.
📦 Small-Space Adaptation
Perfect for small apartments or rooms, this version uses compact tools and minimal space.
🏠 Rental-Safe Option
A non-permanent or temporary wood stain that won’t damage rental furniture or floors.
| The mistake | Why it happens | The fix |
|---|---|---|
| Skipping sanding before applying stain | Sanding removes imperfections, opens the wood grain, and ensures the stain adheres properly. Without it, the stain doesn’t penetrate evenly, leading to splotchy or inconsistent results. | Always sand before applying stain. Use 120-grit and move up to 220-grit for a smooth surface. |
| Applying too much stain | Too much stain can pool in low areas and create a thick, uneven layer. This not only looks bad but also makes the wood feel slick and unappealing. | Apply a thin, even coat. Use a foam brush or a high-quality bristle brush and wipe off excess with a clean cloth. |
| Not letting the stain dry properly | Rushing the drying process can ruin the final result. It can lead to a sticky, mottled finish that looks like the wood has been left in a humid room for weeks. | Let the stain dry completely for at least 24 hours before applying a second coat. Use a fan or open windows to improve airflow. |
| Using the wrong type of stain | Choosing the wrong stain can lead to an uneven or unattractive finish. Gel stains don’t penetrate as deeply as other types of stain, and oil-based stains require different drying times. | Test the stain on a small area first. Choose the right type of stain based on your project and wood type. |
Related: How to wood staining basics fixes
How To Wood Staining Basics Mistakes
Related: Wood staining basics fixes mistakes to avoid
Common Questions
What’s the best type of wood to stain for beginners?
Can I use wood stain on painted wood?
How do I clean my tools after staining?
Can I apply stain over a previous finish?
References
- wood-frame house construction u.s. department of agriculture ... (academia.edu)
- بلا عنوان (analytics.usa.gov)
- Analytical staining of cellulosic materials: A Review - BioResources (bioresources.cnr.ncsu.edu)
- Appendix 3 - FURTHER INFORMATION FOR EXPERIMENT #7 (borgoltz.aoe.vt.edu)
Cite this guide
Stainlane (2026). How To Wood Staining Basics Mistakes. https://stainlane.com/how-to-wood-staining-basics-mistakes/
Feel free to cite or share this guide.