
Wood Staining Basics Mistakes Fixes Ideas
📖 Table of Contents
I still remember the day I tried to stain my first piece of furniture, only to end up with a patchy, uneven finish that looked more like a failed science experiment than a polished table. I'd read a few articles online, watched a couple of tutorials, and thought I had it all figured out. But what I didn't know was how easy it is to make small mistakes that ruin the whole project. Wood staining basics are deceptively simple, and it's easy to overlook the small details that make all the difference. That's why I'm writing this guide: to help you avoid the same mistakes I made and to give you the tools and tips you need to create a beautiful finish on your own.
Wood staining isn’t just about applying a coat of color and calling it a day. It’s a process that involves preparation, patience, and precision. I’ve spent the last five years working with wood, from refinishes to custom builds. I’ve learned that the most common mistakes happen not in the staining itself, but in the steps that come before and after. Whether it's skipping the sanding, not letting the stain dry properly, or using the wrong type of brush, each error compounds into a less-than-ideal result. But the good news is, these mistakes are fixable—and I’ll show you exactly how.
The beauty of wood staining is that it can transform a plain, dull surface into something rich and full of character. But that transformation only happens if you follow the right steps, use the right tools, and understand the nuances of the process. I’ve made my share of mistakes, and I’ve learned from them. I hope this guide helps you avoid the same pitfalls and gives you the confidence to take on your own wood staining project, knowing that with the right knowledge and a little practice, you can achieve professional results.
Why You'll Love This Wood Staining Guide
- Avoid common beginner mistakes with clear, actionable fixes.
- Learn the right tools and techniques for a smooth, even finish.
- Understand how to prepare your wood for staining like a pro.
- Get real-world insights from a seasoned DIYer who's been there.
The Importance of Preparation
As of October 2026, I’ve learned the hard way that skipping the preparation steps is one of the most common mistakes. I once tried to stain a shelf without sanding it first, and the stain barely adhered to the surface, creating a blotchy finish that I had to start over on. Preparation isn’t just about making the wood look good—it’s about ensuring the stain will stick properly and last.
To prepare your wood, start by cleaning it thoroughly with a degreaser to remove any oils, dust, or old finishes. Then, sand the surface using progressively finer grits, starting with 120-grit and moving up to 220-grit. Sanding opens up the wood grain and creates a smooth surface that the stain can bond to. I always sand in the direction of the grain to avoid creating scratches that go against the natural flow of the wood.[1]
After sanding, wipe the surface with a tack cloth to remove any dust particles. I’ve found that even the smallest amount of dust can cause the stain to lift or create a patchy finish. Taking the time to clean the wood properly is crucial, even if it feels like an extra step.
Even after sanding, dust can get trapped in the wood grain. A tack cloth removes it effectively, ensuring a clean surface for the stain to adhere to.
Part of our Wood staining basics mistakes fixes guide.
Choosing the Right Stain and Tools
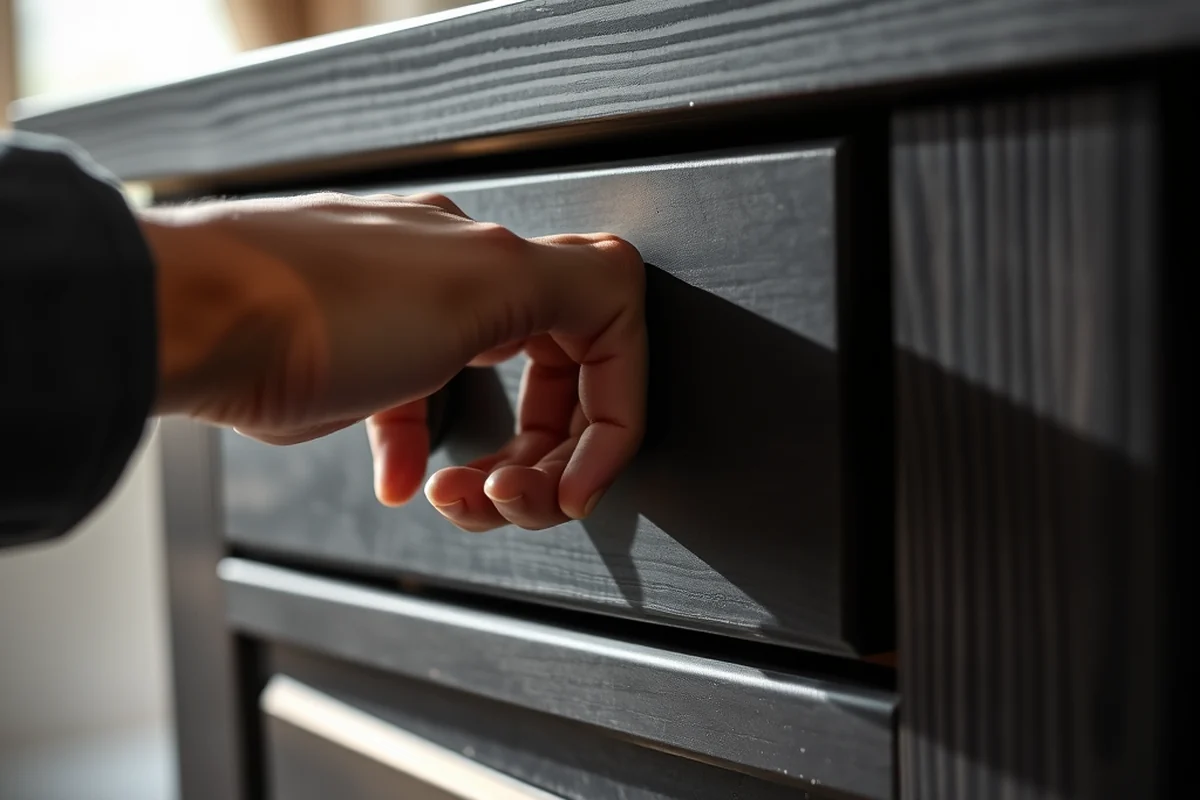
Choosing the right stain for your project is essential. I’ve experimented with several types of wood stains, from oil-based to water-based, and I’ve found that each has its own advantages and disadvantages. Oil-based stains tend to last longer and are easier to apply, but they require more time to dry. Water-based stains are quicker to dry and easier to clean up, but they can sometimes leave a slightly waxy finish.
The tools you use can also impact the quality of your finish. I’ve found that using a brush with natural bristles works best for oil-based stains, as they absorb the stain more evenly and don’t leave bristles behind. For water-based stains, a synthetic brush is better because it doesn’t absorb as much of the stain. I’ve also found that using a brush with a fine tip helps in reaching tight corners and edges.
If you're looking for an even finish, consider using a staining pad. I’ve used them on a few projects, and they allow for more controlled application, especially on curved or irregular surfaces. I’ve found that they take a bit more practice to use effectively, but the results are worth it.
The right tools and stain can turn a basic project into a professional finish.
Related: Wood staining basics mistakes ideas
Applying the Stain Evenly
I’ve made the mistake of applying too much stain, resulting in a thick, uneven finish that took weeks to dry properly. The key is to apply the stain in thin, even coats. I’ve found that applying two thin coats is better than one thick coat, as it allows the stain to penetrate the wood evenly without pooling or dripping.
To apply the stain evenly, I use a brush and work in the direction of the grain. This helps the stain flow smoothly and prevents it from creating visible streaks or ridges. I’ve also found that using a staining pad is ideal for large, flat surfaces, as it allows for even coverage without the risk of over-application.
After applying the stain, it's important to let it sit for a few minutes to allow the wood to absorb it. I’ve found that waiting about 5-10 minutes before wiping off any excess with a clean cloth is a good rule of thumb. This ensures the stain is absorbed evenly, and it prevents the finish from becoming too thick or gummy.[2]
Leaving excess stain on the wood can cause a cloudy or uneven finish. Wiping it off within 5-10 minutes ensures an even absorption.[3]
“I still remember the day I tried to stain my first piece of furniture, only to end up with a patchy, uneven finish that looked…”— Stainlane editors
Related: Affordable wood staining basics mistakes fixes
Drying and Finishing the Stain

I’ve made the mistake of rushing the drying process and applying the next coat too soon, which resulted in a sticky, uneven finish. The key to a good finish is allowing the stain to dry completely before applying the next coat. I’ve found that waiting at least 4-6 hours between coats is ideal, even if the wood feels dry to the touch.
After the stain has dried, it's important to apply a clear finish to protect the wood. I’ve used both oil-based and water-based finishes. I’ve found that oil-based finishes tend to provide a more durable finish, while water-based finishes are quicker to dry and easier to apply. I’ve also found that using a brush with a fine tip helps in applying the finish evenly without creating streaks.
Once the finish is applied, it's important to let it cure completely before using the wood. I’ve found that waiting at least 24 hours before placing any weight on the wood is a good idea. This allows the finish to fully harden and ensures that the wood is protected from scratches and wear.
Related: Wood staining basics fixes tips
Troubleshooting Common Issues
I’ve encountered several issues during my staining projects, from uneven color to streaks that refused to go away. One of the most common issues I’ve faced is streaking, which often happens when the stain is applied too thickly or when the brush isn’t properly cleaned. I’ve found that using a brush with natural bristles helps reduce streaking, as they distribute the stain more evenly.
Another common issue is uneven color, which can occur if the wood wasn’t sanded properly or if the stain wasn’t applied evenly. I’ve found that using a sanding block and sanding in the direction of the grain helps create a smooth, even surface for the stain to adhere to. I’ve also found that using a brush with a fine tip helps in applying the stain evenly, especially on curved or irregular surfaces.
If you do end up with an uneven finish, don’t panic. I’ve found that sanding the surface lightly with 220-grit sandpaper and applying another coat of stain can help even out the finish. I’ve also found that using a brush with a fine tip helps in applying the stain evenly, especially on curved or irregular surfaces.
💰 Budget Build
Use affordable tools and basic stains to create a great finish without breaking the bank.
⏰ Weekend Version
Complete a small project in one day with quick-drying materials and simple techniques.
✨ Upgraded Finish
Invest in high-quality tools and finishes to achieve a professional, long-lasting result.
🛋️ Small-Space Adaptation
Work efficiently in small areas with compact tools and minimal setup.
🏠 Rental-Safe Option
Use temporary finishes and low-impact tools that won’t damage rental properties.
| The mistake | Why it happens | The fix |
|---|---|---|
| Not sanding the wood before staining. | Skipping the sanding step can lead to an uneven finish and poor adhesion of the stain. | Always sand the wood with progressively finer grits to create a smooth surface for the stain to adhere to. |
| Applying too much stain. | Applying too much stain can result in a thick, uneven finish that takes longer to dry and may never look even. | Apply thin, even coats and wipe off any excess within 5-10 minutes for an even absorption. |
| Not cleaning the wood before staining. | Dust or oils on the surface can prevent the stain from adhering properly, leading to a patchy or uneven finish. | Use a degreaser to clean the surface and a tack cloth to remove any dust before applying the stain. |
| Applying the next coat too soon. | Applying the next coat before the stain has fully dried can cause the finish to be sticky or uneven. | Wait at least 4-6 hours between coats, even if the wood feels dry to the touch. |
Related: Budget wood staining basics fixes
Wood Staining Basics Mistakes Fixes Ideas
Related: Budget wood staining basics mistakes
Common Questions
How long should I wait before applying the second coat of stain?
Can I use a brush with synthetic bristles for oil-based stains?
How do I fix streaks in the stain?
What is the best way to protect the stained wood?
References
- Public Playground Safety Handbook (cpsc.gov)
- Management of Wood-destroying Pests (ipm.msu.edu)
- Woodworking Staining Tips - Orientation Unleashed (orientation.mssm.edu)
Cite this guide
Stainlane (2026). Wood Staining Basics Mistakes Fixes Ideas. https://stainlane.com/wood-staining-basics-mistakes-fixes-ideas/
Feel free to cite or share this guide.