
What Is Stained Glass Art
📖 Table of Contents
- Understanding the History of Stained Glass Art
- The Basic Materials You’ll Need
- Designing Your Stained Glass Pattern
- Cutting the Glass: A Step-by-Step Guide
- Assembling the Pieces: The Role of Lead Came
- Finishing Touches: Cleaning and Painting
- Displaying Your Stained Glass Art
- Make It Your Way
- Frequently Asked Questions
I remember the first time I held a piece of stained glass in my hands — the weight was unexpected, the colors startlingly vivid. It felt like holding a fragment of something ancient, like a window from a cathedral in a place I’d never been. That’s what stained glass art is: a blend of history, craft, and visual storytelling, where light and color converge into something almost magical.[3]
Stained glass art is not just a hobby for those who know how to cut lead or melt glass in a kiln. It’s a medium that has survived centuries, evolving from medieval cathedrals to modern homes and studios. I’ve spent months learning the basics, and it’s not as intimidating as it looks. You don’t need a degree in art or a studio full of expensive tools — just a few supplies, a little patience, and a willingness to experiment.[4]
What’s fascinating is how stained glass art bridges the gap between function and beauty. It’s not just for decorative purposes — it can be a way to bring light into a room, create a focal point, or even tell a personal story. The first time I completed a stained glass panel, I hung it in my living room, and it changed the way I saw the space. That’s the power of stained glass art — it transforms not just surfaces, but entire environments.
Why You'll Love This Stained Glass Art Project
- It adds a touch of elegance and personal expression to any room.
- It’s a creative hobby that can be tailored to your skill level and time availability.
- It’s surprisingly affordable with the right materials and tools.
- It brings light, color, and a sense of history into your living space.
Understanding the History of Stained Glass Art
As of September 2026, Stained glass art has a rich history that dates back over 2,000 years. The earliest examples were found in ancient Rome, where colored glass was used in windows to filter light. But it wasn’t until the 12th century that the craft really took off in Europe, especially in the construction of Gothic cathedrals. These buildings used stained glass not only for beauty but also for religious storytelling — each window a narrative of saints, biblical scenes, and theological concepts.[1]
During the Renaissance, stained glass art became more intricate, with a focus on realism and color blending. The 19th century saw a revival of the craft, partly due to the work of artists like William Morris and his company, Morris & Co., which produced stained glass for homes and public buildings. Today, stained glass art is both a historical artifact and a living craft, with modern artists creating everything from abstract designs to realistic landscapes.
Understanding this history can be incredibly inspiring. When I first started learning stained glass, I was amazed by the scale of the windows in cathedrals like Chartres or Notre-Dame. That kind of grandeur made me realize that even small stained glass pieces in a home can be part of a larger artistic tradition.
Look up historical stained glass windows for inspiration. You’ll be surprised by the complexity and beauty of early designs.
Part of our Wood staining basics color style ideas guide.
The Basic Materials You’ll Need
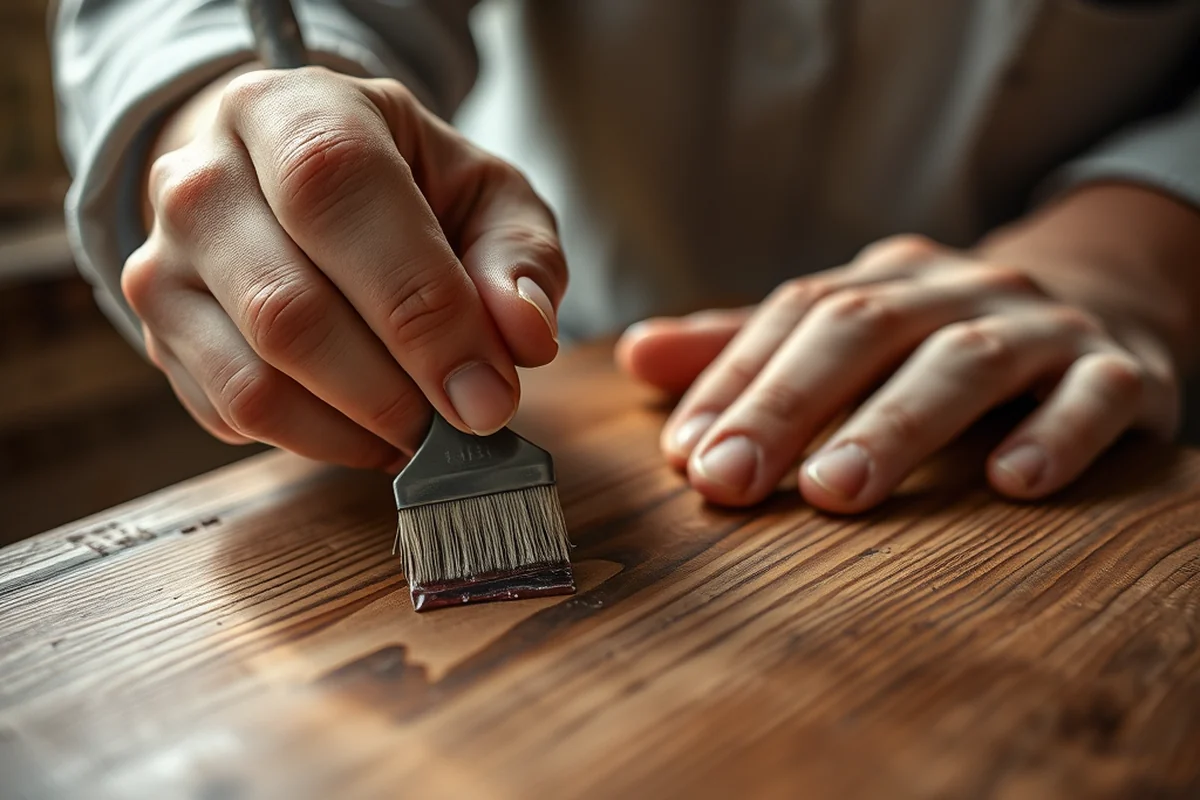
The main materials for stained glass art are glass, solder, and lead came. Glass comes in a variety of colors and textures, from clear to opalescent, and you can purchase it in sheets or precut pieces. Lead came is the copper alloy strip that holds the glass pieces together, and solder is used to join the lead came at the corners of the design.
I bought my first set of materials online, and it included a few sheets of stained glass, a soldering iron, and a small amount of lead came. The cost was well under $100, and I was able to complete a small panel in just a few hours. It’s important to invest in quality materials — cheap lead came can break easily and won’t hold up over time.[2]
When I first started, I made the mistake of buying too much glass. Now I know that it’s better to start small and expand your collection as you learn. A few sheets of colored glass and a small amount of lead came are all you need for a beginner project.
Quality materials make all the difference in your stained glass art.
Related: Affordable wood staining basics color style ideas
Designing Your Stained Glass Pattern
Designing a stained glass pattern is a crucial step in the process. You can use software like Adobe Illustrator or even free tools like Inkscape to create intricate designs. Alternatively, you can sketch your ideas by hand on tracing paper and then transfer them to your glass using a transfer pen or carbon paper.
When I first tried designing my own pattern, I went with a simple abstract design — a geometric shape with contrasting colors. I found that it was easier to work with simple shapes and colors when I was just starting out. More complex designs require more precision and a better understanding of the craft.
One thing I learned early on is that the size of the pieces you choose will affect the final look of the artwork. Smaller pieces give a more detailed and intricate appearance, while larger pieces are easier to work with but can look less refined.
Begin with basic geometric patterns or simple scenes to build your confidence and skills before moving on to more complex designs.
“I remember the first time I held a piece of stained glass in my hands — the weight was unexpected, the colors startlingly vivid.”— Stainlane editors
Related: Wood staining basics color step by step
Cutting the Glass: A Step-by-Step Guide
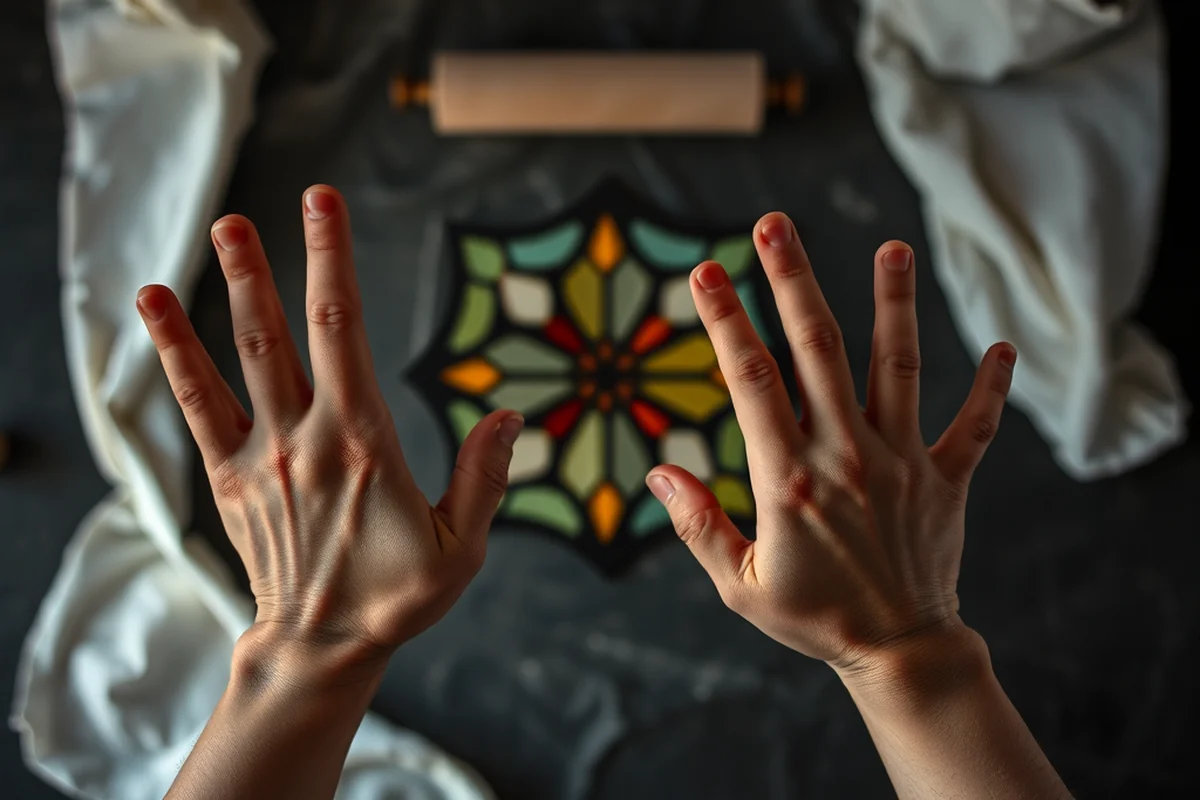
Cutting stained glass is a precise process that requires practice and patience. You’ll need a glass cutter, which is a small tool with a diamond or tungsten carbide wheel, and running pliers to break the glass along the scored line. It’s important to score the glass evenly and apply even pressure when breaking it.
I remember my first attempt at cutting glass — I scored the line too shallow, and the glass didn’t break cleanly. After a few tries, I learned that the scoring needs to be deep enough to create a clean break. I also found that holding the glass firmly with my fingers while breaking it helped prevent it from slipping and breaking into smaller, unmanageable pieces.
The key to cutting stained glass is to take your time and not rush the process. Even a small mistake can lead to a piece that doesn’t fit into your design, which can be frustrating and time-consuming to fix.
Related: Wood staining basics color style ideas on a budget
Assembling the Pieces: The Role of Lead Came
Assembling the pieces of your stained glass design is where the magic really begins. The lead came is used to hold the pieces together, and solder is used to secure the joints. You’ll need to place each piece of glass into the lead came, making sure that the edges align perfectly.
I found that using a small amount of flux on the solder joint helped the solder flow more smoothly and create a stronger bond. It’s also important to keep the lead came tight and aligned so that the pieces don’t shift during the soldering process.
One thing I learned was that it’s easier to work on small sections at a time, rather than trying to assemble the entire panel at once. This approach helps you maintain control and make adjustments as needed.
Related: Diy wood staining basics color
Finishing Touches: Cleaning and Painting
Once your stained glass panel is assembled and soldered, it’s time to clean it. You can use a soft cloth and a mild glass cleaner to remove any residue from the soldering process. If you want to add more detail, you can paint the glass with glass paint and fire it in a kiln, although this requires additional tools and equipment.
I painted a small section of my first panel with some black glass paint to add contrast and depth. After letting it dry, I applied a clear protective coating to the glass, which helped preserve the paint and make the piece more durable.
Cleaning and finishing your stained glass panel is an essential step that can make a big difference in the final appearance. Taking the time to do this properly ensures that your artwork looks as good as possible.
A little attention to detail in the finishing stage can transform your artwork.
Related: Budget wood staining basics color
Displaying Your Stained Glass Art
Displaying your stained glass art is the final and most rewarding step in the process. You can hang your panel on a wall using a small hanger or place it in a frame for a more finished look. It’s important to choose a location where the piece can be seen in natural light, as stained glass is meant to interact with light and create beautiful patterns.
I hung my first stained glass panel in my living room, and it was amazing to see how the colors changed throughout the day. The light reflected off the glass in different ways, creating a dynamic and ever-changing artwork.
Displaying your stained glass art not only showcases your creativity but also adds a unique and personal touch to your home. It’s a way to bring a piece of art into your space that is both functional and beautiful.
💰 Budget Build
Use affordable materials like pre-cut glass and basic soldering tools to create a simple stained glass panel without breaking the bank.
⏰ Weekend Version
Complete a small stained glass project in just a few hours using pre-assembled kits and minimal tools.
✨ Upgraded Finish
Add a layer of glass paint or a protective coating for a more refined and professional look.
🏠 Small-Space Adaptation
Create a stained glass panel that’s small enough to fit in a corner or on a shelf, perfect for apartments or compact spaces.
🔒 Rental-Safe Option
Use temporary adhesive and avoid drilling or hanging techniques that could damage a rental space.
| The mistake | Why it happens | The fix |
|---|---|---|
| Not scoring the glass deeply enough when cutting. | If the score is too shallow, the glass won’t break cleanly, leading to jagged edges and unusable pieces. | Make sure to score the glass with enough pressure to create a clean break. |
| Using too much solder. | Excess solder can create a thick, unattractive line that detracts from the overall design. | Use just enough solder to hold the lead came together and avoid over-soldering. |
| Not cleaning the glass properly after soldering. | Residue from the soldering process can leave a dull or cloudy finish on the glass, affecting its appearance. | Clean the glass with a soft cloth and mild glass cleaner after soldering to ensure a clear, glossy finish. |
| Using the wrong type of glass for the project. | Using the wrong type of glass can lead to cracking or breaking during the cutting and assembling process. | Choose the right type of glass for your project based on its size, complexity, and intended use. |
What Is Stained Glass Art
Common Questions
Can I make stained glass art without any prior experience?
What tools are essential for stained glass art?
How long does it take to complete a stained glass project?
What types of glass are best for stained glass art?
References
- Stained Glass Research Papers - Academia.edu (academia.edu)
- Andrew Kosorok | Utah Division of Arts & Museums (artsandmuseums.utah.gov)
- How does stained glass get its colors? - Ask Dr. Universe (askdruniverse.wsu.edu)
- Adult Crafternoon: Faux Stained Glass Art | Cobb County Georgia (cobbcounty.gov)
Cite this guide
Stainlane (2026). What Is Stained Glass Art. https://stainlane.com/what-is-stained-glass-art/
Feel free to cite or share this guide.