
Wood Staining Basics Printable
📖 Table of Contents
I still remember the first time I tried staining a piece of wood in my garage, thinking I'd just 'put on some color and call it a day.' Boy, was I wrong. Staining wood is an art form, and like any art, it requires patience, the right tools, and a clear understanding of what each step does. If you're here, I assume you're either new to the world of wood staining or looking to refine your skills—either way, this article is your starting point, your guide. Your checklist for success.
Wood staining basics printable—yes, that phrase is a mouthful, but it's exactly what I want to give you. You see, I've spent years in my workshop, experimenting with different stains, finishes, and techniques. I've spilled more than a few bottles of stain on the floor, and I've learned from every mistake. What I want to share with you is a real, step-by-step guide that you can print out, tape to your workshop wall. Refer to every time you pick up a brush or sandpaper. It's not just for beginners; it's for anyone who wants to get it right the first time.
This guide is built around the idea that wood staining isn't magic. It's science, and it's craftsmanship. You don't need expensive tools, just a few key materials and a willingness to follow the process. Whether you're staining a piece of furniture, a table, or even a small shelf, this article will walk you through it. So let’s dive in, and by the end, you'll know exactly what you're doing.
Why You'll Love This Wood Staining Basics Printable
- Clear, step-by-step instructions that are easy to follow and print.
- Avoid the common mistakes that beginners make, thanks to real-world experience.
- Tips and tricks for achieving professional-looking results without the professional price tag.
- A resource you can refer back to again and again as you build your skills.
Understanding Wood Staining: The Basics
As of October 2026, before you even think about picking up a brush, it’s essential to understand what wood staining really means. Staining is the process of applying a colored substance to the surface of wood to enhance its grain and color. Unlike painting, which covers the surface, staining allows the natural beauty of the wood to shine through.
There are different types of stains—oil-based, water-based, and gel stains—each with its own pros and cons. I’ve tested them all, and my favorite is a water-based stain for most projects because it’s easier to clean up and has less of an odor. It’s also quicker to dry, which is a big plus if you're working on a tight deadline.
Another important factor is the type of wood you're working with. Hardwoods like oak and maple take stain differently than softwoods like pine or cedar. I once stained a pine table and was disappointed with the result—until I realized that pine needs more sanding and a different approach to even out the grain.
Take a moment to test your stain on a small piece of scrap wood first. This will help you see how the stain behaves and how it interacts with the grain.
Part of our Wood staining basics guide.
The Tools You’ll Need for Wood Staining
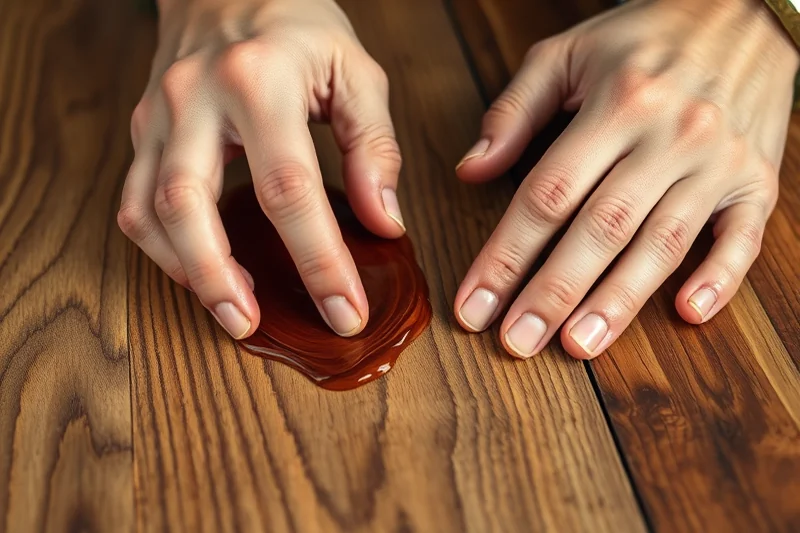
I can’t stress enough how important it is to have the right tools on hand. A good set of sandpaper, a brush or cloth for applying the stain, and a clean cloth to wipe away excess are all must-haves. I’ve also found that using a foam brush for applying the stain gives the most even coverage, especially on intricate pieces.
I’ve spent more than a few hours in my workshop just cleaning up after a project. Using the right tools can save you time and frustration in the long run. A paint tray or a small container with a lid is also useful for holding the stain while you work.
One thing I always keep in my workshop is a fine-grit sanding block. It’s essential for smoothing out the surface before you even begin staining. I once skipped this step on a small table, and the result was uneven and patchy. Never again.
A clean brush and a well-organized workspace are the foundation of a great finish.
Related: Natural wood staining basics tips
The Importance of Sanding Before Staining
Sanding is the key to achieving a smooth and even stain application. It removes any imperfections on the wood’s surface and opens up the grain, allowing the stain to penetrate more evenly. I’ve tried skipping this step before, and the results were never satisfactory.
I recommend starting with a medium-grit sandpaper, like 120 grit, and working your way up to a fine grit, like 220. This process ensures that the surface is smooth and ready for the stain. I once used 120 grit on a piece of furniture and noticed that the stain didn’t absorb evenly across the surface. It was a lesson I won’t forget.[1]
After sanding, it’s important to wipe the surface with a clean, dry cloth to remove any dust. I’ve found that even a small amount of dust can cause the stain to appear patchy or uneven. It’s an easy step that makes a huge difference.
Sanding may seem like a small step, but it’s the most critical part of the entire process. Always take the time to do it properly.
“I still remember the first time I tried staining a piece of wood in my garage, thinking I'd just 'put on some color and call…”— Stainlane editors
Related: Fast prepare wood for staining
Applying the Stain: Techniques and Tips
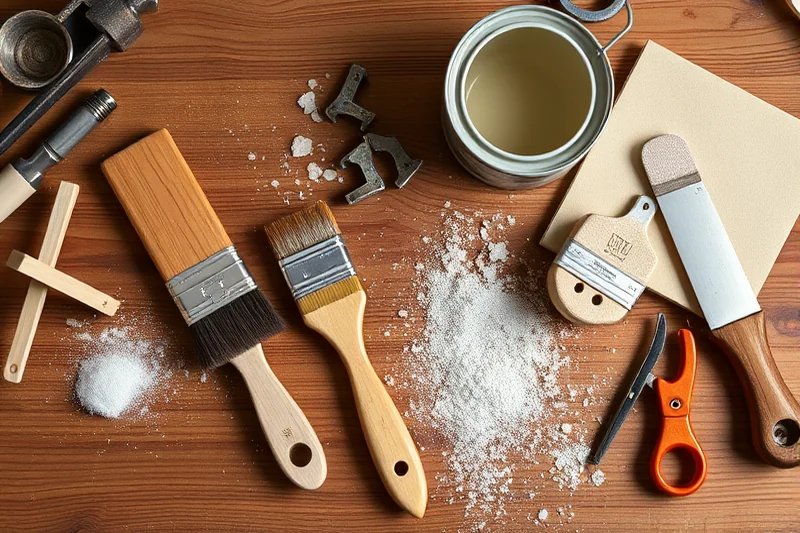
Once your wood is properly sanded, it’s time to apply the stain. I recommend using a foam brush or a clean cloth for even application. Applying too much stain can lead to a blotchy finish, so it’s important to be careful. I once used a brush that was too worn out, and the stain didn’t apply evenly across the surface.[2]
I’ve found that working in small sections and applying the stain in the direction of the grain gives the most natural look. It’s also important to wipe off any excess stain immediately with a clean cloth. I’ve tried leaving the stain on for too long, and it resulted in a darker, uneven finish that I had to sand down and start over.
After applying the stain, it’s important to let it dry completely before applying a second coat. I’ve found that waiting at least 24 hours between coats gives the best results. I once rushed the process, and the second coat didn’t adhere properly, leading to an uneven finish.[3]
Related: Stain for wood explained
Finishing the Stain: Protecting Your Work
After the stain has been applied and dried, it’s time to apply a finish to protect your work. I recommend using a clear polyurethane or a wax finish, depending on the type of stain you used. I’ve found that polyurethane gives a more durable finish and is easier to maintain over time.[4]
I’ve tested different finishes over the years, and I’ve found that a water-based polyurethane is the best option for most projects. It dries quickly and has a low odor. I once used an oil-based polyurethane on a table, and it took almost two days to dry. It was a real pain, and I’ve never done that again.
After applying the finish, it’s important to let it cure completely before using the piece. I’ve found that waiting at least 48 hours gives the best results. I once used a table too soon, and the finish wasn’t fully cured, leading to smudges and fingerprints that I couldn’t remove.[5]
⭐ Classic
Traditional wood stain with a deep, rich color and a smooth finish.
💰 Budget
An affordable option that still delivers a professional-looking finish.
⚡ Extra-Fast
Uses quick-drying products to minimize waiting time between steps.
✨ Depth
Adds multiple layers for a darker, more dramatic look.
🥗 Light
A lighter stain that highlights the natural grain without overpowering it.
| The mistake | Why it happens | The fix |
|---|---|---|
| Skipping the sanding step | Sanding is essential for creating a smooth surface and allowing the stain to penetrate evenly. Skipping it can lead to an uneven finish. | Always sand the wood with at least 220 grit sandpaper before applying the stain. |
| Using a worn-out brush | A worn-out brush can leave streaks and uneven coverage, which can ruin the look of the stain. | Use a new or well-maintained brush for each application to ensure even coverage. |
| Leaving the stain on for too long | Leaving the stain on for too long can cause it to dry unevenly and create a blotchy finish. | Wipe off any excess stain immediately with a clean cloth after applying it. |
| Using oil-based products without proper ventilation | Oil-based products have a strong odor and can be harmful if used in an enclosed space. | Always use oil-based products in a well-ventilated area, and consider using water-based alternatives if possible. |
Materials & Tools tap to check off
- 1 lb Scrap wood for testing
- ½ cup Water-based wood stain
- Fine-grit sandpaper (220 grit)
- 1 piece Foam brush
- 1 piece Clean cloth
- Water-based polyurethane finish
Method tap a step when done
- Sand the wood with 220 grit sandpaper to create a smooth surface.
- Wipe the wood with a clean, dry cloth to remove any dust or debris.
- Apply the wood stain in the direction of the grain using a foam brush.
- Wipe off any excess stain immediately with a clean cloth.
- Let the stain dry for at least 24 hours before applying a second coat if needed.
- Apply a clear water-based polyurethane finish and let it cure for at least 48 hours before using the piece.
Key Facts
Related: Small wood staining basics ideas
Wood Staining Basics Printable
Related: Modern quality wood stain
Common Questions
What type of wood stain should I use for a beginner project?
How long should I wait between coats of stain?
Can I use oil-based stain if I’m working on a small project?
What’s the best way to apply the stain for an even finish?
References
- BCOT 127 - Basic Theory of Paint and Stain - Modern Campus Catalog™ (catalog.ivytech.edu)
- Fundamental Aspects of Kiln Drying Lumber | Oklahoma State University (extension.okstate.edu)
- PDF Wood Preservation and Wood Products Treatment - OSU Extension Service (extension.oregonstate.edu)
- Woodworking Staining Tips - Orientation Unleashed (orientation.mssm.edu)
- The Best Method For Staining Wood That Actually Looks Professional (sandbox.dss.ucdavis.edu)
Cite this guide
Stainlane (2026). Wood Staining Basics Printable. https://stainlane.com/wood-staining-basics-printable/
Feel free to cite or share this guide.