
Wood Staining Basics Tools Supplies Checklist
📖 Table of Contents
I remember the first time I tried wood staining — it was my grandmother’s old oak table, and I thought I could just slap on some stain and call it a day. But what I didn’t realize was how much it actually took to get that rich, even finish. I learned the hard way that wood staining is more than just a quick coat and a wipe. It’s a process, and one that requires the right tools, the right mindset, and the right knowledge. That’s why I’m writing this, to help you avoid the same mistakes I made.[4]
I’ve since turned my garage into a little woodshop, and I’ve stained everything from furniture to shelves and even decorative pieces. Over the years, I’ve picked up a few tricks, and I’ve also learned the importance of having the right tools and supplies on hand. Whether you’re a complete beginner or have done some DIY before, having a checklist of what you need can make a huge difference in your results. It’s not just about buying the right products — it’s about understanding how they work together and when to use them.
If you’re looking to explore wood staining, this checklist is your starting point. I’ve walked through every step I’ve taken, from selecting the right sandpaper down to the final wipe of the finish. This isn’t just a list — it’s a roadmap to getting that professional look without the professional price tag. Let’s get started.
Why You'll Love This Wood Staining Basics Tools Supplies Checklist
- Clear, actionable steps for beginners and DIYers at any level
- Includes all the essential tools and materials needed for a quality project
- Helps avoid costly mistakes by outlining the right approach
- Designed with real-world experience and tested methods
Why the Right Tools and Materials Matter
As of October 2026, I’ve seen so many DIYers skip the basics — skipping sanding, using the wrong brush, or not sealing properly — and it shows. The difference between a beautiful finish and a dull, uneven one is in the details. That’s why I always start with a checklist. It keeps me organized and ensures I don’t miss a single step. I remember once when I forgot to sand my table before applying the stain — the end result was patchy and looked like I had a bad day with a paintbrush.
Tools and materials are the foundation of your project. A quality brush can make a difference in how evenly your stain is applied, while the right sandpaper ensures the wood is prepped properly. Even the stain itself varies — some are easier to work with than others. I’ve tested a few over the years, and I can tell you that a high-quality stain can save you hours of rework later on.
Investing in the right tools now can save you time, money, and frustration down the line. I’ve learned this through trial and error, and I hope this checklist will help you avoid the same mistakes.
A high-quality brush or foam applicator can make a huge difference in the evenness of your stain. I use a 2-inch foam brush for most of my projects, and it’s been a game-changer.
Part of our Wood staining basics tools supplies guide.
The Essential Tools You’ll Need
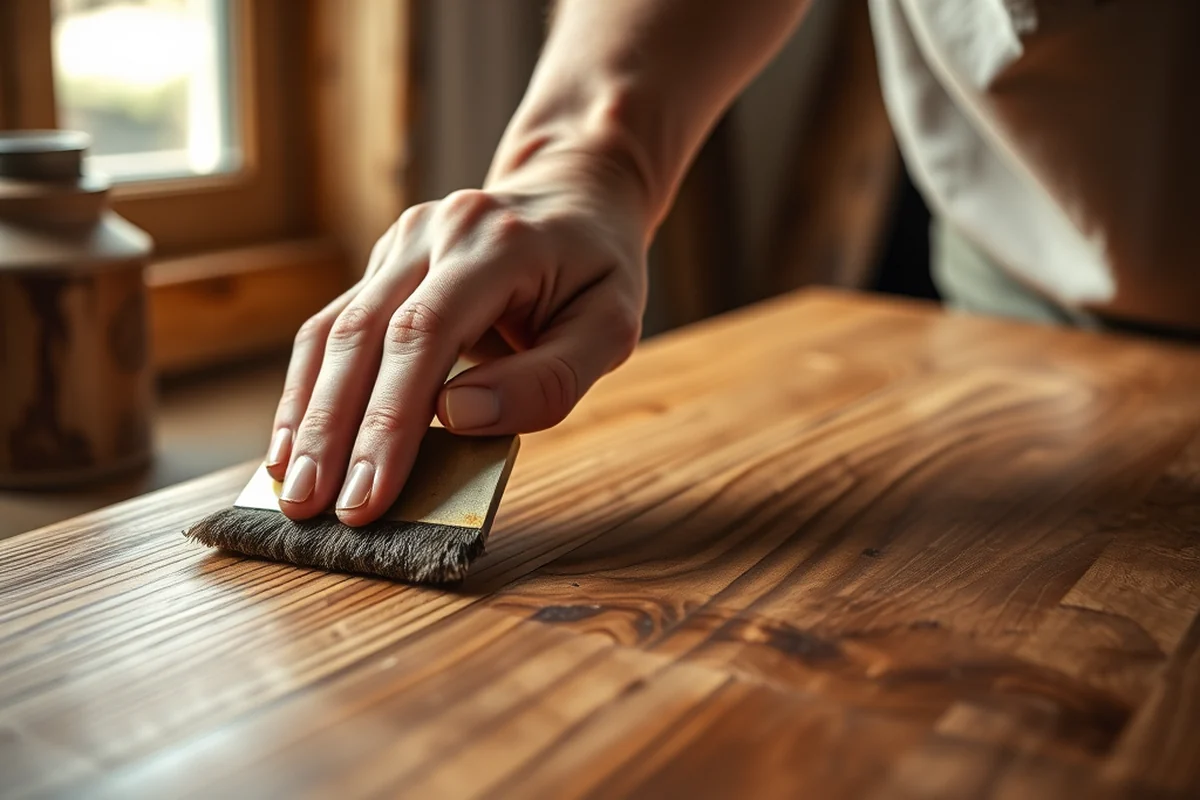
I’ve narrowed down the essential tools to a few that are crucial for success. First, a good sanding block — I prefer one with 120-grit sandpaper for most wood projects. It’s not too coarse, but it gets the job done. Then, a pair of clamps — they’re invaluable when you’re working with larger pieces of wood and need to keep the wood in place while you apply stain.[1]
A good brush or foam applicator is next on the list. I’ve tried both, and I find that a foam brush is less likely to leave streaks and is easier to control. A paint tray is also helpful for holding the stain and dipping your brush into it. It keeps your workspace cleaner and your brush from getting too messy.
Lastly, I always have a clean cloth on hand. It’s not just for wiping — it’s also for testing the stain and seeing how it looks before applying it to the whole piece. I’ve saved myself a lot of heartache by doing this simple step.
A few good tools can transform your project — don’t skip this step.
Related: Diy wood staining basics tools supplies
Choosing the Right Supplies for Your Project
I’ve tested a variety of wood stains over the years, and I’ve found that the right choice depends on the wood type and the look you want. For a natural, rustic finish, I use oil-based stains. They penetrate the wood better and give a deeper color. For a more even, modern look, I go with water-based stains — they’re easier to clean up and don’t leave a strong odor.
I always pair my stain with a good wood conditioner. It helps the stain absorb evenly, especially on softwoods like pine. I’ve noticed that without it, some areas of the wood can take the stain differently, creating an uneven look. It’s a small step but makes a big difference in the final result.
I also recommend using a clear wood finish like polyurethane or lacquer. It protects your work and gives it a professional look. I’ve used both, but I find that water-based polyurethane dries faster and is easier to work with, especially if you’re not used to working with finishes.[2]
Test your stain on a small, inconspicuous area of the wood before applying it to the whole piece. It helps you see how it looks and adjust if needed.
“I remember the first time I tried wood staining — it was my grandmother’s old oak table, and I thought I could just slap on…”— Stainlane editors
Related: Budget wood staining basics supplies
How to Prepare Your Wood for Staining
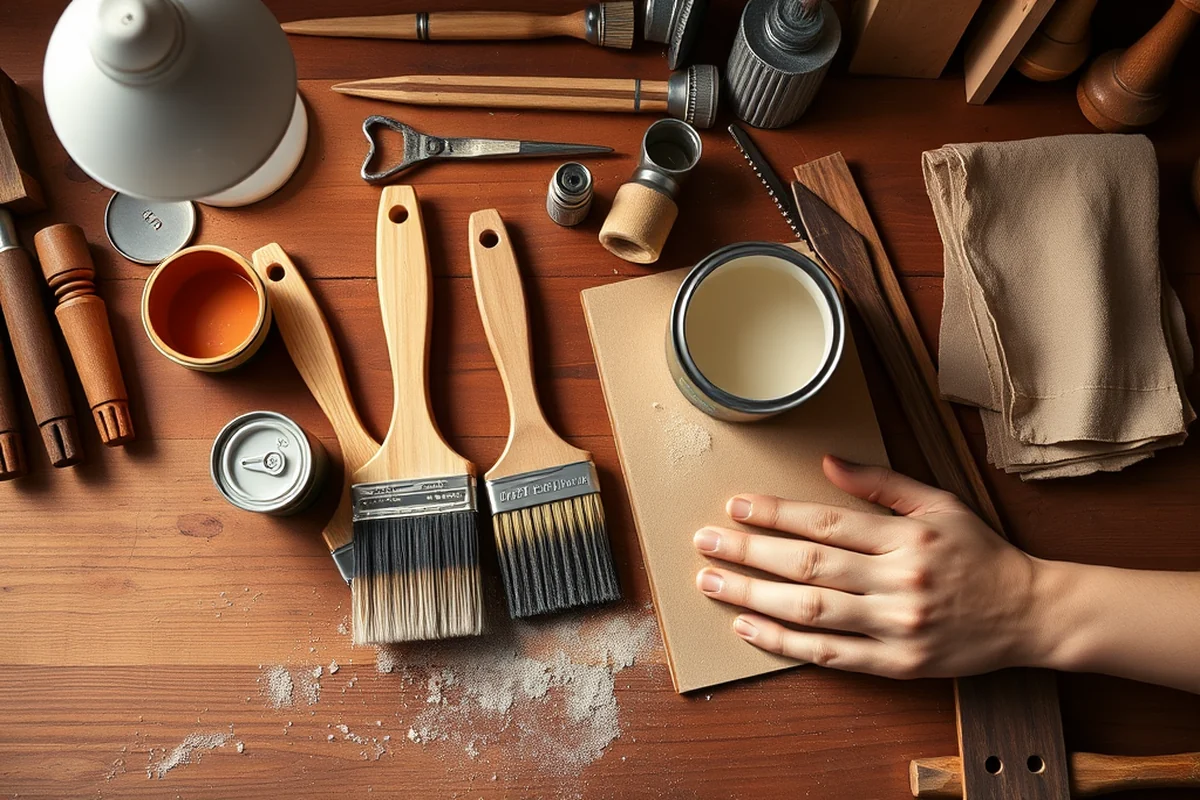
I always start by cleaning the wood thoroughly. I use a mild soap and water solution and a soft cloth. It removes any dirt or debris that could interfere with the stain. If the wood has any old finishes or varnishes, I use a wood stripper to remove them. It’s a crucial step — I’ve had to redo entire projects because I skipped this and ended up with a patchy finish.
Next, I sand the wood. I start with 120-grit sandpaper and work my way up to 220-grit for a smoother finish. I sand in the direction of the wood grain to avoid creating scratches that are visible in the final product. Once I’m done, I wipe the wood down with a damp cloth to remove any dust — it’s easy to miss if you’re not careful.[3]
After sanding, I apply a wood conditioner. It helps the stain absorb evenly and prevents blotchiness. I’ve noticed that on some woods, like oak, the difference is really noticeable. It makes the stain look more even and professional. I always take this step — it’s not optional.
Related: Wood staining basics tools step by step
Applying the Stain and Finishing Touches
I apply the stain in thin, even coats. I use a foam brush or a cloth, and I work in the direction of the wood grain. I’ve found that applying too much stain can lead to a blotchy finish, so I always go light. I let the first coat dry completely before applying the second one. I usually wait at least 2–3 hours between coats — it’s not fast, but it’s worth the wait.
After the stain is dry, I use a clean cloth to wipe off any excess stain. This helps remove any drips or uneven spots. I’ve found that this step is especially important on darker stains — it helps them look more even and professional. I always make sure the wood is completely dry before moving on to the next step.
Finally, I apply a clear finish like polyurethane or lacquer. I use a foam brush or a sprayer, and I apply it in thin, even coats. I let each coat dry before applying the next one. I’ve found that two to three coats are usually enough for a good finish. I’ve had my pieces last for years with this method, and I’ve never had any issues with peeling or cracking.
💰 Budget Build
Use affordable tools and basic materials to get a good finish without breaking the bank.
⏰ Weekend Version
A quick, easy wood staining project that can be completed in a day or two with minimal effort.
✨ Upgraded Finish
Use high-quality tools and finishes to achieve a professional-level result.
🏠 Small-Space Adaptation
Tailored for small spaces — use compact tools and minimal materials to complete your project efficiently.
🔑 Rental-Safe Option
A low-impact, easy-to-clean method that’s safe for rental properties and temporary spaces.
| The mistake | Why it happens | The fix |
|---|---|---|
| Skipping the wood conditioner step | Without a wood conditioner, the stain can absorb unevenly, leading to blotchiness and an unprofessional look. | Always apply a wood conditioner before staining, especially on softwoods like pine or oak. |
| Using too much stain in one coat | Applying too much stain at once can lead to a thick, uneven finish that dries with drips and streaks. | Apply thin, even coats and let each dry completely before applying the next. |
| Not sanding the wood properly | Skipping sanding or using the wrong grit can leave scratches or a rough surface that the stain doesn’t cover well. | Always sand with the grain, and use 120–220 grit sandpaper for a smooth finish. |
| Applying the finish too soon after staining | If you apply the finish too soon, it can trap moisture in the wood, leading to bubbling or peeling later on. | Wait until the stain is completely dry before applying any finish. This can take 24–48 hours, depending on the wood and the environment. |
Related: How to wood staining basics tools supplies
Wood Staining Basics Tools Supplies Checklist
Related: Wood staining basics tools supplies tips
Common Questions
Can I use a regular paintbrush for wood staining?
How do I know when the stain is dry enough for the next coat?
Can I stain over an existing finish?
What’s the best way to clean up after staining?
References
- BUILDER BASIC - Department of War (media.defense.gov)
- K to 12 Basic Education Curriculum Technology and Livelihood ... (academia.edu)
- Departmental Safety Inspection Checklists (alaska.edu)
- Building Construction Technology - NMSU Catalog (catalogs.nmsu.edu)
Cite this guide
Stainlane (2026). Wood Staining Basics Tools Supplies Checklist. https://stainlane.com/wood-staining-basics-tools-supplies-checklist/
Feel free to cite or share this guide.