
Wood Staining Basics Budget For Beginners
📖 Table of Contents
I remember the first time I tried wood staining — I had a spare piece of pine from a friend's renovation, and I was determined to give it a fresh look. I went to the hardware store, bought a can of stain, and followed the instructions on the bottle. It didn’t go well. The color was uneven, the finish was blotchy, and I ended up with something that looked like it had been doused in tea and left in the sun. But that experience taught me a lesson: wood staining is not a one-step process, and it requires more than just a can of stain and a brush. For anyone starting out, the basics of wood staining, along with a realistic budget, can make all the difference between a project that looks like it belongs in a gallery and one that ends up in the trash.
Wood staining basics for beginners can feel overwhelming, especially if you're not sure where to start. I've spent years working on DIY projects and have learned that the key to a successful wood stain job lies in preparation, the right tools, and understanding the materials you’re using. With a little guidance and a realistic budget, even the most inexperienced person can achieve a professional-looking finish. I’ve done this with a $40 budget, a weekend, and a few essential tools — and I’m here to share exactly how I did it.
What I found most helpful was breaking the process into small, manageable steps and focusing on the essentials. There’s no need to spend a fortune on high-end products or complicated techniques. A basic wood stain project doesn’t require a degree in carpentry; it just requires patience, the right information, and a few smart choices. That’s why I’m writing this article — to give you the wood staining basics budget for beginners. You can transform your project from a DIY disaster to a polished, beautiful finish with minimal effort and cost.
Why You'll Love This Wood Staining Project
- You can transform plain wood into something beautiful with minimal cost and effort.
- It’s a great way to learn the fundamentals of wood finishing and staining techniques.
- You’ll gain confidence in your DIY abilities and understand how to work with different types of wood and stain.
- You’ll end up with a finished project that looks professional and feels rewarding.
Choosing the Right Wood for Staining
As of October 2026, when I started, I used pine because it was cheap and readily available. Pine is a softwood that absorbs stain quickly, making it ideal for beginners. Hardwoods like oak, maple, or mahogany are also great but may require more preparation due to their density and tighter grain.
I’ve found that using a wood that’s already been sanded and cleaned makes the staining process much smoother. I always start by sanding the wood with 120-grit sandpaper, then move up to 220-grit for a smooth finish. This helps ensure the stain can penetrate evenly and results in a more uniform color.
If you’re working with reclaimed wood, be sure to clean it thoroughly to remove any dirt, mold, or old finishes. I used a mixture of water and mild detergent, followed by a thorough rinse and dry. Taking this step helped me avoid patchy or uneven staining later on.
Sanding your wood before applying stain is essential. I always use a combination of 120-grit and 220-grit sandpaper to get a smooth base. This step not only helps the stain penetrate evenly but also makes the final finish look more professional.[1]
Part of our Budget wood staining basics guide.
Selecting the Right Stain and Tools
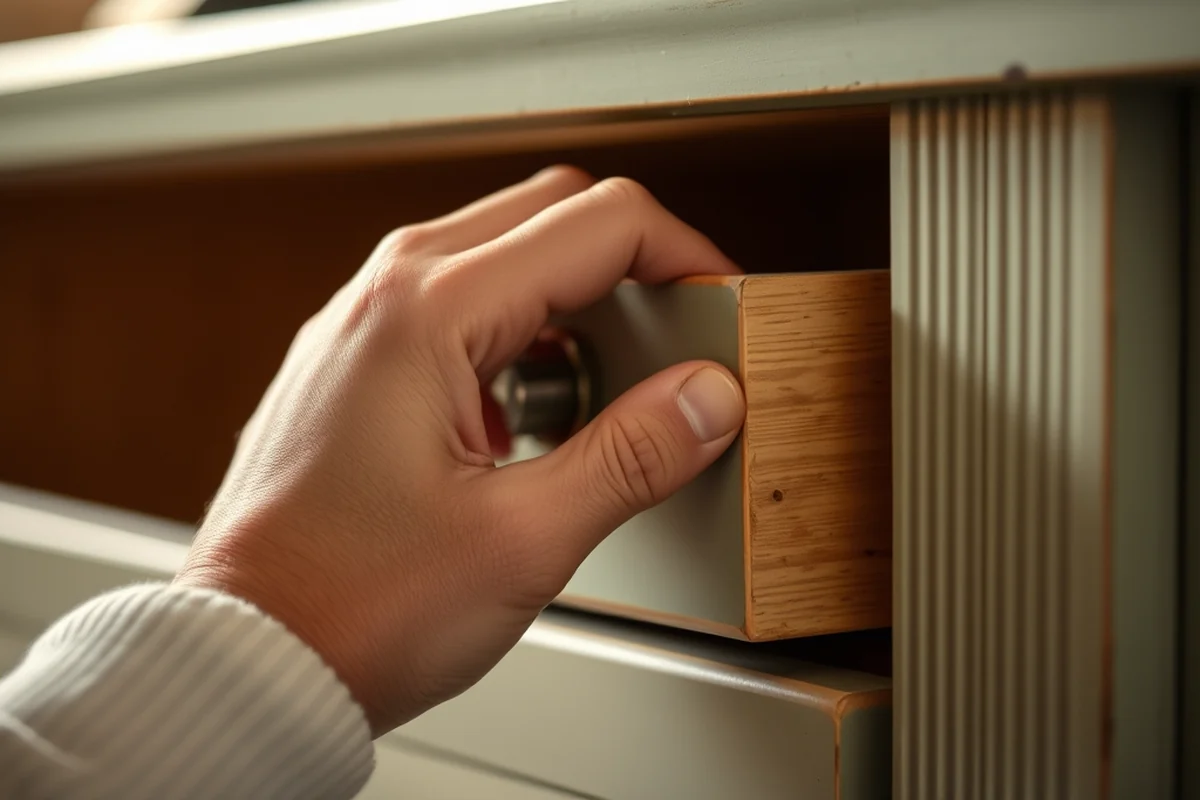
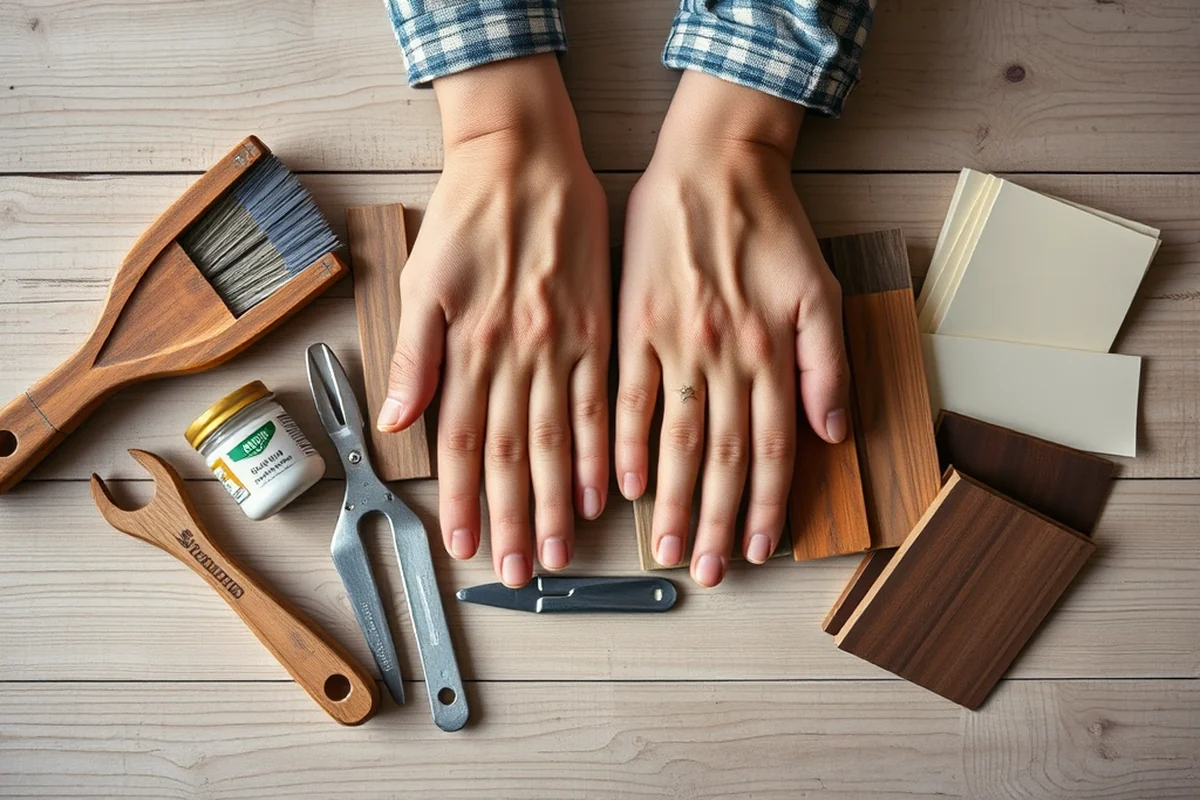
I used a basic oil-based wood stain, which was around $10. It was a good balance between cost and quality. I also picked up a couple of brushes — one for applying the stain and one for cleaning up. A small container for mixing was also handy, especially if you need to thin the stain.[2]
Other essential tools include a sanding block, a clean cloth for wiping the stain, and a small roller or brush for larger surfaces. I found that using a brush with a fine tip allowed me to get into the corners and edges without leaving streaks.
I didn’t need anything fancy — just a few basic tools. What I did need was a clear understanding of how to use them. I watched a few quick YouTube tutorials before I started, and that helped me avoid a lot of mistakes.
Don’t overcomplicate it — a few basic tools can do wonders.
Related: Bullshot stain remover
Understanding the Staining Process
I always start by applying the stain with a brush, working in the direction of the wood grain. I let it sit for about 5 minutes, then wipe off the excess with a clean cloth. This technique helps control the color and avoids leaving too much stain on the surface.
After the first coat dries (usually about 2 hours), I apply a second coat in the same way. I found that two coats gave me the best results — the wood looked richer, and the color was more even. I also made sure to let each coat dry completely before applying the next.
Once the stain was dry, I applied a clear wood finish, like polyurethane, to protect the wood and give it a glossy look. I used a brush for this step as well, working in the same direction as the grain. The finish helped seal the wood and make it more durable.
I made a mistake once by applying the second coat of stain too soon — it didn’t adhere properly and ended up looking patchy. Always wait for the first coat to dry completely, which usually takes about 2 hours. This step is crucial for achieving an even, professional finish.
“I remember the first time I tried wood staining — I had a spare piece of pine from a friend's renovation, and I was determined…”— Stainlane editors
Related: Furry freshness pet stain remover
Troubleshooting Common Staining Issues
One of the biggest problems I faced was uneven color absorption. The stain looked darker in some spots and lighter in others. I realized I hadn’t sanded the wood enough, so I went back and used 220-grit sandpaper to smooth it out. After that, the stain applied more evenly.
Another issue was excess stain pooling in the grooves and corners. I found that wiping the excess off with a clean cloth as soon as possible helped. I also made sure to apply the stain in the same direction as the wood grain to avoid streaks.
If you’re working with a dark stain, it’s important to test it on a small area first. I did this on a scrap piece of wood and let it dry. This helped me determine how the color would look on the final piece and whether I needed to apply more coats.
Related: What is the best deck stain for pressure treated wood
Finishing Touches and Maintenance
After the stain and finish were applied, I let the wood dry for at least 24 hours. This allowed the finish to fully cure and ensured the wood was ready for use. I also made sure to work in a well-ventilated area to avoid any fumes from the stain or finish.
I found that applying a second coat of polyurethane helped protect the wood better. It also gave it a slightly more glossy finish. I used a brush with a fine tip to apply it evenly, making sure not to leave any streaks or bubbles.
Once everything was dry, I gave the wood a final wipe with a clean cloth to remove any dust or debris. This step helped make the finish look even more professional. I also stored the wood in a dry, cool place to avoid warping or cracking.
💰 Budget Build
A low-cost approach using basic materials and tools to achieve a finished look without spending much.
⏰ Weekend Version
A quick project that can be completed in a single weekend with minimal setup and effort.
✨ Upgraded Finish
A more polished look achieved by using higher-quality stains and finishes for a professional result.
🏠 Small-Space Adaptation
A version designed for small spaces, using compact tools and techniques that work well in limited areas.
🚪 Rental-Safe Option
A project that’s easy to clean up and won’t damage rental property, using temporary and non-permanent materials.
| The mistake | Why it happens | The fix |
|---|---|---|
| Not sanding the wood before staining | Skipping the sanding step can lead to an uneven finish, as the stain may not penetrate the wood evenly. | Always sand the wood with 120-220 grit sandpaper before staining to create a smooth, even surface. |
| Applying too much stain | Applying too much stain can cause it to pool in the grooves and corners, resulting in an uneven, blotchy finish. | Wipe off any excess stain with a clean cloth as soon as possible after applying it. |
| Applying the second coat too soon | Applying the second coat before the first coat is fully dry can lead to a patchy, uneven finish. | Wait at least 2 hours for the first coat to dry completely before applying the second coat. |
| Ignoring the wood grain direction | Staining against the grain can cause streaks or uneven color absorption, making the finish look unprofessional. | Always apply the stain in the same direction as the wood grain to ensure even coverage and a smooth finish. |
Related: What s the best stain remover for clothes
Wood Staining Basics Budget For Beginners
Related: Best stain remover for set in stains
Common Questions
What kind of wood is easiest to stain for beginners?
How many coats of stain should I apply?
Can I use water-based stain instead of oil-based?
How do I avoid streaks or uneven color?
References
- Paint Manual - GovInfo.gov (govinfo.gov)
- Wood-Preservation-Manual.pdf (agri.idaho.gov)
Cite this guide
Stainlane (2026). Wood Staining Basics Budget For Beginners. https://stainlane.com/wood-staining-basics-budget-for-beginners/
Feel free to cite or share this guide.