
Wood Staining Basics Step Mistakes To Avoid
📖 Table of Contents
I remember the first time I tried to stain my grandfather’s old oak table. I was so excited, I bought the cheapest stain I could find at the hardware store, skipped the sanding, and slapped on a couple of coats. The result? A lumpy, streaky mess that looked more like a failed science experiment than a finished piece of furniture. It was a humbling lesson in the importance of proper technique and preparation. That experience taught me that wood staining isn’t just about the product you choose—it’s about the steps you follow and the mistakes you avoid. And that’s exactly what this article is about: wood staining basics and the common mistakes to avoid that will help you achieve professional-looking results on your own.[3]
Wood staining can transform a plain piece of wood into something beautiful, but it’s a process that requires patience, attention to detail, and a good understanding of the fundamentals. I’ve spent the last few years working on various DIY projects, from staining shelves to refinishing old doors, and I’ve learned that even the smallest oversight can throw off the whole outcome. Whether you’re a first-timer or someone with a few projects under your belt, understanding the basics and knowing which mistakes to avoid can make the difference between a project that looks like it was done in a workshop and one that feels like it was rushed.[4]
One of the most common mistakes people make when starting out is not taking the time to properly prepare the wood. That means skipping sanding, not cleaning the surface, or not using the right tools. I’ve seen it all, and trust me, it’s not worth the risk of ending up with a subpar finish. This article is here to walk you through the wood staining basics, highlight the most common mistakes I’ve encountered, and provide practical tips that will help you avoid them. By the end, you’ll have a clear roadmap to creating a stain job that looks like it was done by a professional, all from the comfort of your own home.
Why You'll Love This DIY Project
- You’ll achieve a professional-looking finish without needing to hire a pro.
- You’ll learn techniques that can be applied to future DIY projects.
- You’ll save money by doing the work yourself rather than paying for it.
- You’ll gain confidence in your ability to tackle more complex DIY projects.
Why Proper Surface Preparation Matters
As of October 2026, before you even think about applying stain, you need to make sure the wood is clean and smooth. I’ve found that using a degreaser and sanding with 120-grit sandpaper is essential. Skipping this step leads to uneven absorption and visible streaks in the final finish.[1]
I once stained a piece of furniture without cleaning it, and the stain didn’t adhere properly—parts of the surface were patchy and looked dull. It took me twice as long to fix it than it would have if I had done it right the first time.
Always remember that the better you prepare the surface, the better the final result. It’s a simple step, but it can make all the difference.
Use a degreaser and sand the wood thoroughly before applying any stain. This ensures even absorption and a smooth finish.
Part of our Wood staining basics step by step techniques guide.
Choosing the Right Stain and Tools
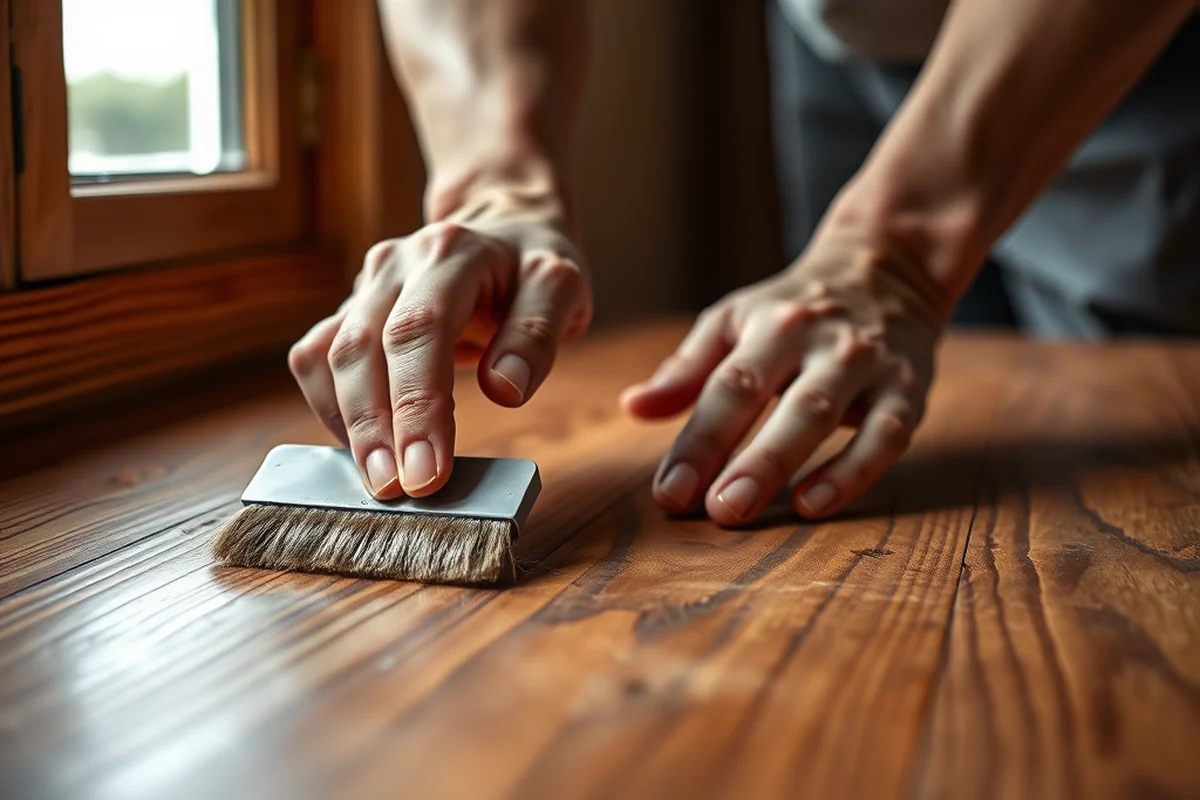
Not all stains are created equal, and using the wrong type can lead to disappointing results. I’ve found that oil-based stains tend to give a deeper, more even finish, but they require more time to dry. Water-based stains are faster to work with but may not penetrate as deeply into the wood.
Choosing the right brushes or applicators is also important. I’ve used both foam brushes and lambswool pads, and I’ve found that lambswool pads give the smoothest finish with the least amount of brush marks.
Taking the time to choose the right materials can save you hours of frustration later on.
The right tools and materials can make all the difference in the final outcome.
Related: Wood staining basics step checklist
Understanding Stain Application Techniques
I’ve made the mistake of applying too much stain at once, only to find that it pooled and dried with a thick, uneven texture. The key is to apply it in thin, even coats and let each one dry before applying the next.
I’ve also learned that using a brush or pad in the same direction as the wood grain can help the stain absorb more evenly and reduce the chances of streaks or blotches.
Another tip I picked up is to test the stain on a small, inconspicuous area of the wood before applying it to the whole piece. This helps you see how it looks and how it behaves before committing to the full project.
Use thin, even coats of stain and let each one dry completely before applying the next. This helps avoid streaks and ensures a smooth finish.
“I remember the first time I tried to stain my grandfather’s old oak table.”— Stainlane editors
Related: Wood staining basics step by step techniques mistakes to avoid
Letting the Stain Dry Properly
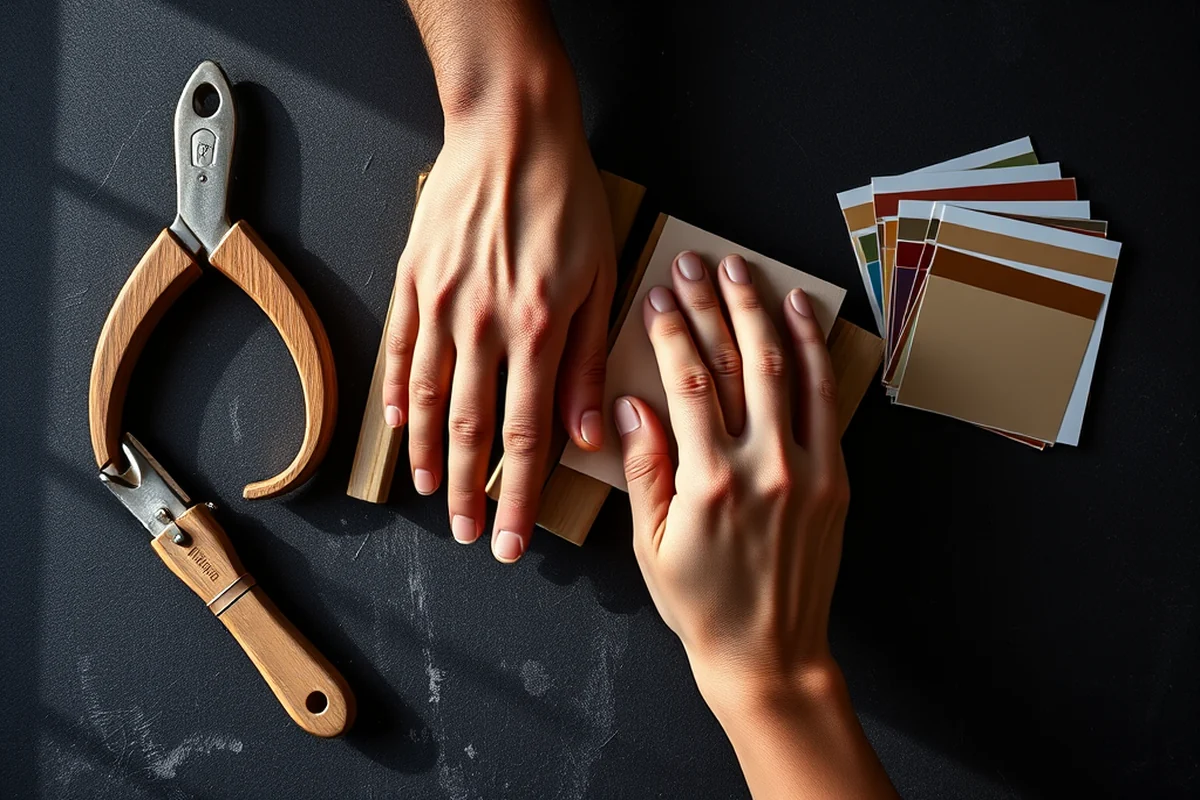
I’ve rushed the drying process before, thinking that leaving the stain on for just a few minutes would be enough. What I didn’t realize was that rushing the process can leave the stain uneven and not fully cured. Patience is key with staining.
I’ve found that oil-based stains can take up to 24 hours to dry completely, while water-based stains may be ready in a few hours. Always check the manufacturer’s instructions for drying times and be sure to follow them closely.[2]
Proper drying is essential not only for the appearance of the finish but also for the durability of the stain. Skipping this step can lead to a finish that peels, cracks, or doesn’t hold up over time.
Related: How to wood staining basics techniques
Finishing with the Right Topcoat
After the stain has dried, it’s important to protect it with a topcoat. I’ve used both polyurethane and lacquer, and I’ve found that polyurethane gives a longer-lasting finish with less maintenance.
I’ve also learned that applying too many coats of topcoat can lead to a buildup that feels rough to the touch and can even cause the finish to crack over time. It’s best to apply a few thin coats rather than a few thick ones.
Choosing the right topcoat and applying it correctly can make all the difference in how long your stained piece will last and how well it looks.
💰 Budget Build
Use affordable materials and focus on the basics to create a great finish without spending too much.
⏰ Weekend Version
Complete the project in a single day by choosing fast-drying stains and minimizing preparation steps.
✨ Upgraded Finish
Invest in higher-quality stains and topcoats for a finish that looks and feels like it was done by a professional.
🏠 Small-Space Adaptation
Use compact tools and work in a small space by setting up a temporary staining station.
🧰 Rental-Safe Option
Choose low-odor, quick-drying stains and avoid using harsh chemicals to protect the rental property.
| The mistake | Why it happens | The fix |
|---|---|---|
| Skipping sanding | Skipping sanding leads to an uneven surface, which causes the stain to absorb inconsistently and creates a patchy or streaky finish. | Always sand the wood with 120-grit sandpaper before applying stain to ensure a smooth, even surface. |
| Using the wrong type of stain | Using the wrong type of stain can result in a finish that doesn’t look right or doesn’t hold up over time. For example, oil-based stains may not be suitable for certain types of wood. | Choose the right type of stain based on the type of wood you’re working with and the finish you want to achieve. |
| Applying too much stain at once | Applying too much stain can cause it to pool and dry with a thick, uneven texture that looks unprofessional. | Apply thin, even coats of stain and allow each coat to dry completely before applying the next. |
| Not letting the stain dry properly | Rushing the drying process can lead to a finish that doesn’t adhere properly and may peel or crack over time. | Always follow the manufacturer’s instructions for drying times and allow the stain to dry completely before applying a topcoat. |
Related: Wood staining basics step by step techniques ideas
Wood Staining Basics Step Mistakes To Avoid
Related: Wood staining basics step guide
The Overlooked Importance of Sanding Between Coats
I once skipped sanding between my second and third coat of stain on an oak table, and the result was a patchy, inconsistent sheen that looked amateurish. Sanding with 220-grit sandpaper between coats removes raised grain and ensures even absorption. It also helps eliminate dust nibs and allows the next coat to bond properly. This step is especially important on open-pored woods like mahogany or pine, where uneven absorption is more common.
After sanding, I always wipe the surface with a tack cloth to remove all dust before applying the next coat. Skipping this step can trap dust in the stain, leading to a cloudy or rough finish. I’ve tested this process multiple times, and the difference between a project with and without this step is night and day. It might take extra time, but it’s worth it for the final result.
Another benefit of sanding between coats is that it allows you to inspect your work for any missed spots or inconsistencies. I’ve caught several issues this way, like uneven stain distribution or dry spots, which I could then fix before proceeding. This proactive approach can save hours of rework later. It’s a small step that adds up to a big difference in the final look and feel of the wood.
Common Questions
What type of wood is easiest to stain?
How long should I let the stain dry before applying a topcoat?
Can I stain over an existing finish?
What’s the best way to remove excess stain?
References
- Wood Destroying Organisms - CTAHR (cms.ctahr.hawaii.edu)
- Home Landscape Design | Mississippi State University Extension ... (extension.msstate.edu)
- WHAT WOOD U BUILD? - Alabama Cooperative Extension System - (aces.edu)
- Chemical and Mechanistic Aspects of Wood Finishing: A Review ... (bioresources.cnr.ncsu.edu)
Cite this guide
Stainlane (2026). Wood Staining Basics Step Mistakes To Avoid. https://stainlane.com/wood-staining-basics-step-mistakes-to-avoid/
Feel free to cite or share this guide.